This post has been moved to https://www.mobitek.my/main/news/change-log-of-the-contents-of-mobitek-sms-gateway-development-kit-installer/
This guide applies to the following MOBITEK products:-
USB Driver had been pre-installed in the following Linux Distro:-
For other distro, you may need to compile the driver into Linux kernel which is not covered in this guide.
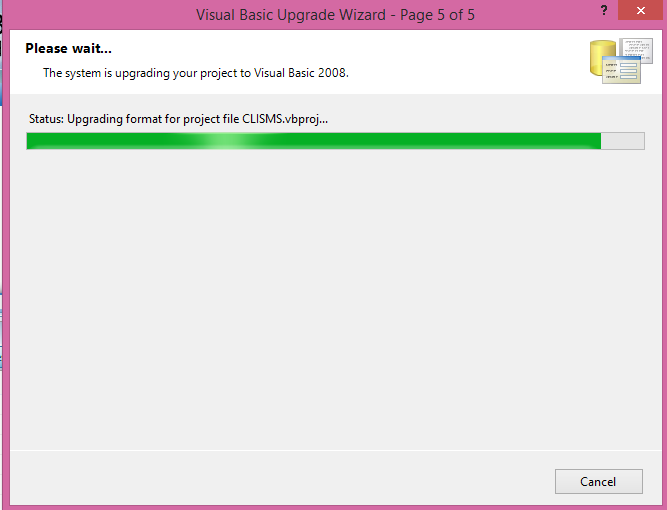
Problem: I have old VB6 code, what is the easiest way to convert or port to VB.Net?
Solution:-
The following steps are optional.
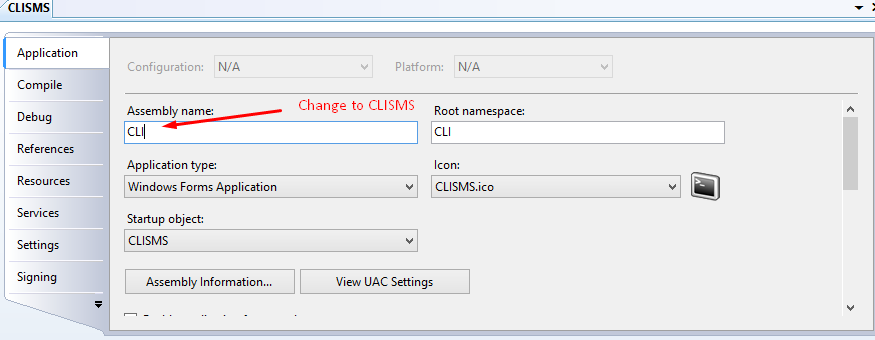
Note: The clisms cant worked correctly if it situated on network folder. it must be copied into our local disk.
Reported by,
Iqa
Download user’s guide and software from here …
Step 1: DO NOT connect USB cable or connect modem to PC/server.
Step 2: Install the USB driver first by clicking on ‘run’. USB driver can be downloaded from here — https://www.mobitek.my/download/USB Drivers/USB Driver for MOBITEK S80.zip
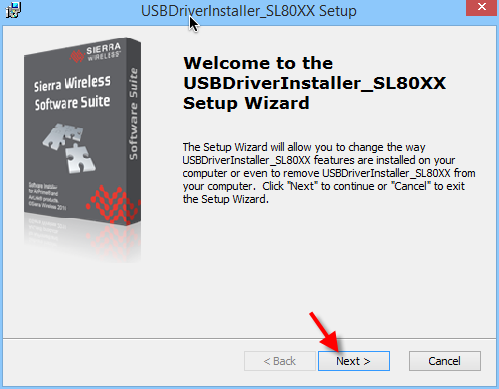
Step 3: Click on ‘next’.
Step 4: Check the ‘I accept the terms in the License Agreement’ and click on ‘Next’.
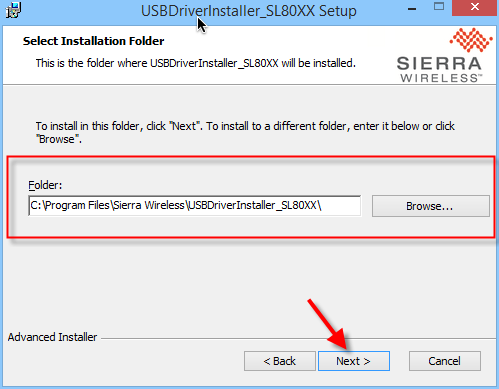
Step 5: Choose the installation folder or path, then click on ‘Next’.
Step 7: Make sure to restart the machine or computer in order to use the installed driver.
Step 8: After computer is restarted, connect the modem to the computer. In device manager, the connected modem is listed as ‘Sierra Wireless AT Command Port (UMTS)’. In this example, the modem is connected to COM port number 29.
Applies to these products:-
MOBITEK SMS API version 9.2 — manual for software developer has been revised and published. Please view it at http://www.mobitek.my/main/mobitek-sms-api-version-9-manual-for-software-developer/
Step by step guide on how to change COM Port number
Step 1: Open device manager, and expand ‘Ports (COM & LPT). I will use MobiGATE SG-B-8-U for this example
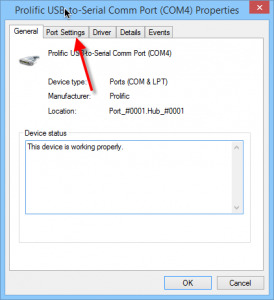
Step 2: Select the COM Port you want to change, right click and click on ‘Properties’
Step 3: Click on ‘Port Settings’ tab
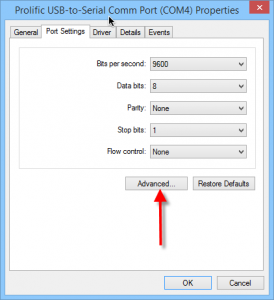
Step 4: Click on ‘Advanced’
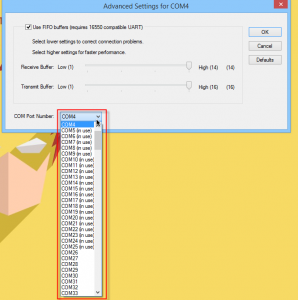
Step 5: Select the COM Port that is not in use. I will select COM Port 26 for this example.
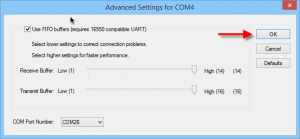
Step 6: Click on ‘OK’. The COM Port is changed now.
Applies to these products:-
When connecting to a VNC Server (applies to both RealVNC and TightVNC), the VNC client (applies to both RealVNC and TightVNC) is unable to connect, and shows this message, “Connection closed unexpectedly”.
The followings settings are properly configured and they are not the issues:-
However, the log file of TightVNC server shows:-
[ 2132/ 4332] 2016-06-15 13:23:30 ! write() function stopped because transport has not been initialized yet.
[ 2132/ 4332] 2016-06-15 13:23:32 ! AnonymousPipe::read() failed (m_hRead = 000000000000030C)
[ 2132/ 4332] 2016-06-15 13:23:32 ! The Pipe's read function failed after ReadFile calling (The pipe has been ended. (109))
[ 2132/ 4332] 2016-06-15 13:23:32 ! Exception during DesktopClientImpl creaion:
[ 2132/ 4332] 2016-06-15 13:23:32 ! Error during RFB initialization:
[ 2132/ 4332] 2016-06-15 13:23:32 ! Connection will be closed:
[ 4500/ 4420] 2016-06-15 13:23:42 ! Desktop server application failed with error: The desktop server time out expired
The root caused is “RFB” on the VNC server.
Solution:-
Another reason for “Connection closed unexpectedly” is that RealVNC version 4.x does not work in Windows 7. For Windows 7, it requires Real VNC version 5 and above.