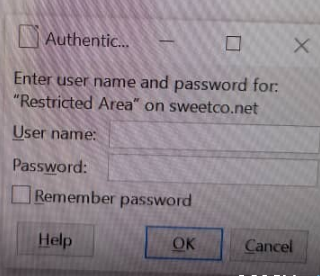
- Open LibreOffice -> “Tools” -> “Options…”; or
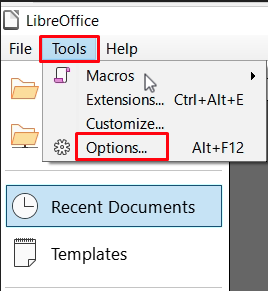
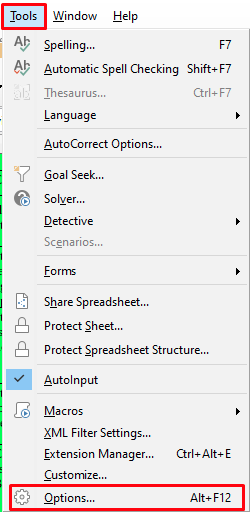
- If any LibreOffice document is opened, it can be accessed from “Tools” -> “Options…”.
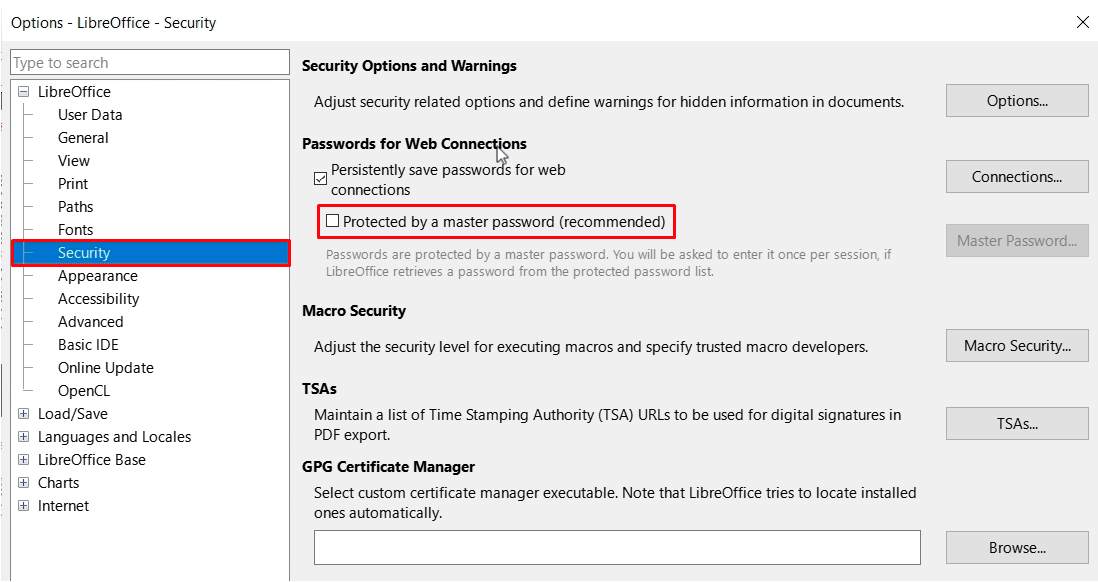
- Go to “Security” and uncheck “Protected by a master password (recommended)”.
| BEFORE | AFTER | REMARK |
|
|
|
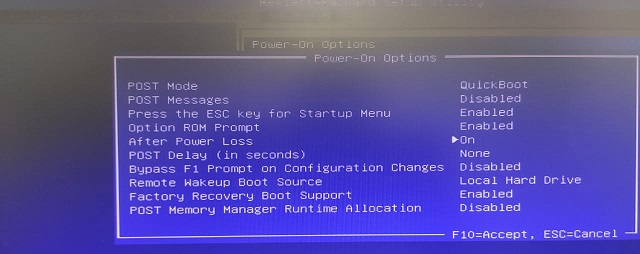
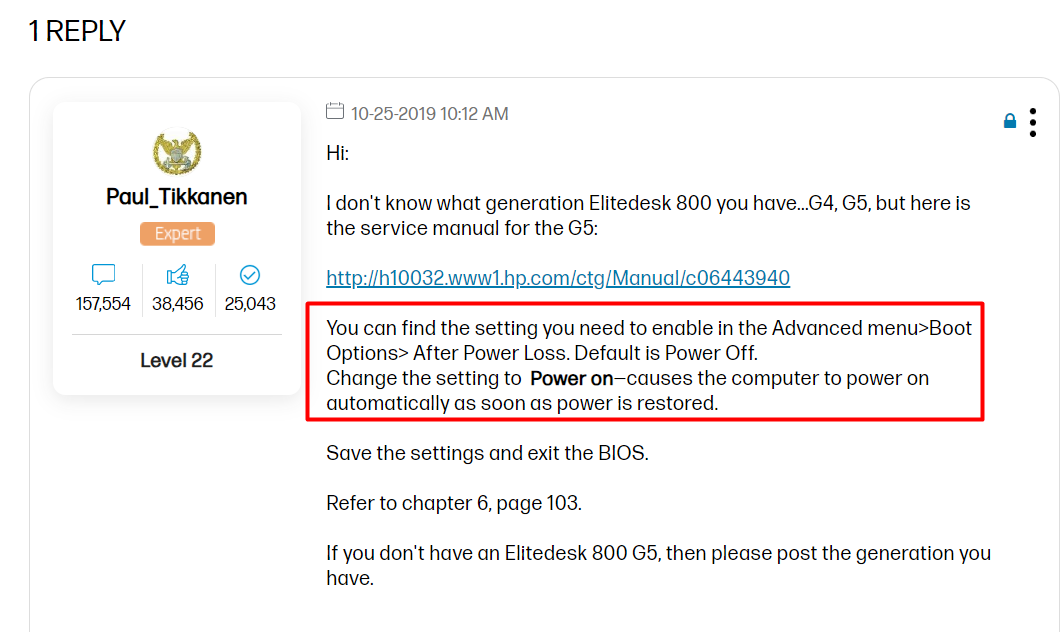
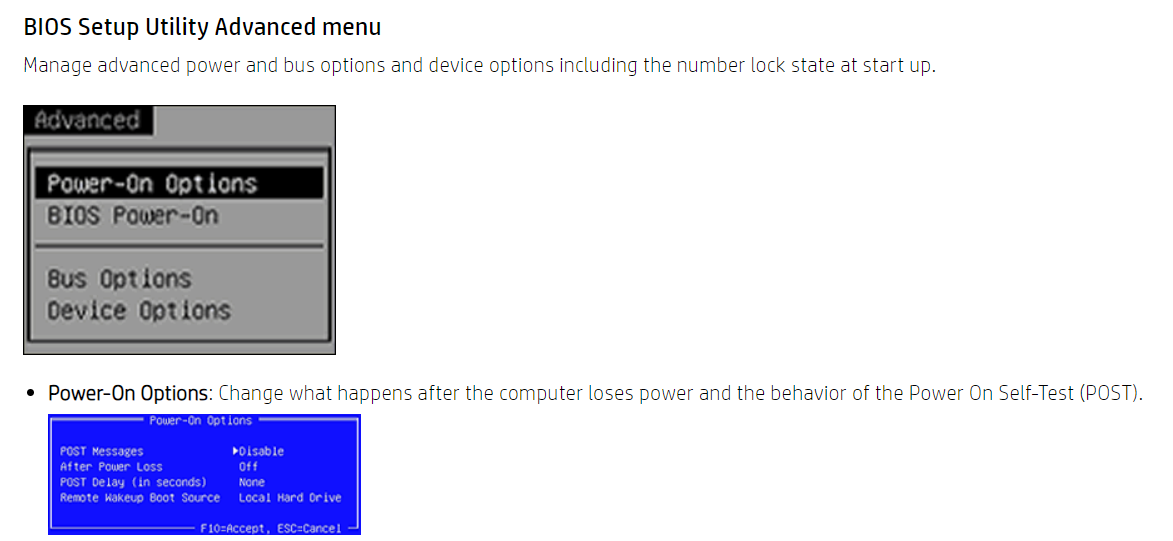
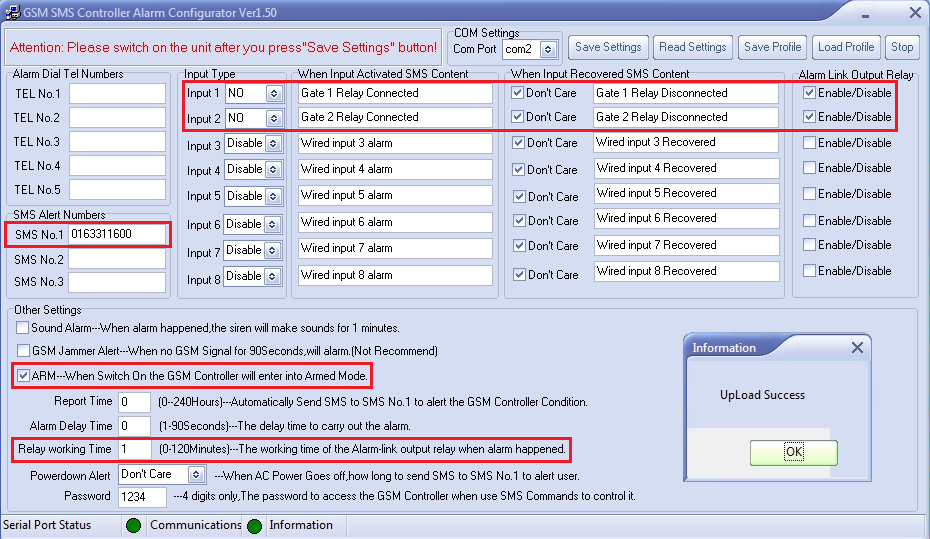
Set to reboot after power has restored by TNB.
source: https://support.hp.com/gb-en/document/ish_3912651-2318005-16 |
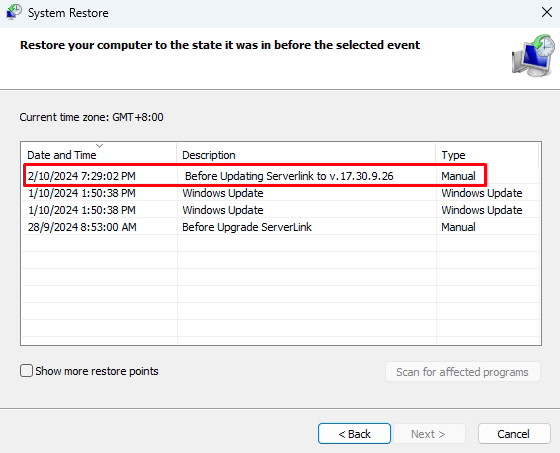
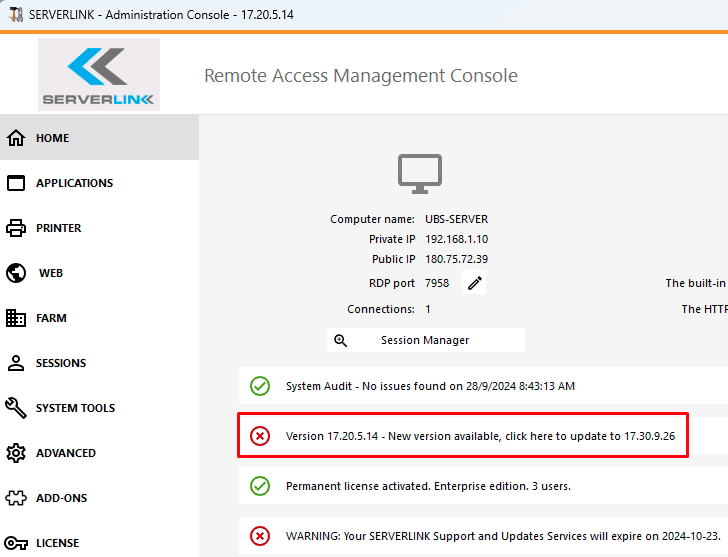
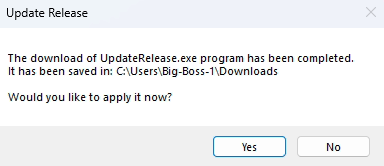
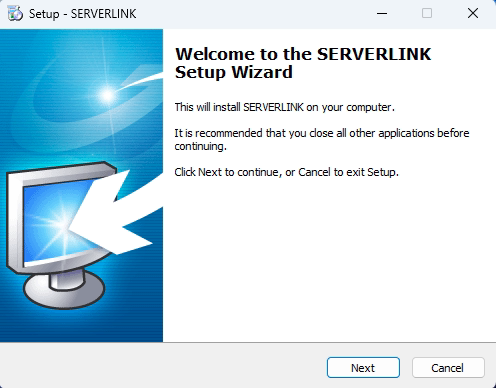
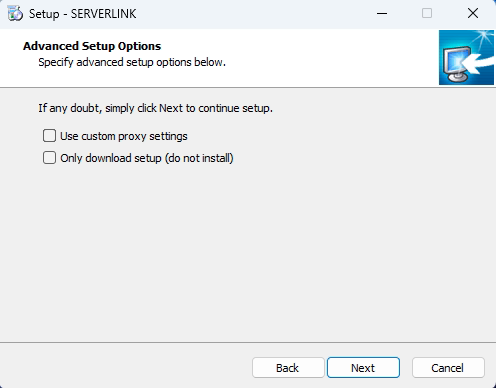
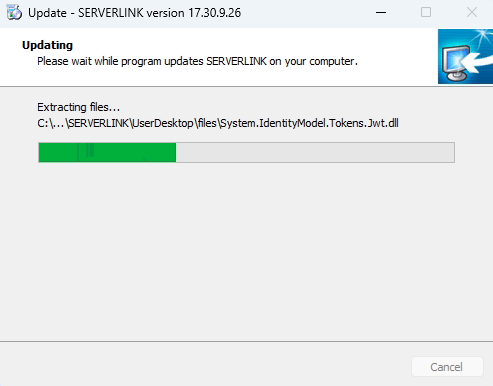
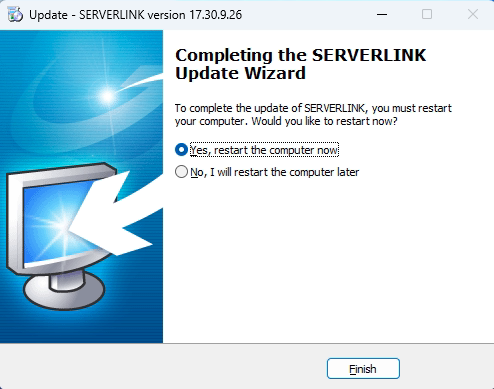
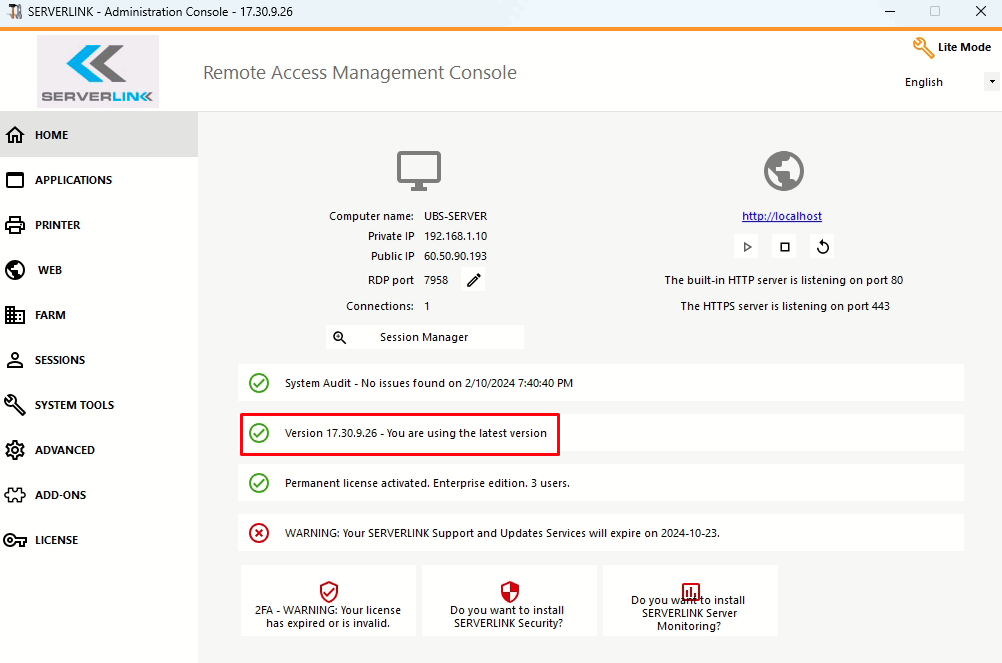
Note: if you choose “Only dowload setup (do not install)” , then the setup file is downloaded into this folder “C:\Users\…\AppData\Local\Temp\UpdateRelease.exe“. Run the “UpdateRelease.exe” at a later date.
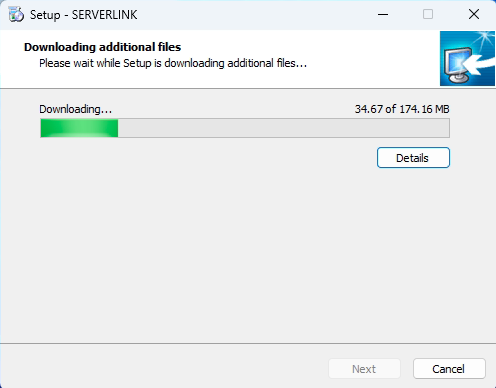

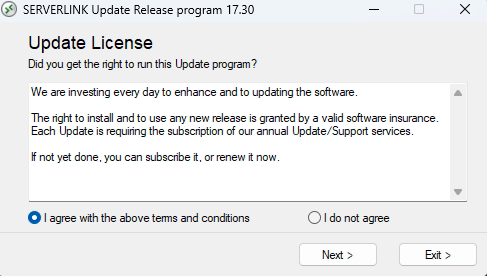
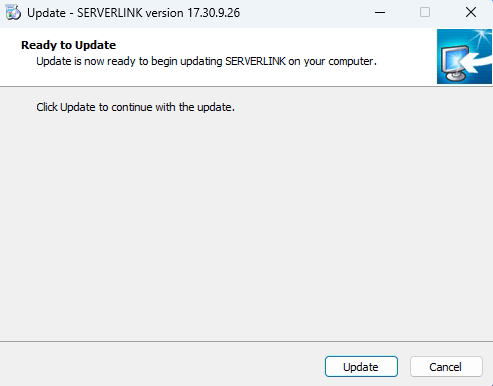
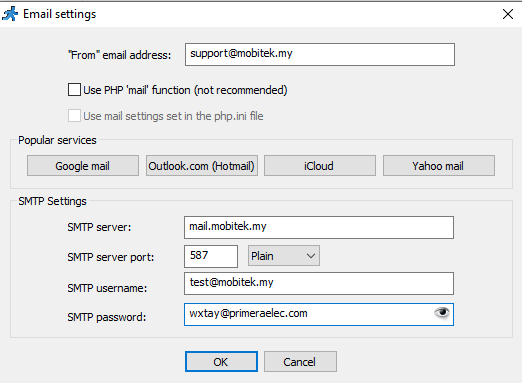
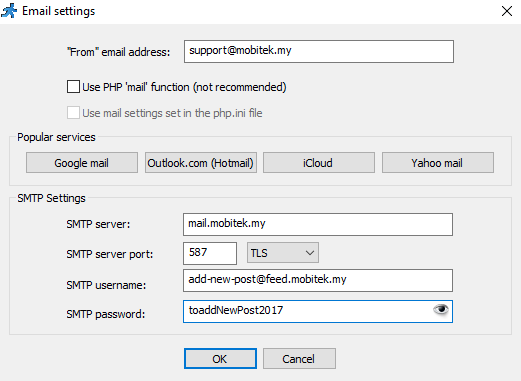
| Runner_Mail() | PHPMailer() | PHP Mail() |
| SMTP, user name, password, port, etc. are set inside the PHPRunner UI
|
PHPMailer() is called by Runner_Mail()
SMTP is set inside the PHP code itself |
SMTP is set in “PHP.ini” |
| <?php
require_once(“include/dbcommon.php”);
$email = “t1@mobitek.my”; $msg = “”; $subject = “New data record”;
$msg.= “Message: [Message]\r\n”; $msg.= “Recipient: Recipient\r\n”; $msg.= “Date/Time: DateTimeQueue\r\n”; runner_mail(array(‘to’ => ‘$email’, ‘subject’ => $subject, ‘body’ => $msg)); ?> |
<?php include_once(‘libs/phpmailer/class.phpmailer.php’); include_once(‘libs/phpmailer/class.smtp.php’);$mail = new PHPMailer( true ); // Mail settings $mail->isSMTP(); //Send using SMTP $mail->Host = ‘mail.sweetco.com.my’; //Set the SMTP server to send through $mail->SMTPAuth = true; //Enable SMTP authentication $mail->Username = ‘factory@sweetco.com.my‘; //SMTP username $mail->Password = ‘2022@Beranang@Factory’; //SMTP password //$mail->SMTPSecure = PHPMailer::ENCRYPTION_SMTPS; //Enable implicit TLS encryption $mail->Port = 587; //TCP port to connect to; use 587 if you have set `SMTPSecure = PHPMailer::ENCRYPTION_STARTTLS` $mail->setFrom(‘support@mobitek.my‘, ‘MOBITEK Support’); $mail->isHTML(false);$mail->To = “t1@mobitek.my”; $mail->Subject = “This is Subject”; $mail->Body = “This the body”; $mail->Send();?> |
Open “php.ini” and search for “smtp” (there are no entries for no username and password)
[mail function] ; For Win32 only. ; For Unix only. You may supply arguments as well (default: “sendmail -t -i”). ; Force the addition of the specified parameters to be passed as extra parameters ; Add X-PHP-Originating-Script: that will include uid of the script followed by the filename ; The path to a log file that will log all mail() calls. Log entries include |

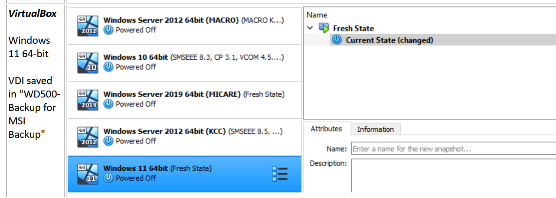
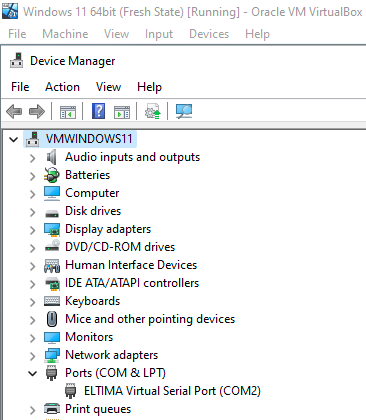
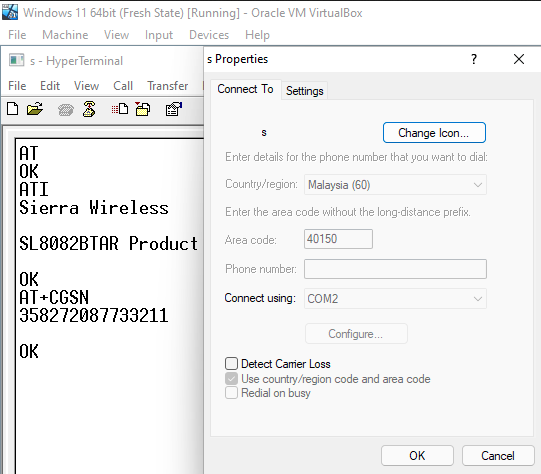
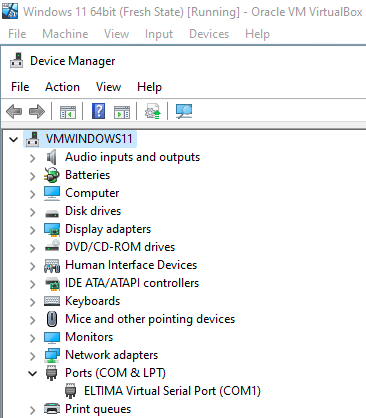
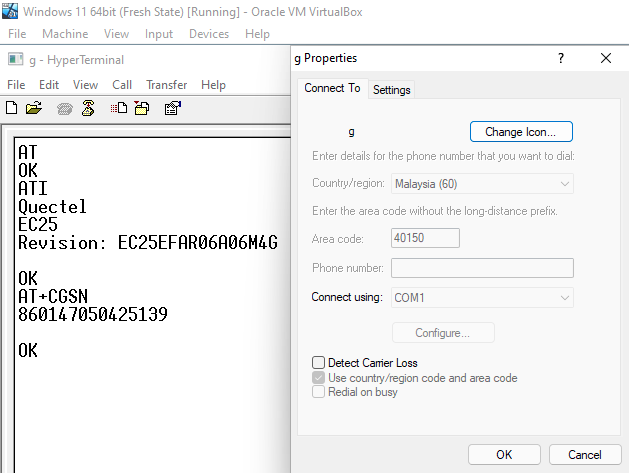
LAN driver (USR-VCOM) for MOBITEK S80 and MOBITEK Q25 supports Windows 11.
However, the USB driver of MOBITEK S80 3G Modem does not work in Windows 11. Use LAN port (LAN driver) of MOBITEK S80 instead.
| TEST OBJECTIVE | TESTING METHODOLOGY | TEST RESULT |
| Does MOBITEK S80’s USR-VCOM (ELTIMA virtual serial port) support Windows 11? |
|
USR-VCOM version = 3.7.1.520
|
| Does MOBITEK Q25’s USR-VCOM (ELTIMA virtual serial port) support Windows 11? |
|
USR-VCOM version = 3.7.1.520
|
| BEFORE | AFTER |
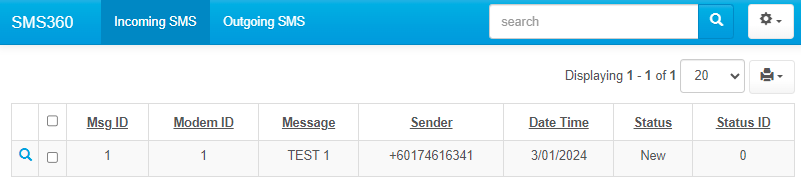
| “Incoming SMS” tab that display ‘Inbox” table in grid format.
|
MODIFICATION in PHPRunner
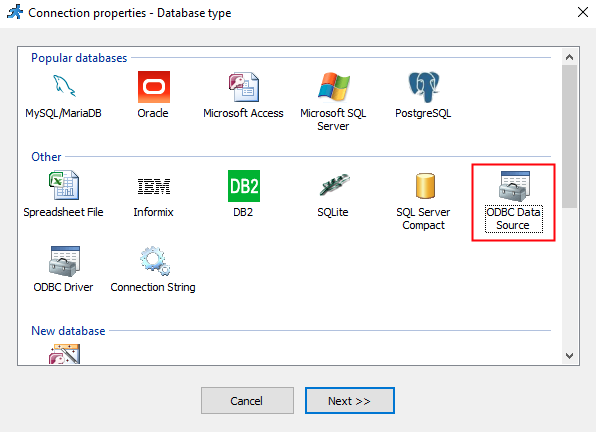
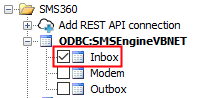

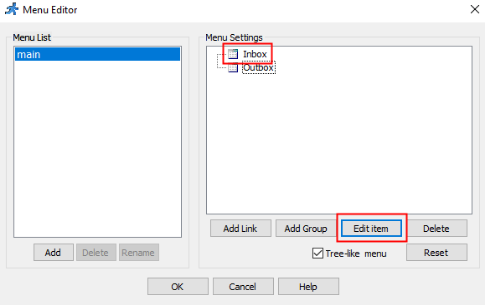
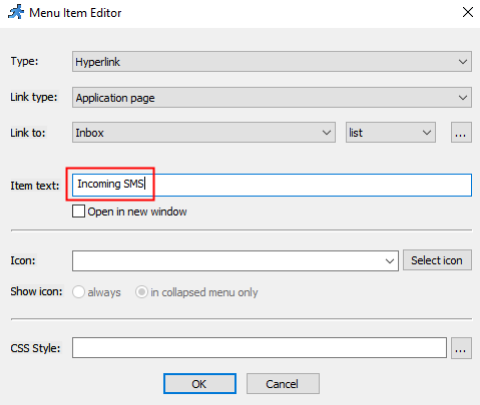
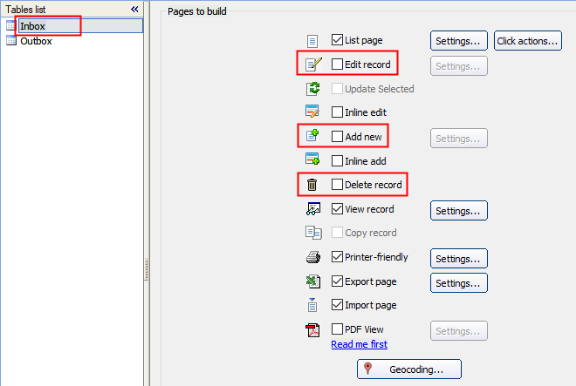
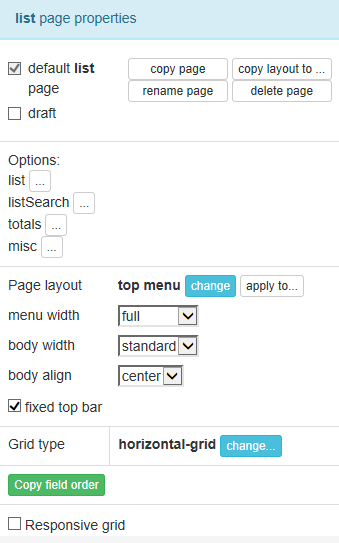
| BEFORE | AFTER |
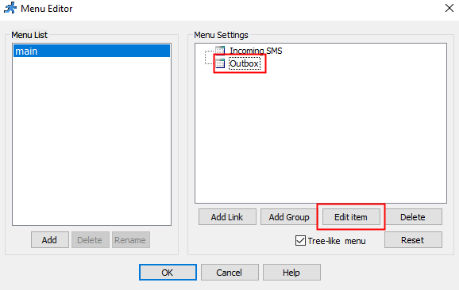
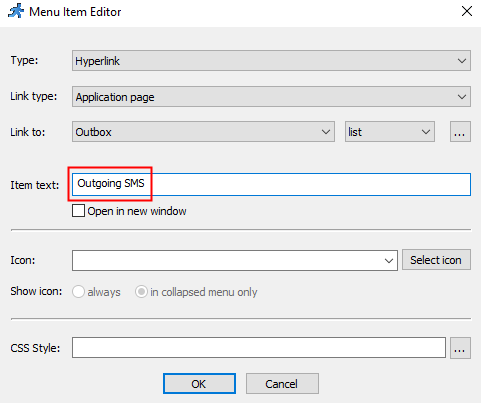
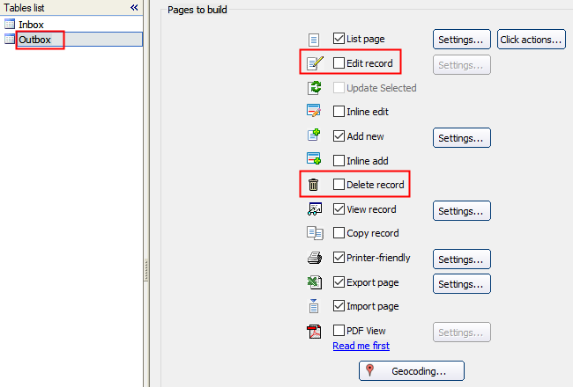
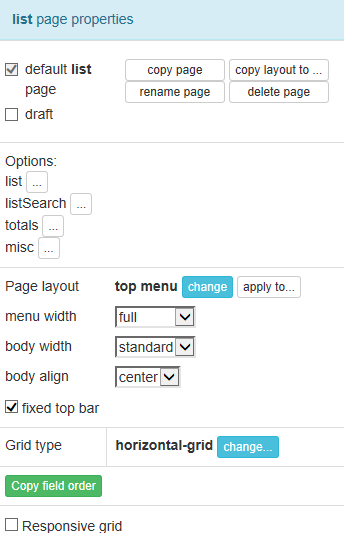
| “Outgoing SMS” tab that display “Outbox” table in grid format.
|
MODIFICATION in PHPRunner
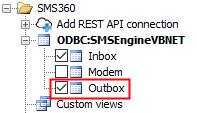
| BEFORE | AFTER |
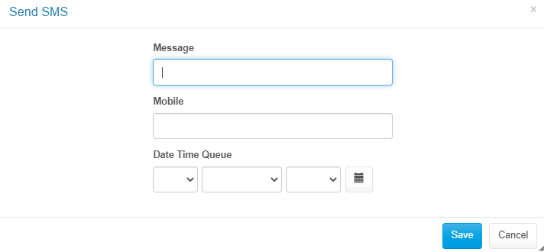
| “Outgoing SMS” tab has a button “Send SMS” that insert a new record into “Outbox” table so that a SMS can be send out by SMS Engine — Basic Edition.
|
MODIFICATION in PHPRunner
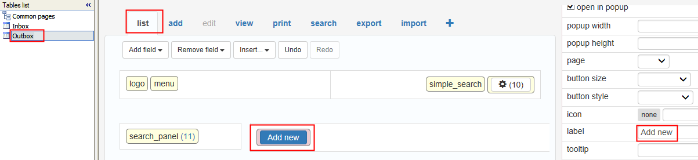
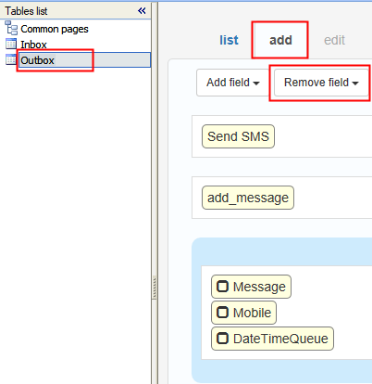
| BEFORE | AFTER |
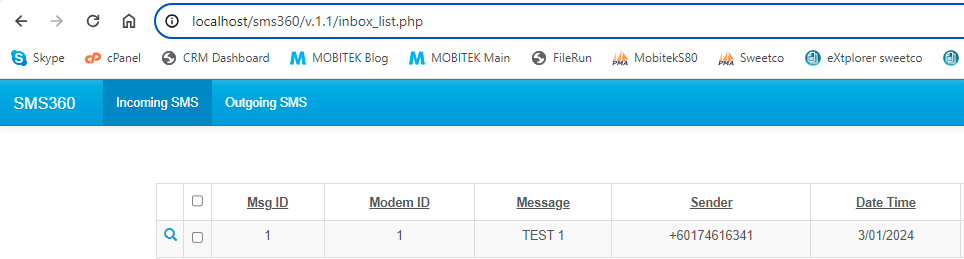
| Localhost in HPC-8300 can access the PHP files on “http://localhost/sms360/v.1.1” |
MODIFICATION in PHPRunner

| TESTING METHODOLOGY | TEST RESULT |
|
|
| TESTING METHODOLOGY | TEST RESULT |
|
 |
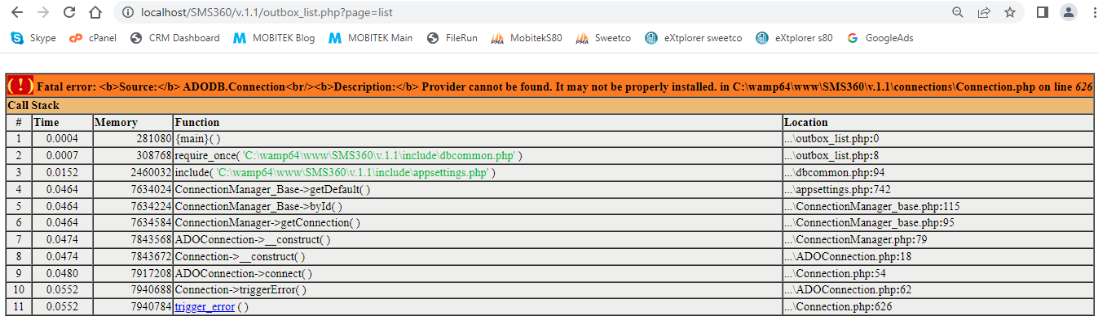
| SOLUTION | SOLVED? |
| According to PHPRunner documentation, to use PHPRunner with Access database, we need to use 32-bit version (source: https://xlinesoft.com/phprunner/docs/connecting_to_ms_access_db.htm)  |
Not tested |
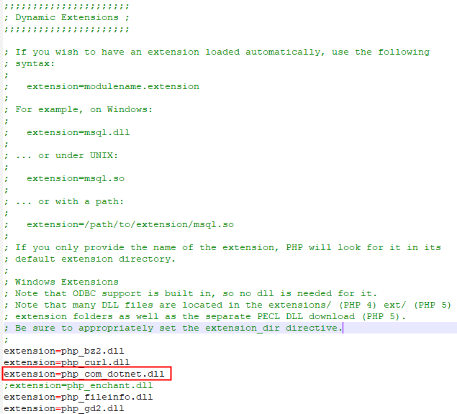
| Enable “php_com_dotnet.dll” extension in “php.ini” file (source: https://xlinesoft.com/phprunner/docs/connecting_to_ms_access_db.htm) 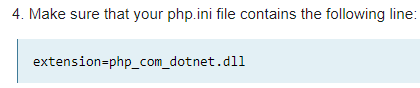
|
NO |
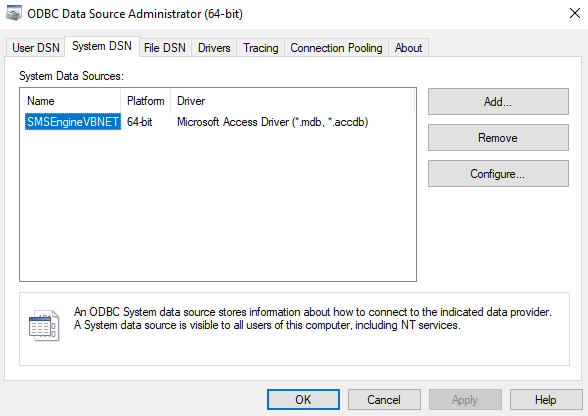
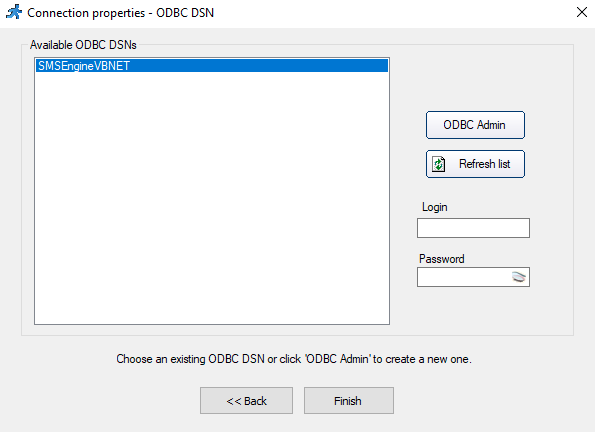
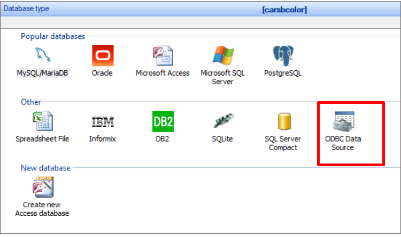
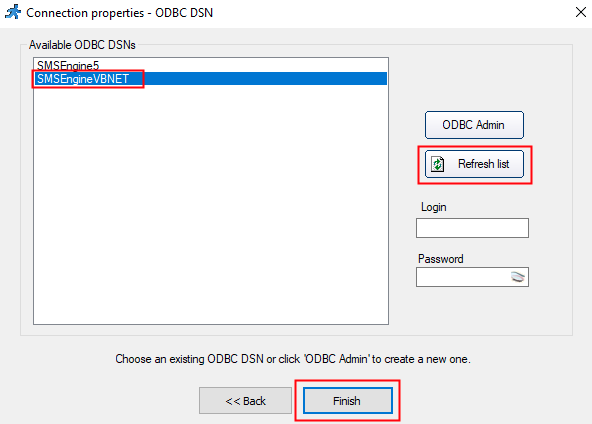
| Use ODBC in PHPRunner
refer to |
NO. ODBC does not work.
“ADODB.Connection” problem has disappeared but new error thrown
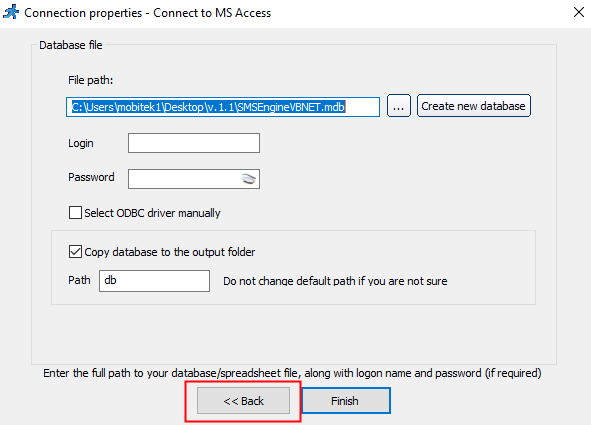
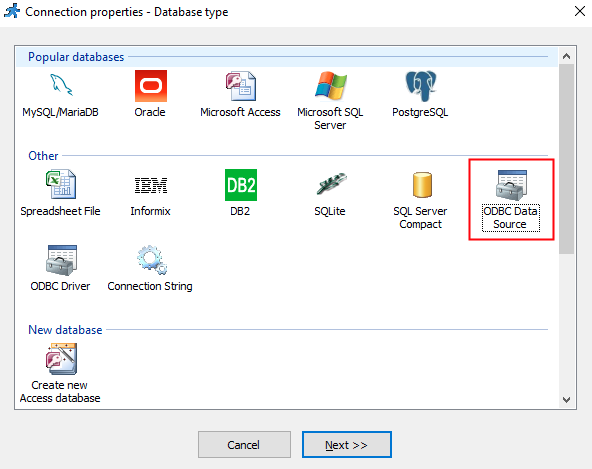
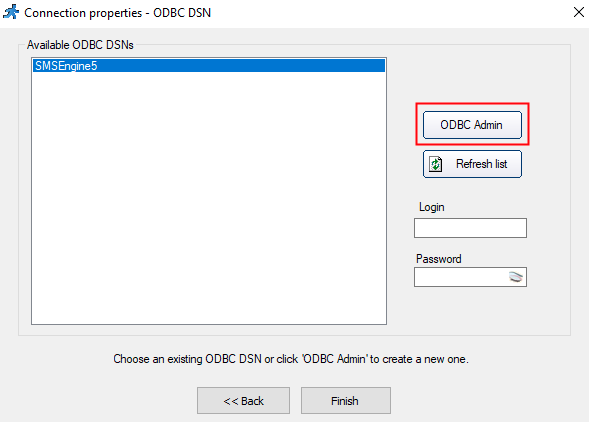
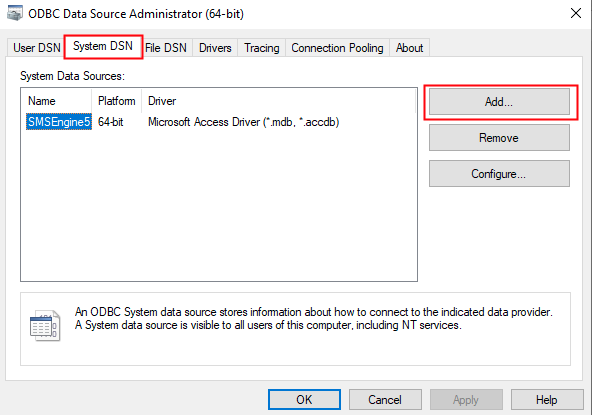
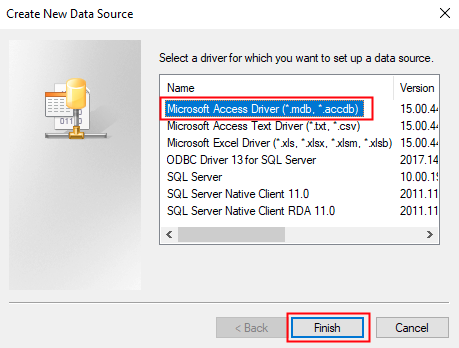
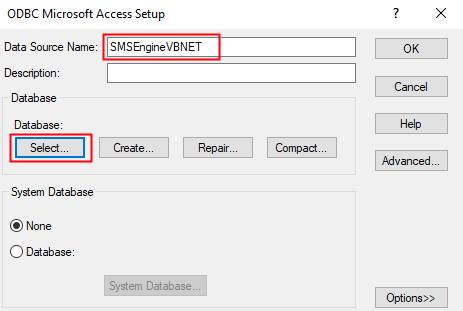
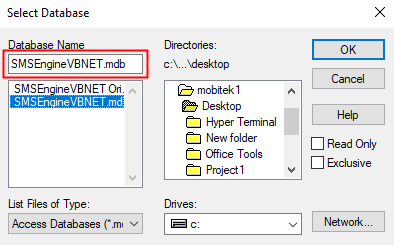
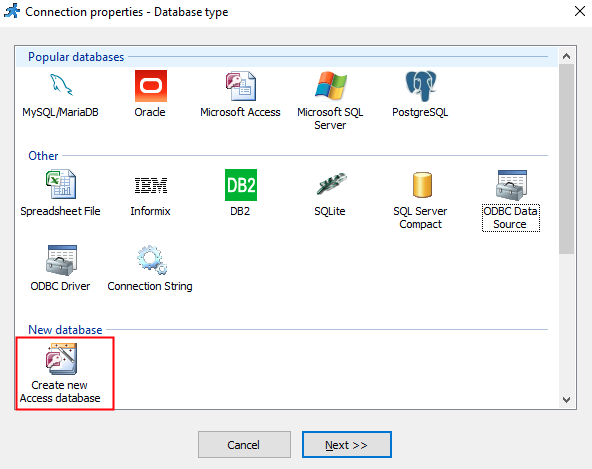
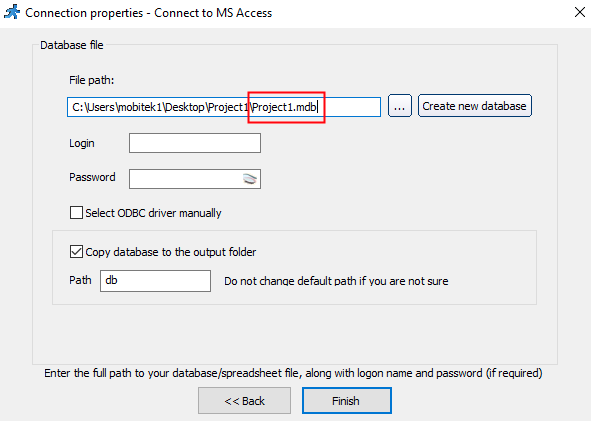
Steps to use ODBC in PHPRunner:
It seems like PHPRunner still use Microsoft.Jet.OLEDB driver to connect to Access database which only work with 32-bit application as suggested by PHPRunner
The problem with Microsoft.Jet.OLEDB driver also discussed by others
I’ve tried to create a new blank project using MS Access database in PHPRunner and also face the same problem:
The solutions to use Microsoft Access database in PHPRunner are:
|
| Edit the “ConnectionManager.php” to force it to use “Provider=Microsoft.ACE.OLEDB.12.0” instead of “Provider=Microsoft.Jet.OLEDB.4.0”
|
YES
Overwrite “..\output\connections\ConnectionManager.php” in line 146 from: Provider=Microsoft.Jet.OLEDB.4.0;DSN=SMSEngineVBNET;UID=;PWD=;Driver=C:\\PROGRA~1\\COMMON~1\\MICROS~1\\OFFICE15\\ACEODBC.DLL;DBQ=C:\\Users\\mobitek1\\Desktop\\SMS360 v. 1.1\\SMSEngineVBNET.mdb;DriverId=25;FIL=\”MS Access;\”;SafeTransactions=0″
to Provider=Microsoft.ACE.OLEDB.12.0;Data Source=C:\\Users\\mobitek1\\Desktop\\Project1\\SMSEngineVBNET.mdb;Persist Security Info=False;
|

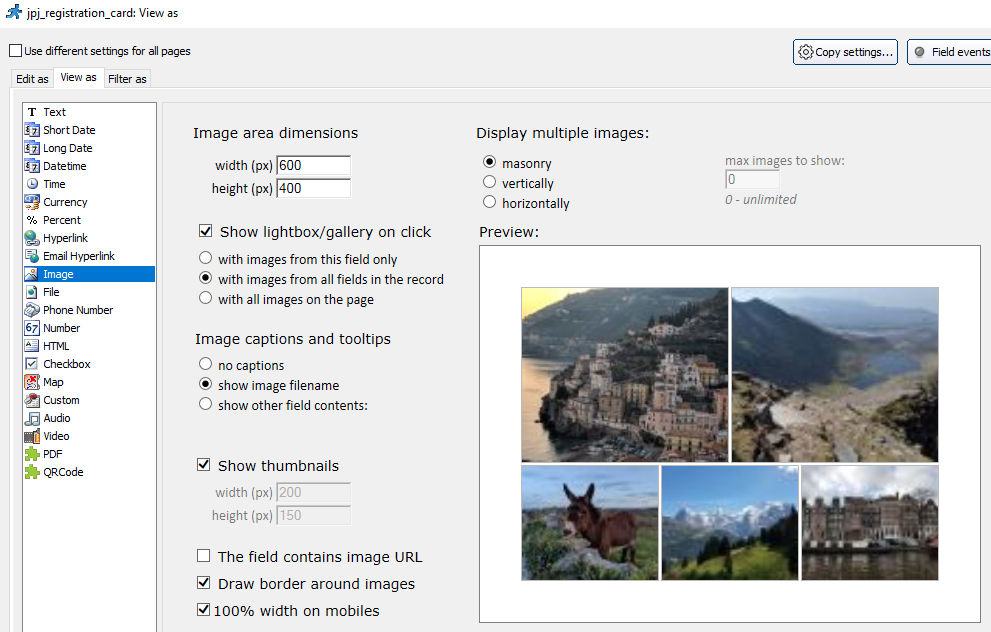
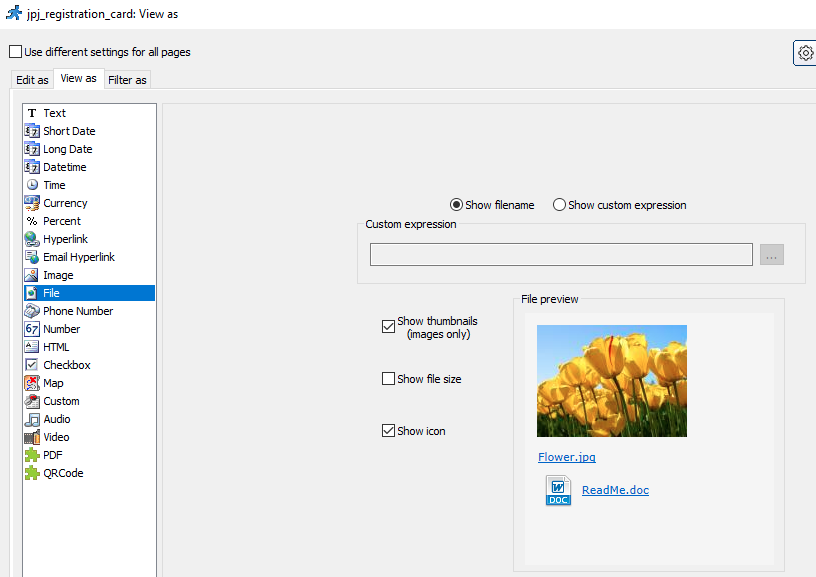
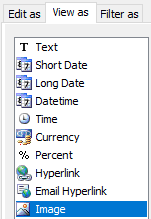
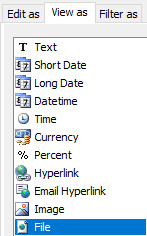
To set the field to allow both image and PDF file to be uploaded, go to “Designer” tab, select the field and click “View As/Edit As” button:
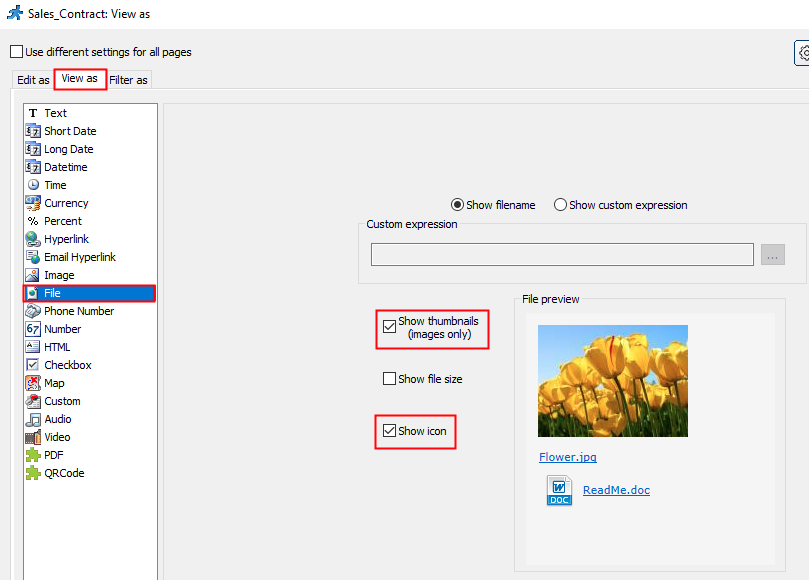
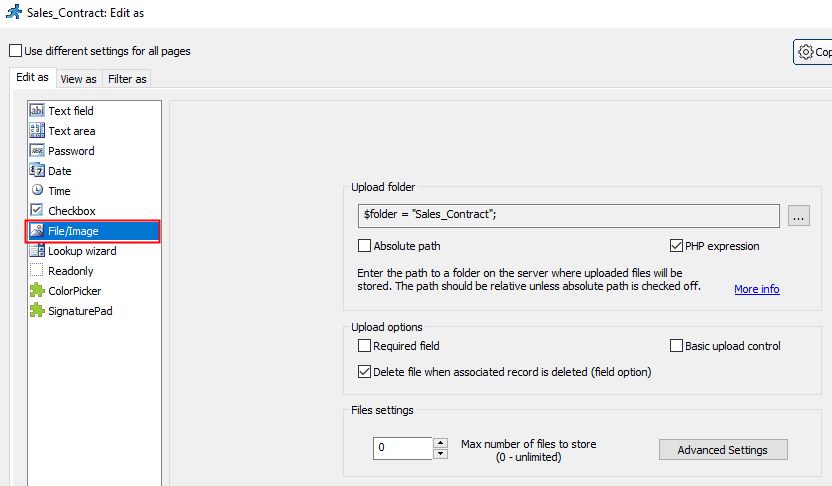

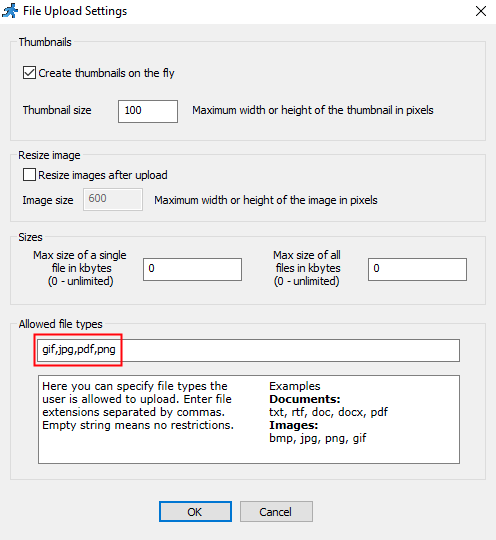
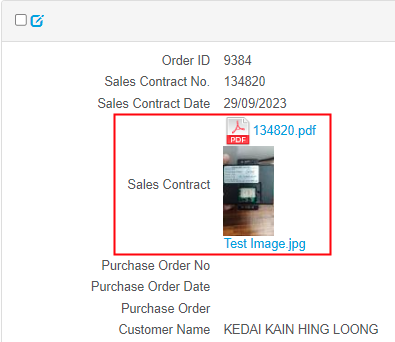



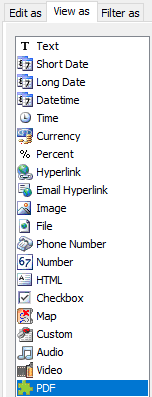
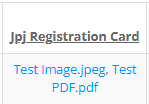

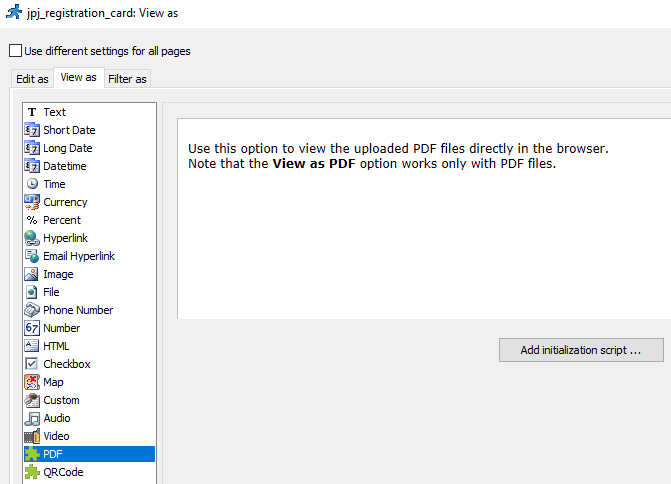
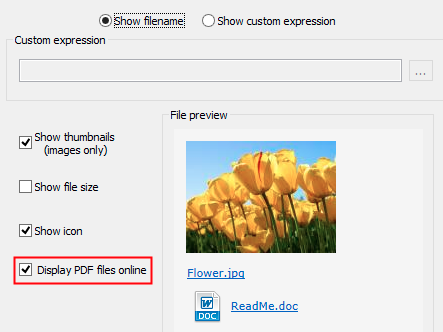
In the documentation (https://xlinesoft.com/phprunner/docs/view_as_settings_file.htm), there is “Display PDF files online” but not in our PHPRunner.
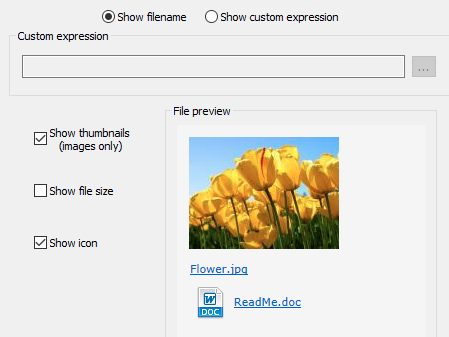
That’s the only way to view the PDF file uploaded online. But still the image file will be downloaded when clicked.