Category Archives: Support
How to Solve “Unable to update record with this report”
Applies to: SMS360 – Basic Edition
We like to provide 3 suggested solutions to this error message
“GetDeliveryStatusReport Modem ID: 1, Unable to update record with this report”
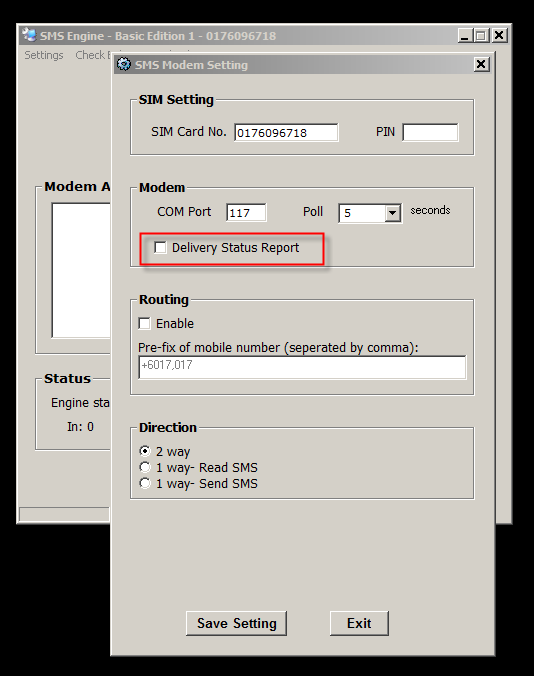
Suggested Solution no.1 — Uncheck Delivery Status Report
Uncheck it, the Engine will not check for any delivery report.
Suggested Solution no. 2 — Delete All records in Outbox table
Warning: please back-up your database before you delete all records. This should be done by your software developer (John or Jen).
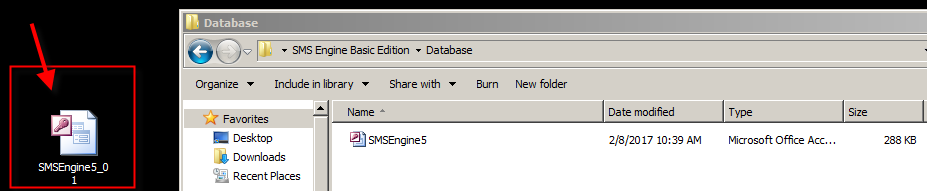
- Backup database file (.mdb)
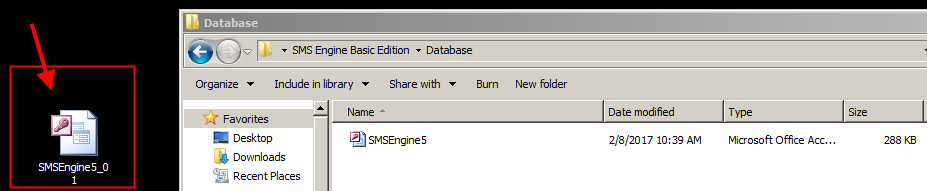
Copy “SMSEngine5.mdb” and save as “SMSEngine5_01.mdb” in your PC.
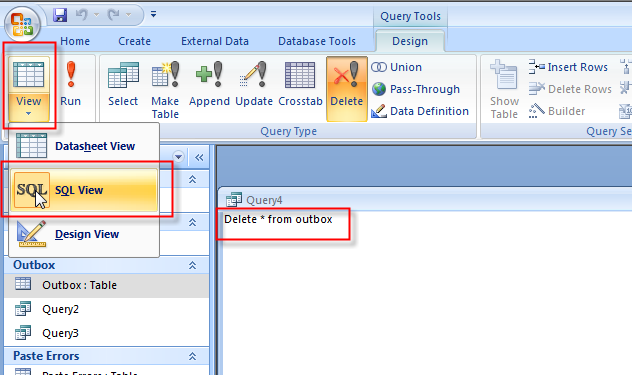
- Click View and select “SQL View”
Insert query and click “Run”.
- Click yes to delete all the records.
Important- After you remove records using a delete query, you cannot undo the operation. If you want to know which records were deleted, first examine the results of a select query that uses the same criteria, and then run the delete query.
- Maintain backup copies of your data at all times. If you delete the wrong records, you can retrieve them from your backup copies.
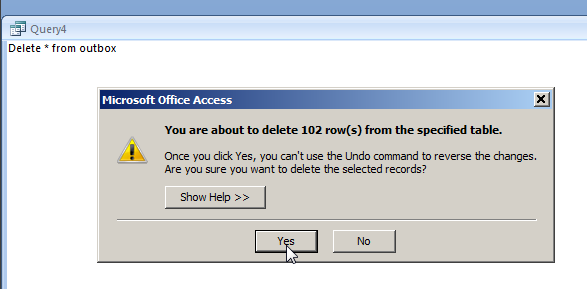
- All records will be deleted.

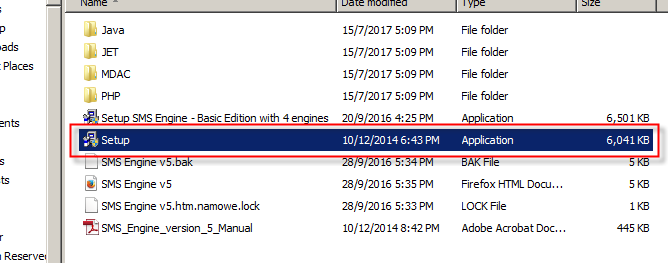
Suggested Solution no. 3 — Re-install
Warning: please back-up your database before you re-install. This should be done by your software developer (John or Jen).
How to Configure WooCommerce
Initial Set-Up
- Install and activate WooCommerce.

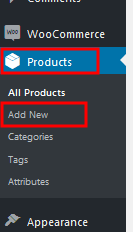
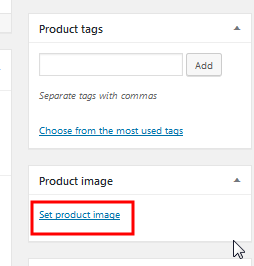
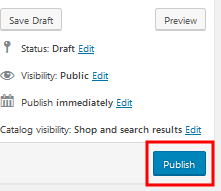
- Go to Product and “Add New”.
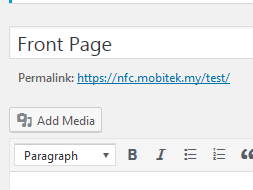
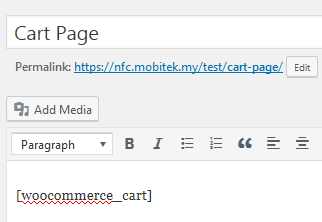
- Go to “Pages” and “Add New” page.
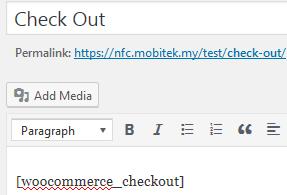
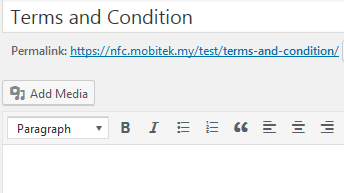
- Go to “Pages” and “Add New”.
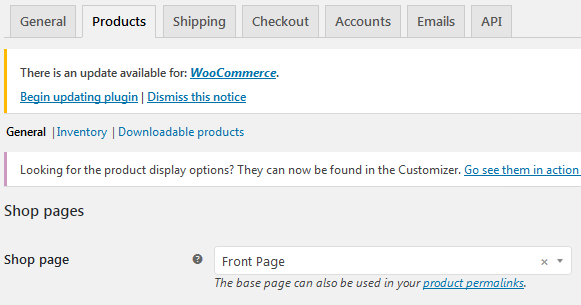
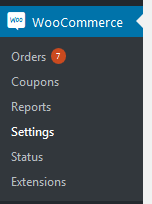
- Go to WooCommerce/Setting

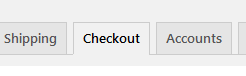
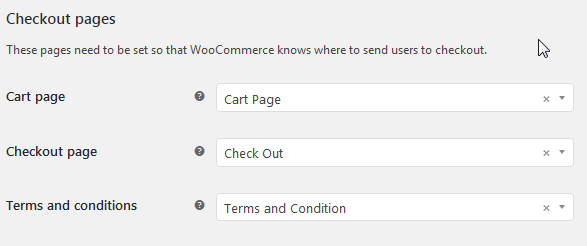
- Go to “Checkout” menu and scroll down to see “Checkout pages”.
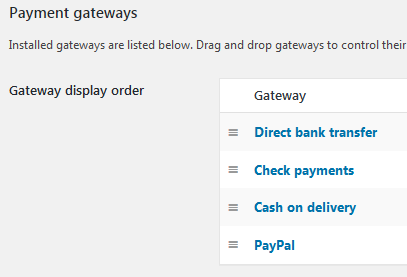
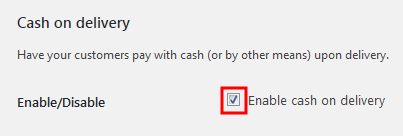
- In the same page you can choose the payment method by scrolling down to “Payment gateways”.
How to Change Currency
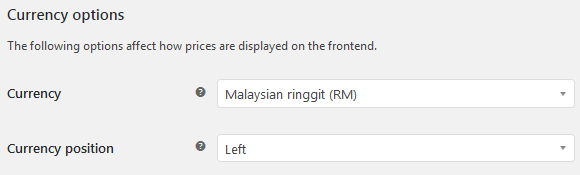
- Go to WooCommerce/Setting/General, scroll down, look for “Currency options”.

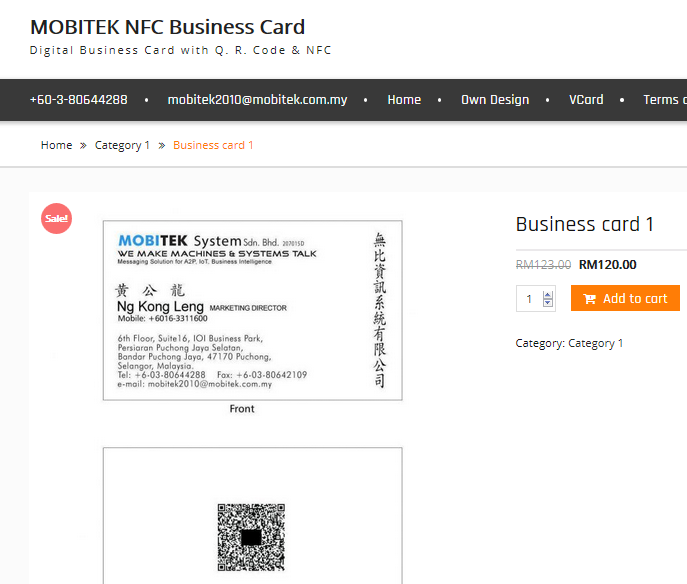
- This is how your product page should look like after changes are made.

Reference:
How WooCommerce Works?
- Customer view product and add item to cart.

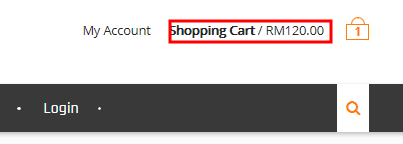
- After all item added to cart, click Shopping Cart to view items in Cart.

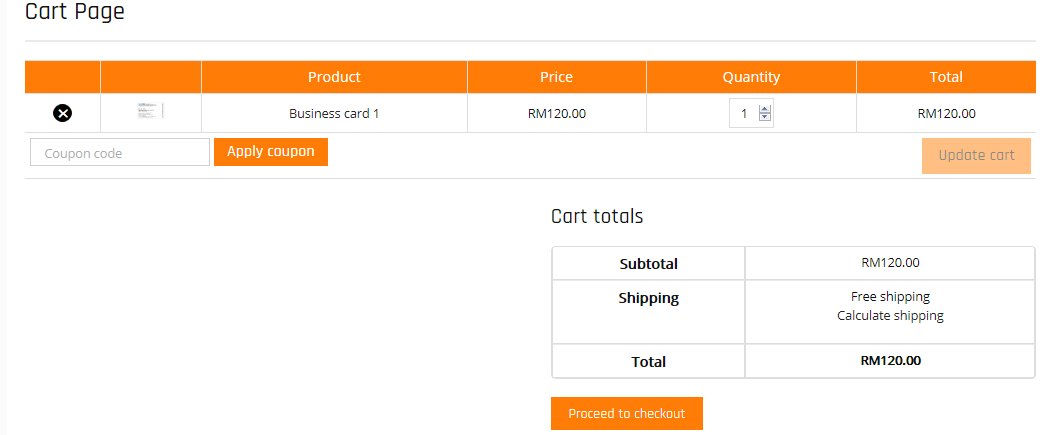
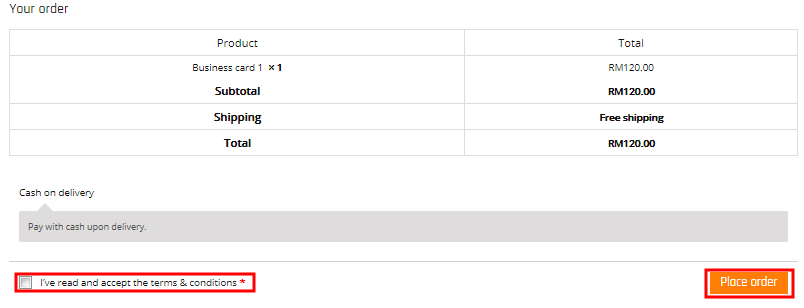
- In this page, customer can modify his shopping car. Customer then click “Proceed to checkout”.

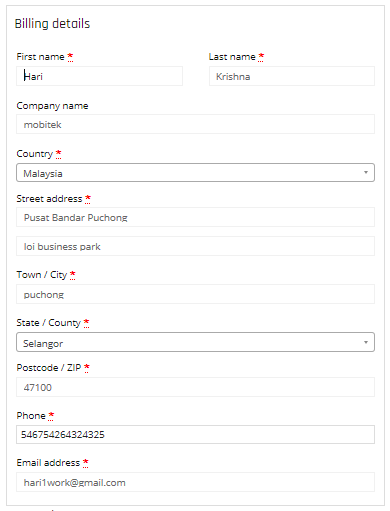
- Fill up the billing details.
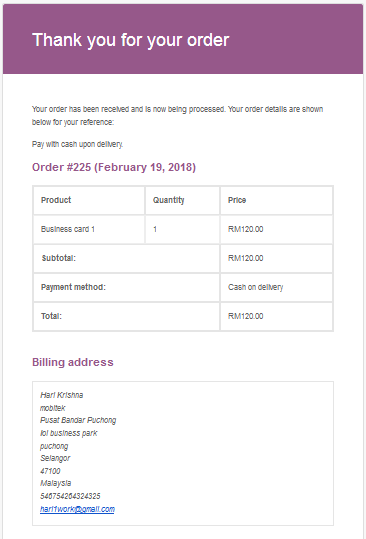
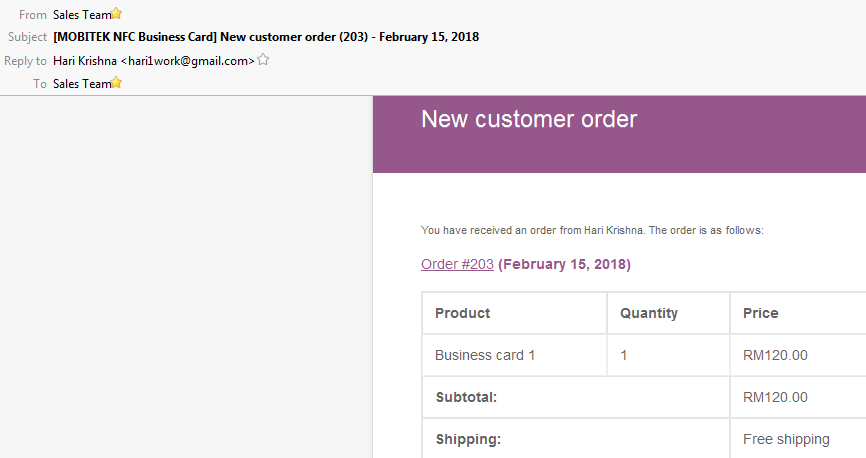
- Order details are sent to both customer and merchant by email:-
- customer will receive this e-mail We can send invoice to customer using wordpress; for further tutorial on how to use WooCommerce to send invoice, refer to the link: http://www.paystand.com/blog/how-to-use-woocommerce-to-email-an-invoice-with-a-pay-now-link-a-step-by-step-guide

- merchant (seller) also receive an order notification

- customer will receive this e-mail We can send invoice to customer using wordpress; for further tutorial on how to use WooCommerce to send invoice, refer to the link: http://www.paystand.com/blog/how-to-use-woocommerce-to-email-an-invoice-with-a-pay-now-link-a-step-by-step-guide
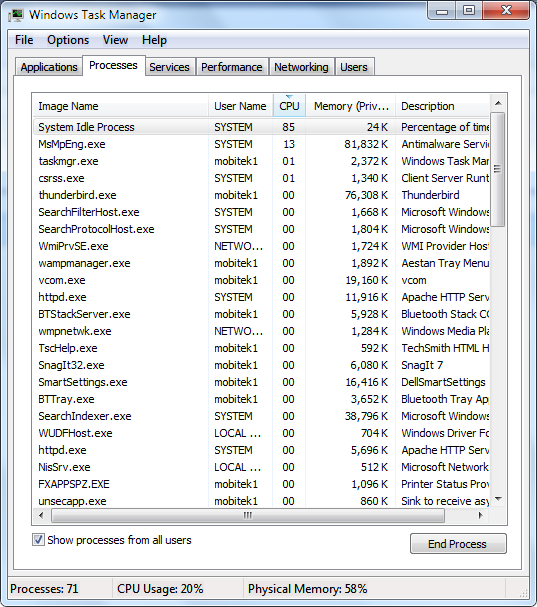
How to Fix High CPU Usage
Problem:
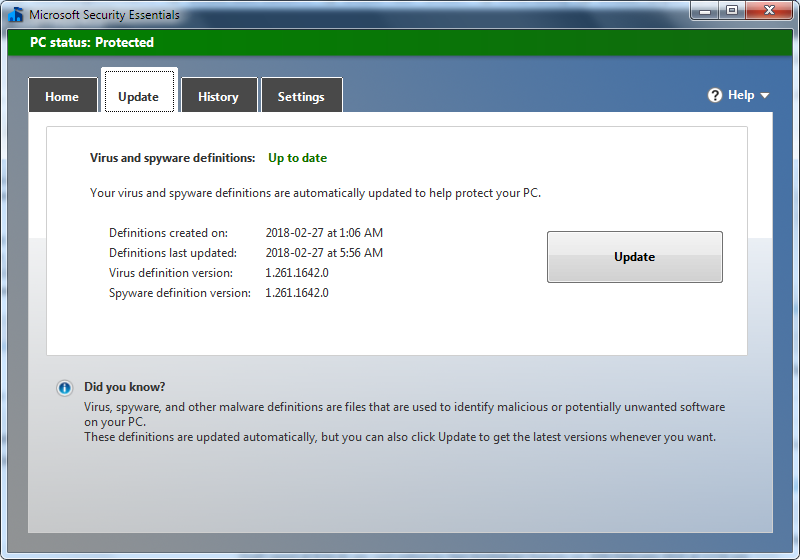
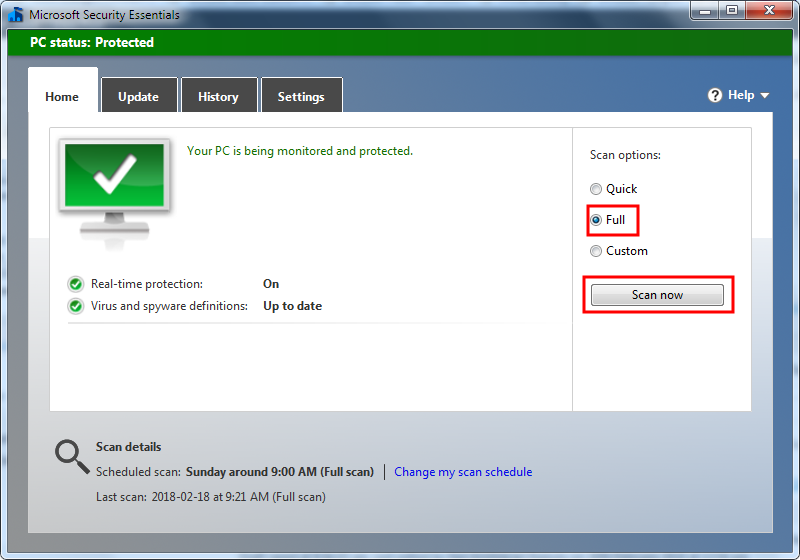
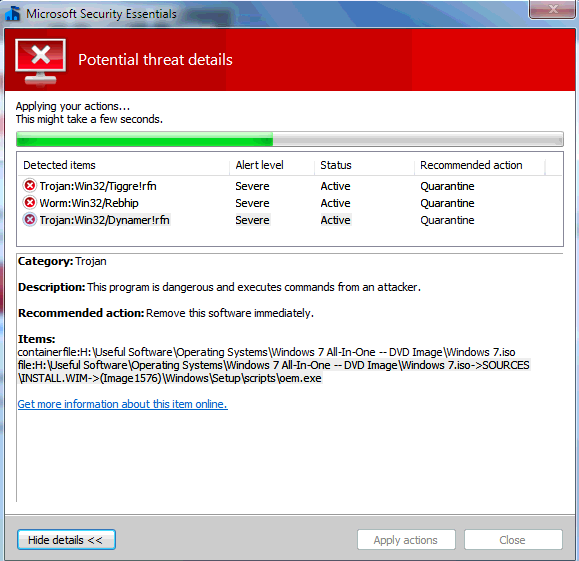
Solution:
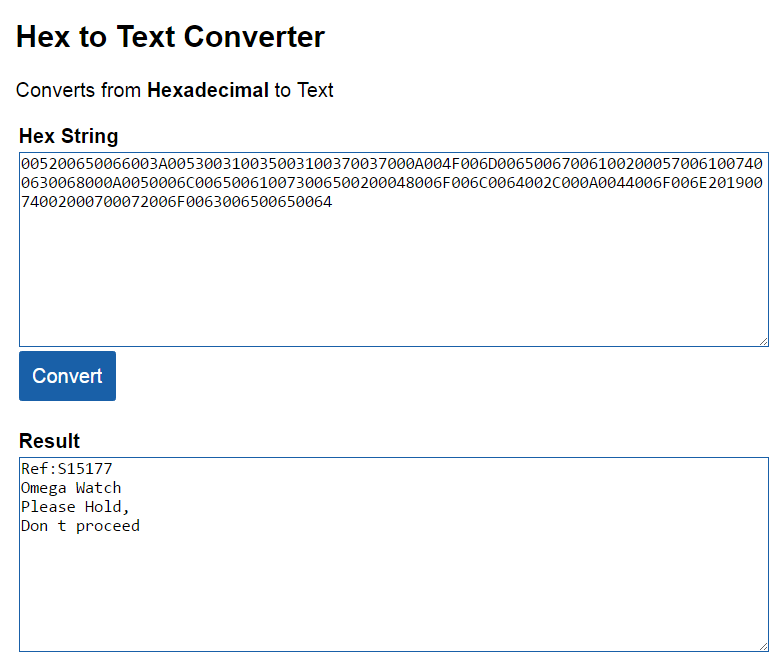
SMS Content Has Strange Alphabets and Numbers
| Product: | MOBITEK S80 Type S | Expiry Date of Warranty and Support | 2017-12-20 |
| Which Development Kit are you using? | What is the Operating System? | ||
| Which programming language are you using? | SIM Card Used: | ||
| Description of Problem: | I receive SMS with number and alphabet (unknown content) quite constantly. One of the SMS I receive as below,
005200650066003A005300310035003100370037000A could you assist. |
||
| Trouble Shooting: | |||
| Suggested Solution: |
|
||
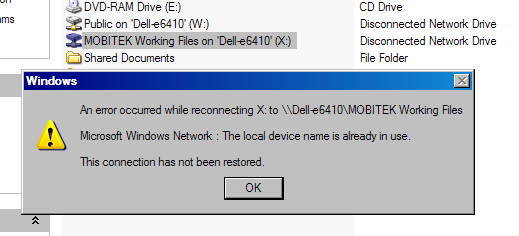
How to Solve “The local device name is already in use”
Problem: This error message will pop-up when trying to connect to a Windows 7 PC from Windows XP PC.
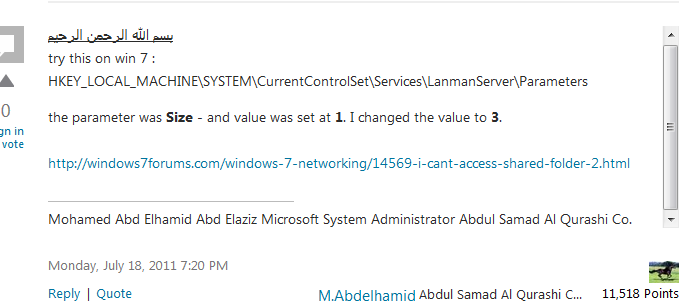
Solution: refer to https://social.technet.microsoft.com/Forums/windows/en-US/85919b70-d223-40b5-a976-d15243e5fc65/cant-access-win-xp-share-folders-from-win-7?forum=w7itpronetworking
the original value is “1” in Windows 7 PC, change it to “3”.
How to Solve “Workgroup is Not Accessible” and “Specified server cannot perform the requested operation”
Problem: These 2 error messages will pop-up when trying to connect to a Windows 7 PC from Windows XP PC.


Solution: need to perform 2 settings on both Windows 7 PC and Windows XP PC.
- refer to https://support.microsoft.com/en-us/help/318030/you-cannot-access-shared-files-and-folders-or-browse-computers-in-the
/
- Step 1: Enable NetBIOS over TCP/IP
- Click Start, click Control Panel, and then click Network and Internet Connections.
- Click Network Connections.
- Right-click Local Area Connection, and then click Properties.
- Click Internet Protocol (TCP/IP), and then click Properties.
- Click the General tab, and then click Advanced.
- Click the WINS tab.
- Under NetBIOS setting, click Enable NetBIOS over TCP/IP, and then click OK two times.
- Click Close to close the Local Area Connection Properties dialog box.
- Close the Network Connections window.
/
- Step 2
- Click Start, right-click My Computer, and then click Manage.
- Double-click Services and Applications.
- Double-click Services.
- On the right side, right-click Computer Browser, and then click Start.
- Close the Computer Management window.
- Step 1: Enable NetBIOS over TCP/IP
- https://community.spiceworks.com/topic/268575-can-t-access-win-7-shared-folder-from-win-xp
- Run GPedit.msc
- Expand Computer Configuration -> Windows Settings -> Security Settings -> Local Policies -> Security Options
- Open the properties for Network security: LAN Manager authentication level
- Set the value to: Send LM & NTLM responses
- Run Services.msc
- Restart the Server service
Change Log of The Contents of MOBITEK MobiGATE Installer Has Been Revised
the guide “MOBIGATE Installation Guide.pdf” has been revised (15th edition); 2 installation guides — “MOBIGATE Installation Guide.pdf” for new model while “MOBIGATE Installation Guide_14.pdf” for old model
https://www.mobitek.my/main/news/change-log-of-the-contents-of-mobitek-mobigate-installer/
Difference Between “Bridge” and “NAT” Mode in VirtualBox
How to Set to “Bridge Mode” in VirtualBox
- Click on “Settings“ new window will pop up for settings.
- Then, go to “Network“ at “Attached to:” option select “Bridged Adapter” and click “OK”.
Note: Not required to stop the machine/ shutdown for this settings.
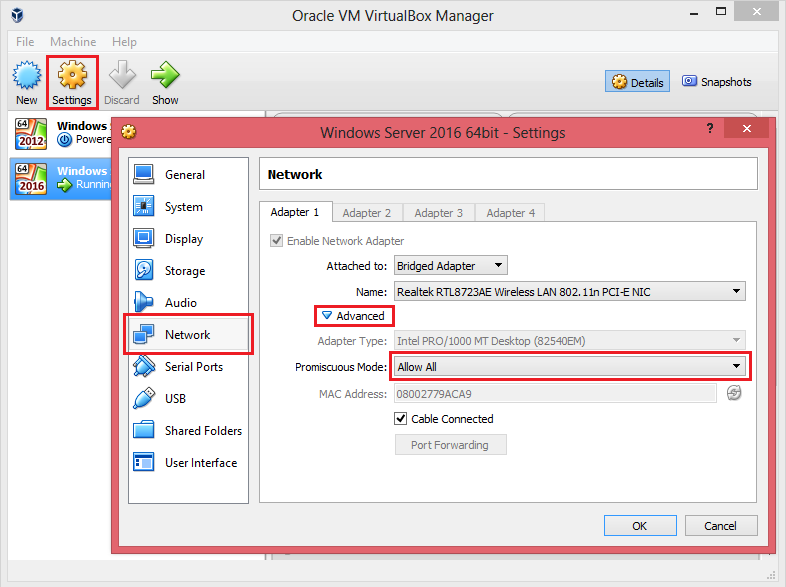
How to Allow OS in VirtualBox to Access Internet
- Click on “Settings“, new window will pop up for settings.
- Then go to “Network” -> “Advanced”. In “Promiscuous Mode”, select “Allow VMs” or “Allow All“.