Table of Contents
System Requirements
- phpMyAdmin version: 5.2.2
- PHP version: 7.2
- MySQL version: 5.7.26
- PHPRunner version: 10.4
- Hard Disk Space: 20 MB
Database Structure
| TABLE | COLUMN |
| purchase_requisition | 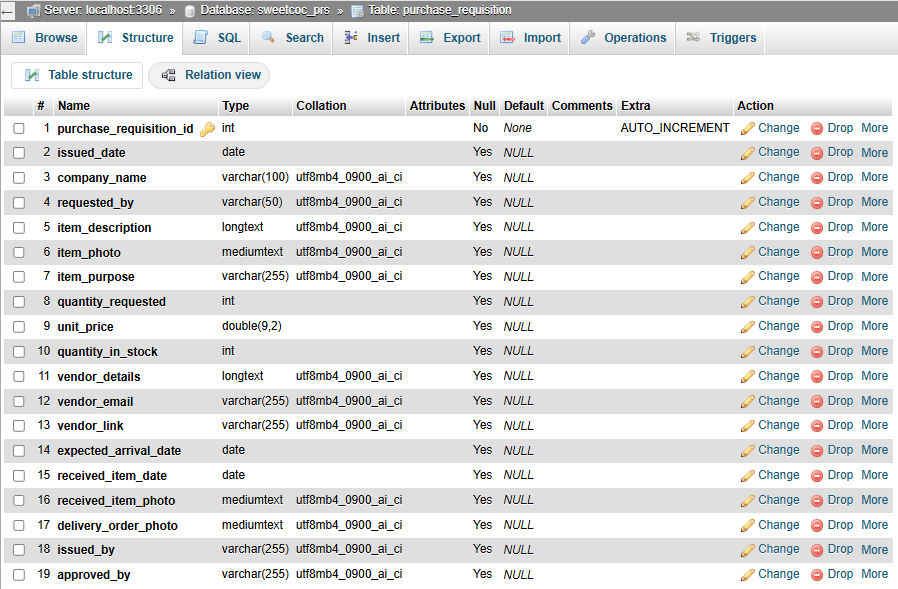 |
| uggroups | 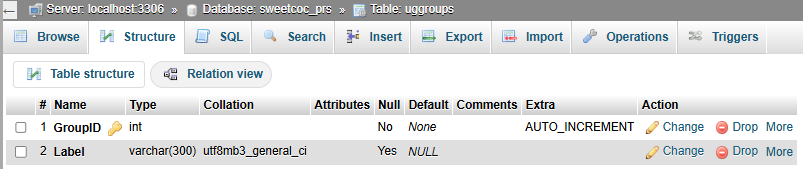 |
| ugmembers | 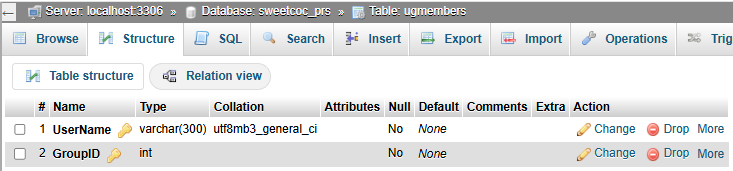 |
| ugrights | 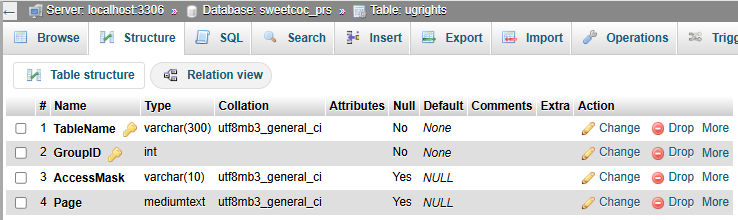 |
| users | 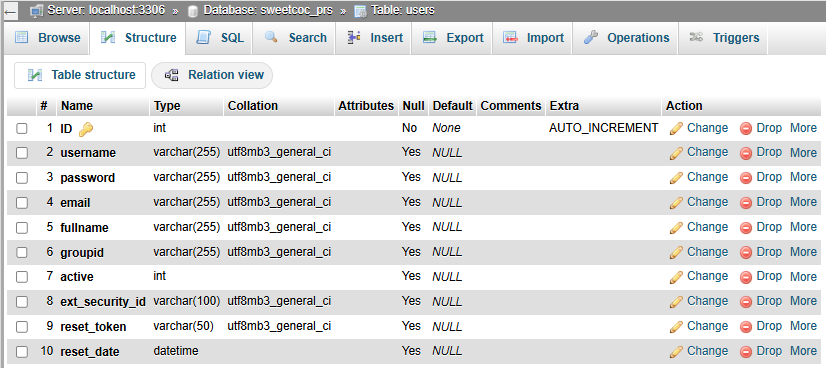 |
Live URL
v. 1.0 2026-04-22 Modification Completed
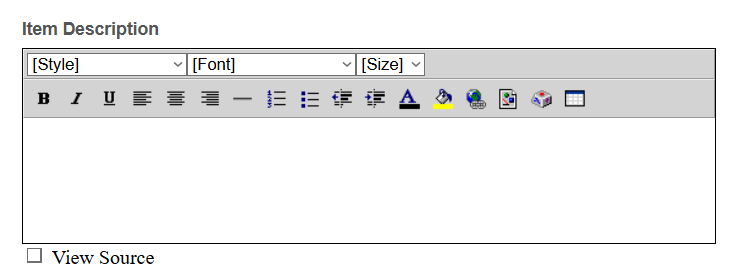
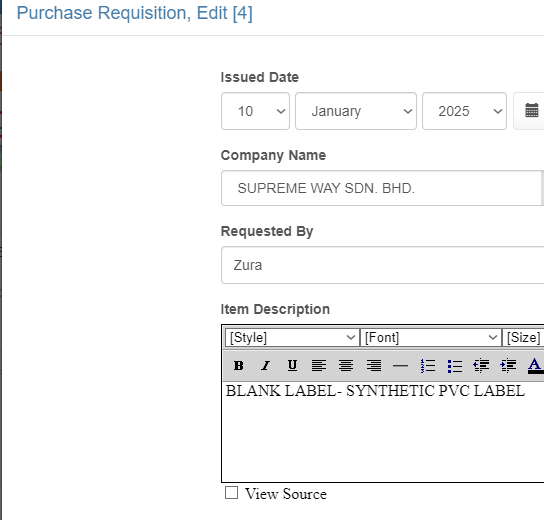
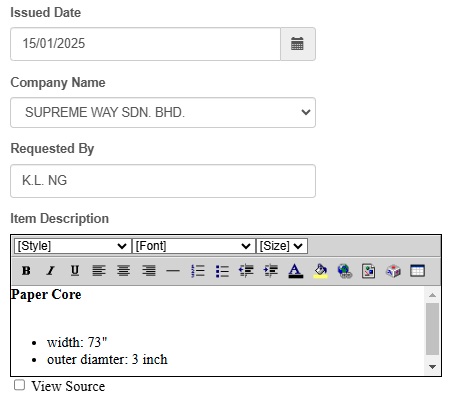
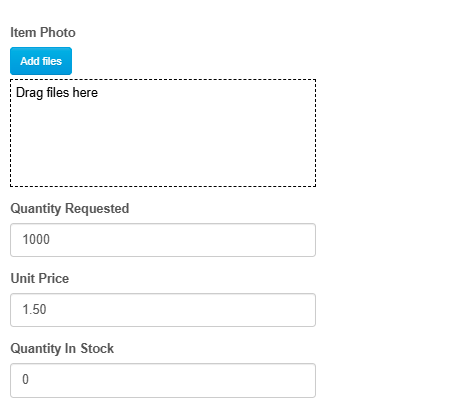
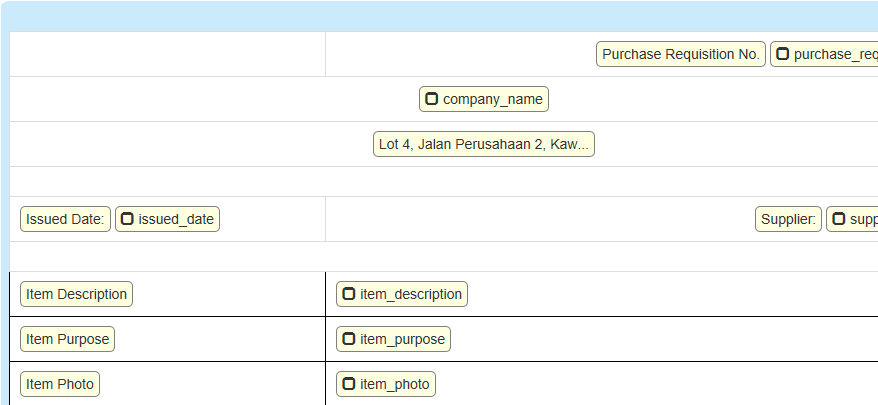
Replace “Rich Text Box” for “Item Description” field with “Text Box with multiple rows”
| BEFORE | AFTER |
 |
 |
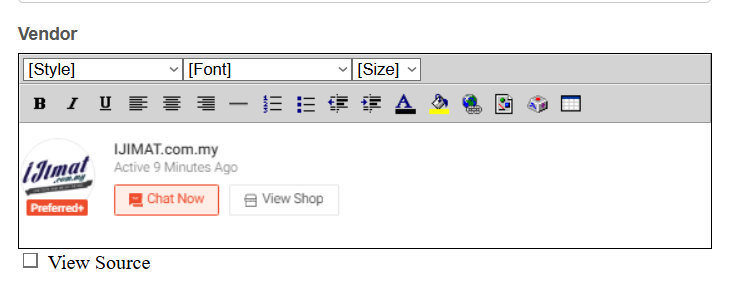
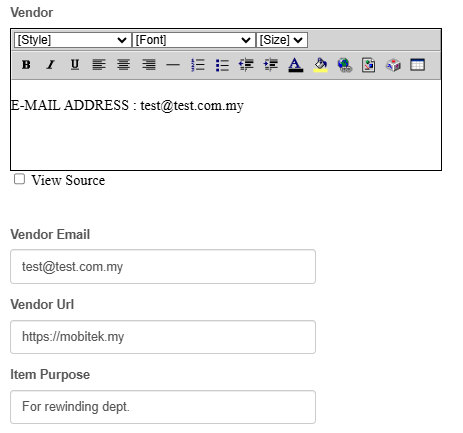
Rename “vendor” column to “vendor_details” and replace “Rich Text Box” for “Vendor Details” field with “Text Box with multiple rows”
| BEFORE | AFTER |
|
|
|
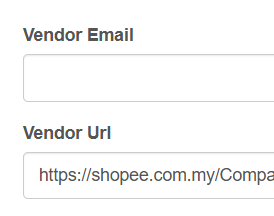
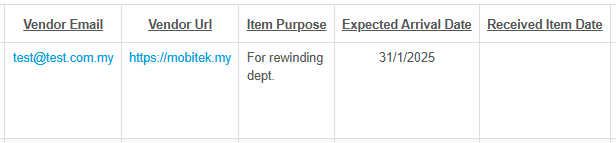
Rename columns and labels
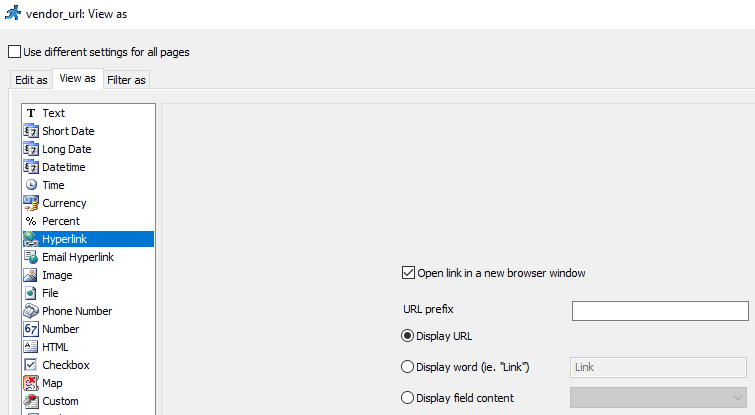
- rename “vendor_url” column to “vendor_link”
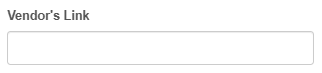
- rename “Vendor Link” label to “Vendo’s Link”
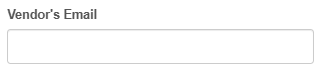
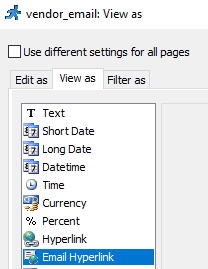
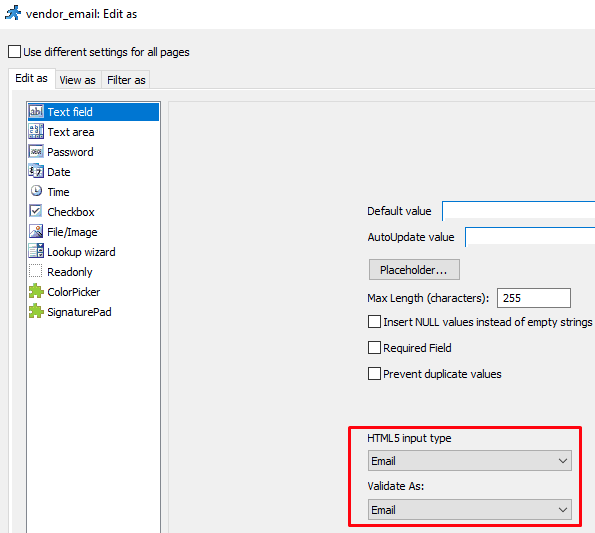
- rename “Vendor Email” label to “Vendor’s Email”
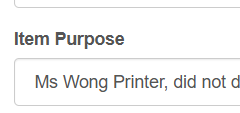
- rename “Item Purpose” label to “Item is Used For”
| BEFORE | AFTER |
|
|
|
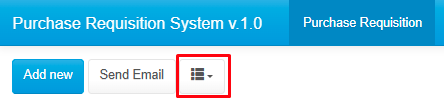
Add “Show/hide fields”
| BEFORE | AFTER |
 |
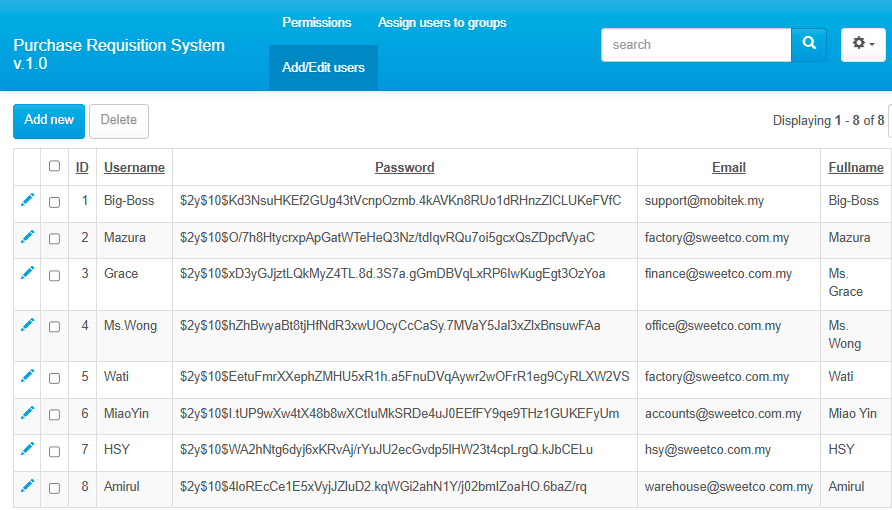
Add users to Purchase Requisition System
| BEFORE | AFTER |
 |
v. 1.0 2025-02-19 Modification Completed
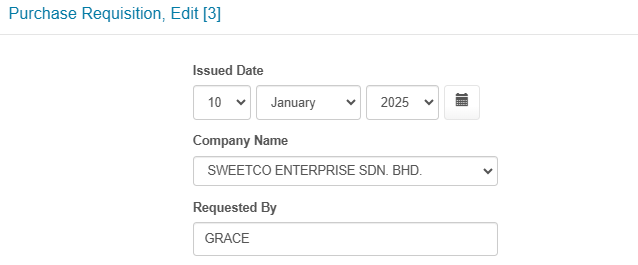
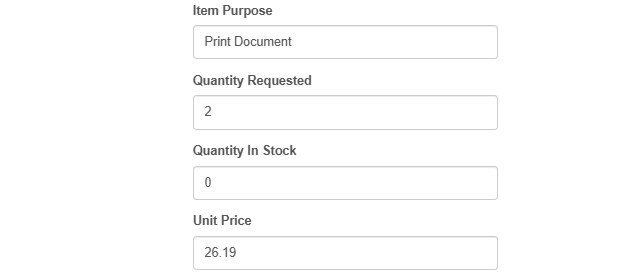
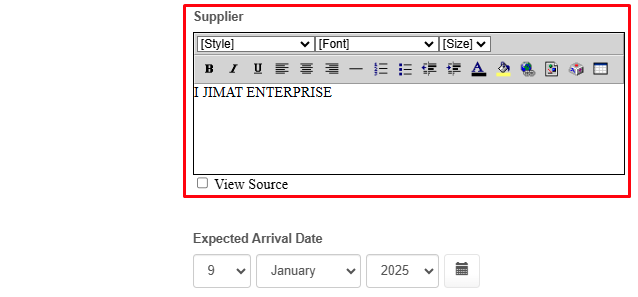
Move “Supplier” field after “Unit Price” in edit page
| BEFORE | AFTER |
 |
     |
Modify the columns of “purchase_requisition” table
| BEFORE | AFTER |
Table Structure
|
Table Structure
|
Rearrange the sequence of grid as per the sequence of columns in “purchase_requisition” table
| BEFORE | AFTER |
 |

|

Rearrange the sequence of labels and text box in edit view as per the sequence of columns in “purchase_requisition” table
| BEFORE | AFTER |
 |
     |
Rearrange the sequence of rows in the form to follow the sequence of columns in “purchase_requisition” table
| BEFORE | AFTER |
 |
  |
v. 1.0 2025-01-15 Modification Completed
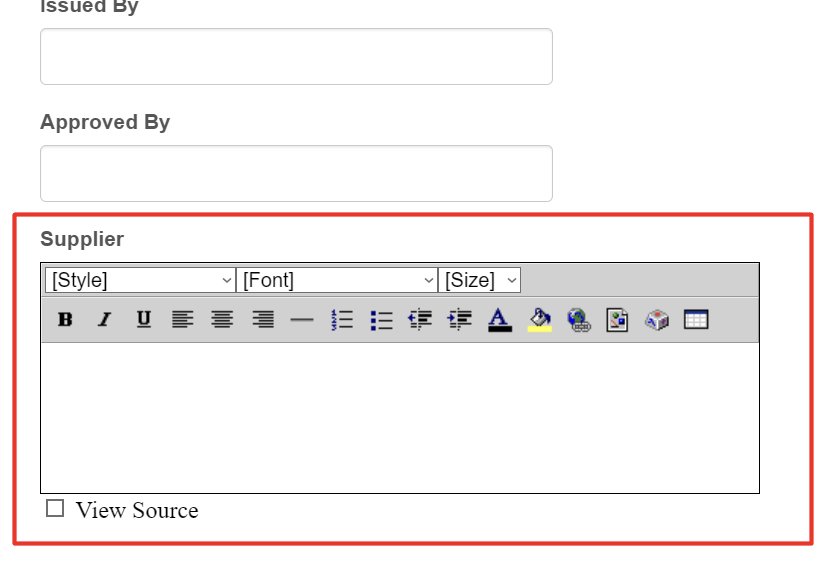
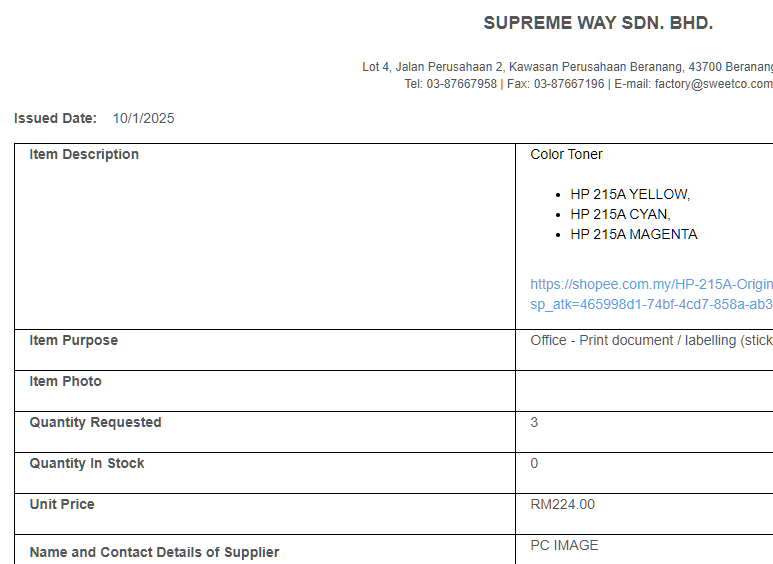
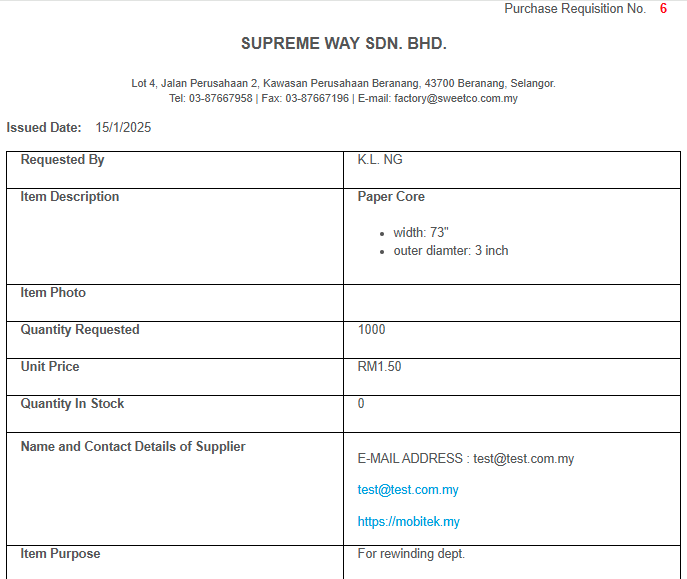
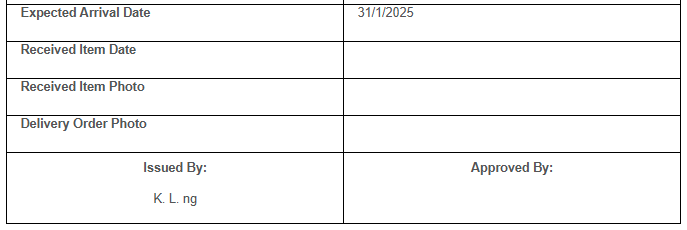
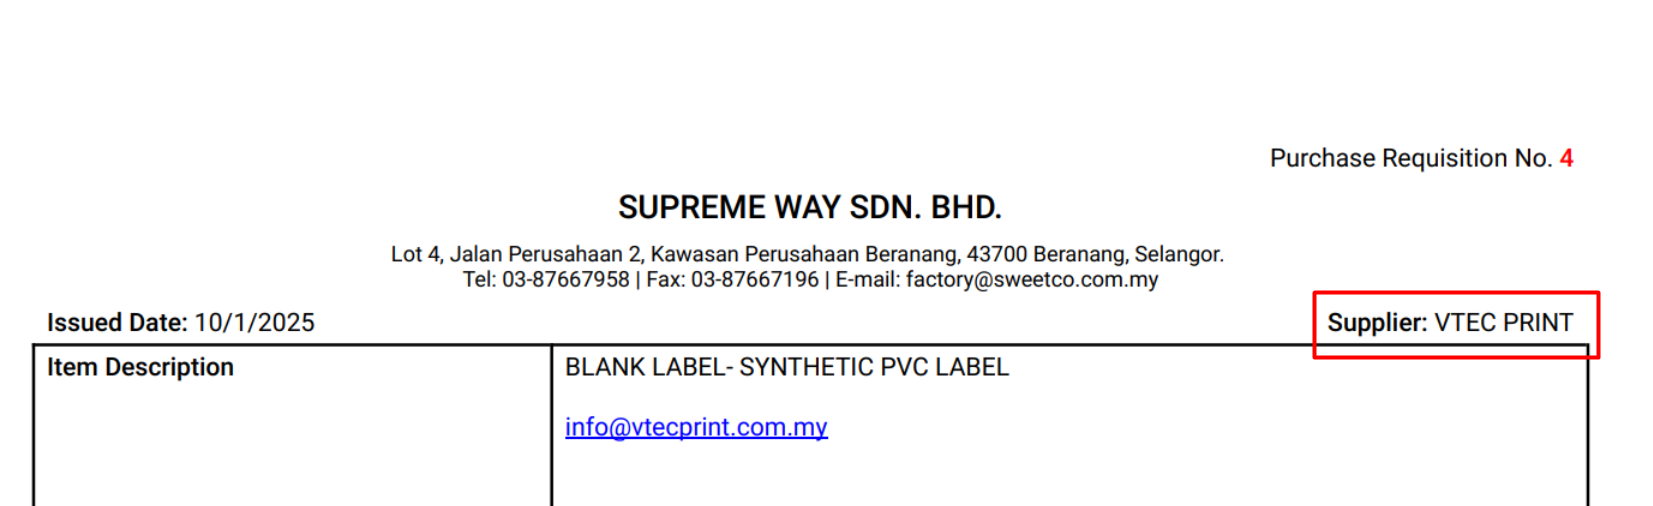
Revise the form
- remove the “Supplier” at top right of table and move it to the table by adding a row after “Unit Price”.
- rename the label as “Name and Contact Details of Supplier”, set the format of text (data entry) box to “Basic Rich Text Editor” so that user can enter name, address, contact number, link in allow multiple lines.
| BEFORE | AFTER |
|
|

|

v. 1.0 2025-01-02 Kaizen Completed
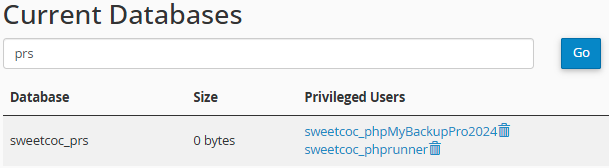
Create “sweetcoc_prs” database and assign “sweetcoc_phpMyBackupPro2024” and “sweetcoc_phprunner” users to the database
| BEFORE | AFTER |
 |
MODIFICATION in PHPRunner or cPanel or PHPMyAdmin
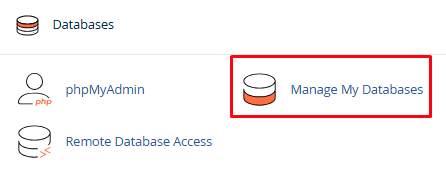
- Go to cPanel -> “Databases” -> “Manage My Databases”.
- Under “Create New Database”, create “sweetcoc_prs”.
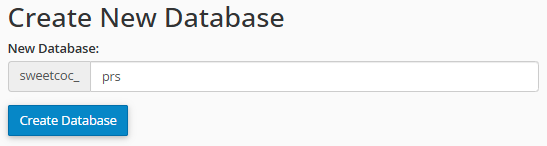
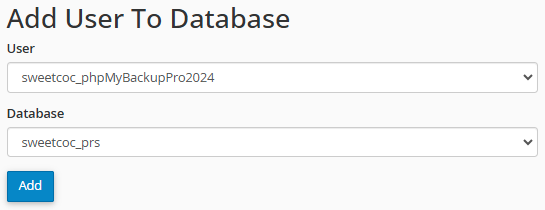
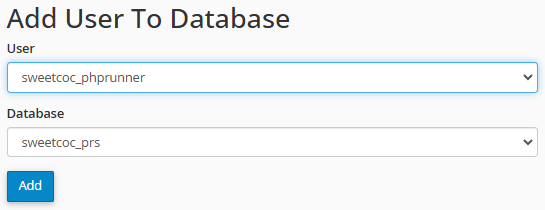
- Under “Add User To Database”, add “sweetcoc_phpMyBackupPro2024” and “sweetcoc_phprunner” to “sweetcoc_prs” database.
Create “purchase_requisition” table in “sweetcoc_prs” database
| BEFORE | AFTER |
 |
MODIFICATION in PHPRunner or cPanel or PHPMyAdmin
- Go to cPanel -> “Databases” -> “phpMyAdmin.
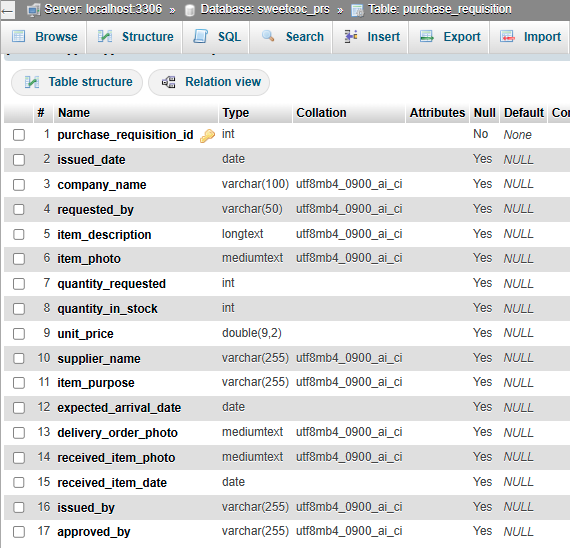
- Create “purchase_requisition” table.
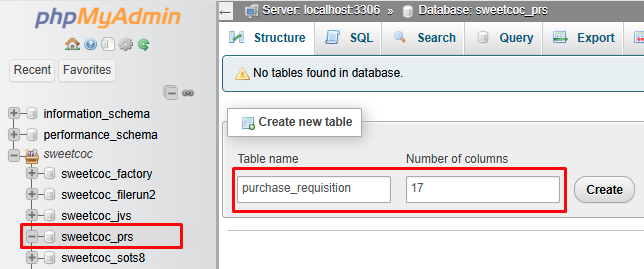
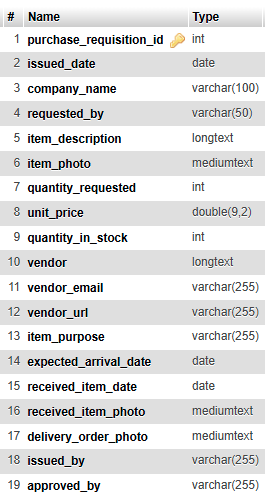
- Add below columns:-
Name Type purchase_requisition_id int(11) company_name varchar(100) requested_by varchar(50) item_description longtext item_photo mediumtext quantity_requested int(11) quantity_in_stock int(11) unit_price double(9,2) supplier_name varchar(255) item_purpose varchar(255) expected_arrival_date date delivery_order_photo mediumtext received_item_photo mediumtext received_item_date date issued_by varchar(255) approved_by varchar(255)
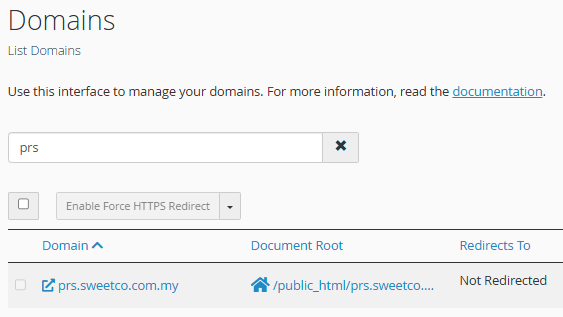
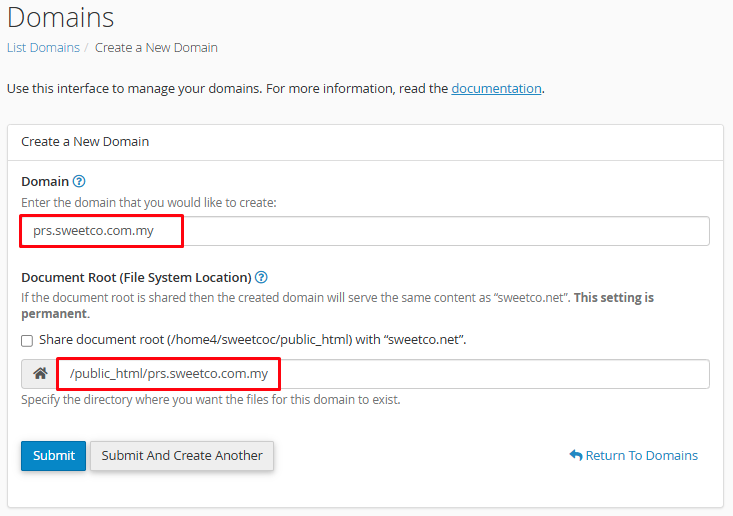
Create “prs.sweetco.com.my” domain
| BEFORE | AFTER |
 |
MODIFICATION in PHPRunner or cPanel or PHPMyAdmin
- Go to cPanel -> “Domains” -> “Domains”.
- Add “prs.sweetco.com.my”.
Set PHP version of “Purchase Requisition System” to “PHP 7.2”
| BEFORE | AFTER |
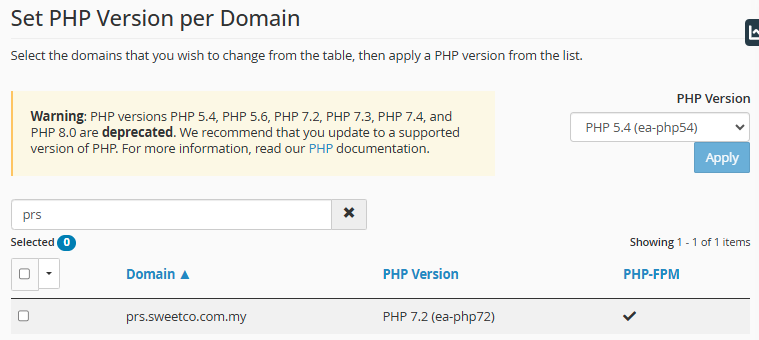 |
MODIFICATION in PHPRunner or cPanel or PHPMyAdmin
- Go to cPanel -> “Software” -> “MultiPHP Manager”.
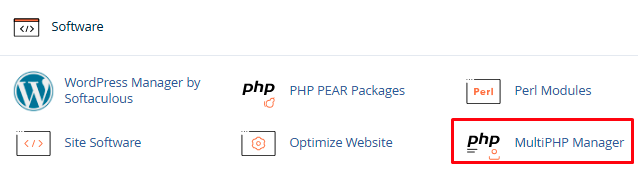
- Check “prs.sweetco.com.my” and change the PHP Version to “PHP 7.2 (ea-php72)”.

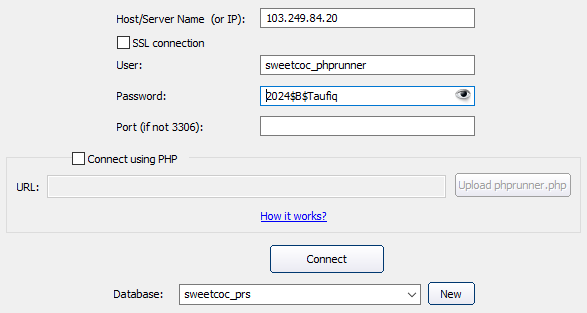
Create “Purchase Requisition System” project in PRPRunner
MODIFICATION in PHPRunner or cPanel or PHPMyAdmin
- Go to PHPRunner and create a new project PRS.
- Set the database for PRS.
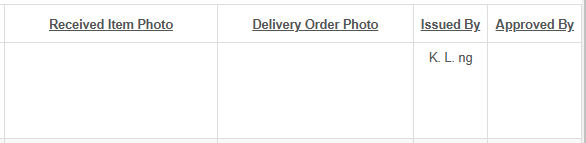
Re-arrange the “view” page of PRS
| BEFORE | AFTER |
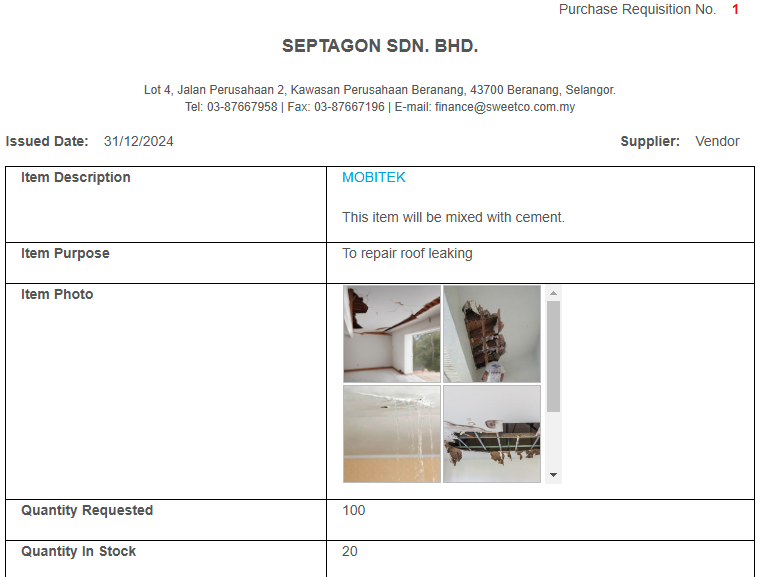   |
MODIFICATION in PHPRunner or cPanel or PHPMyAdmin
- Go to “Designer” tab and click “view” tab.

- Re-arrange all fields like below:

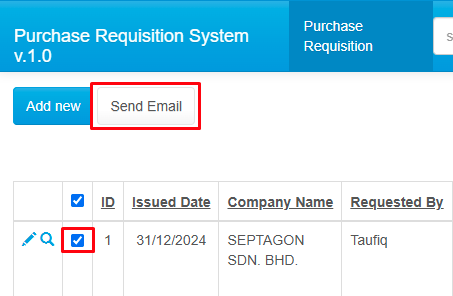
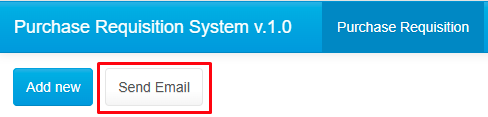
Add “Send Email” function
| BEFORE | AFTER |
 |
MODIFICATION in PHPRunner or cPanel or PHPMyAdmin
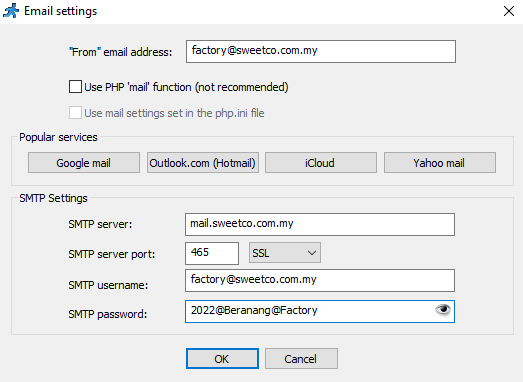
- Go to “Misc” tab and click “Email Settings…”
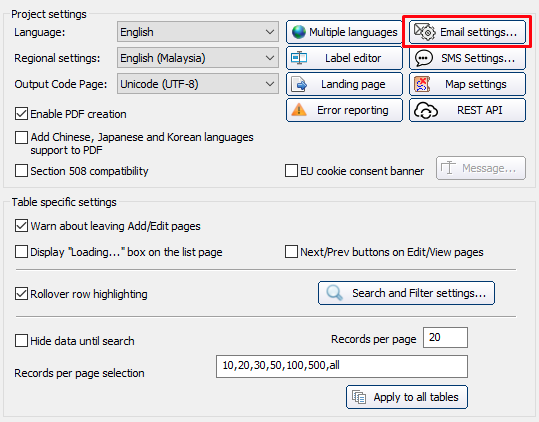
- Set as below:
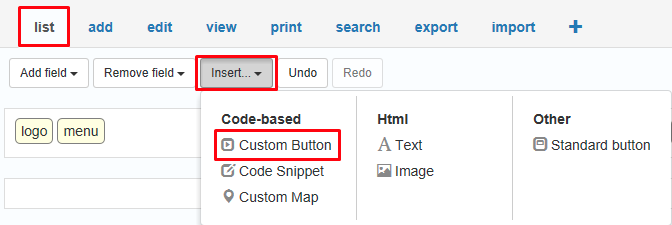
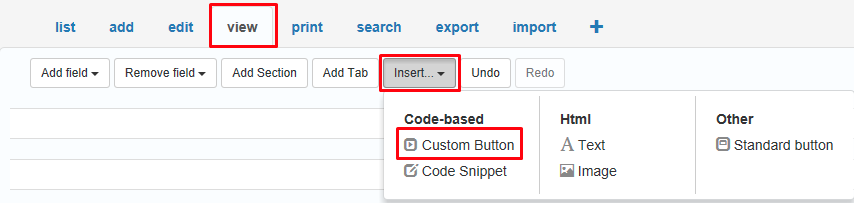
- Go to “Designer” tab, click on “list” page, click on “Insert…” dropdown and click “Custom Button”.
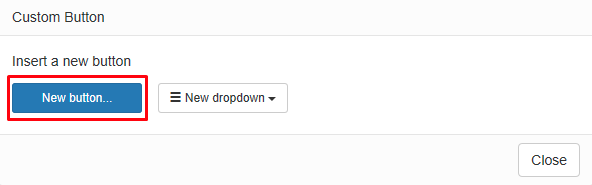
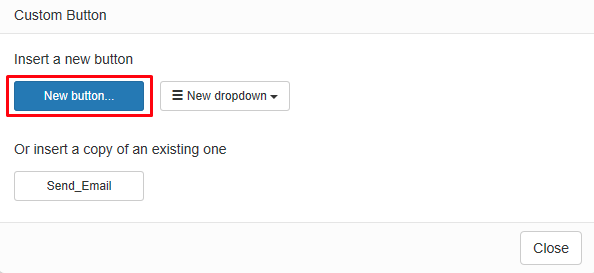
- Click “New Button…”
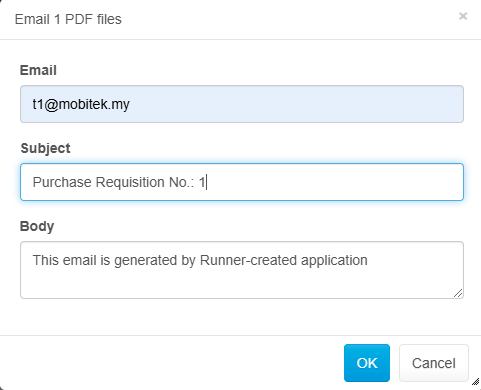
- Name the new button as “Send_Email”. In “Client Before tab, place below code:
var pdfParams = {},
  selectedRecords = pageObj.getSelectedRecords();

if( selectedRecords.length == 0 )
  return false;

params.recordCount = selectedRecords.length;
params.filenames = [];

var createOnePdf = function( idx ) {
  ajax.addPDF( 'pdf'+idx, pdfParams[idx], function() {
    delete pdfParams[idx];
    if( Object.keys( pdfParams ).length == 0 ) {
        showDialog();
     }
  });
}

var showDialog = function() {
 ctrl.dialog( {
  title: 'Email ' + params.recordCount + ' PDF files',
  fields: [
     {
        name: 'Email',
        value: 'factory@sweetco.com.my'
     },
     {
        name: 'Subject',
        value: 'Purchase Requisition No.: '
     },
     {
        name: 'Body',
        value: 'This email is generated by Runner-created application',
        type: 'textarea'
     },
     ]
  });
}

selectedRecords.forEach( function( ajaxRow, idx ) {
  pdfParams[ idx ] = {
     pageType: 'view',
     keys: ajaxRow.getKeys()
  };
  params.filenames.push( 'Purchase_Requisition#'+ajaxRow.getKeys()+'.pdf' )
  createOnePdf( idx );

});

return false;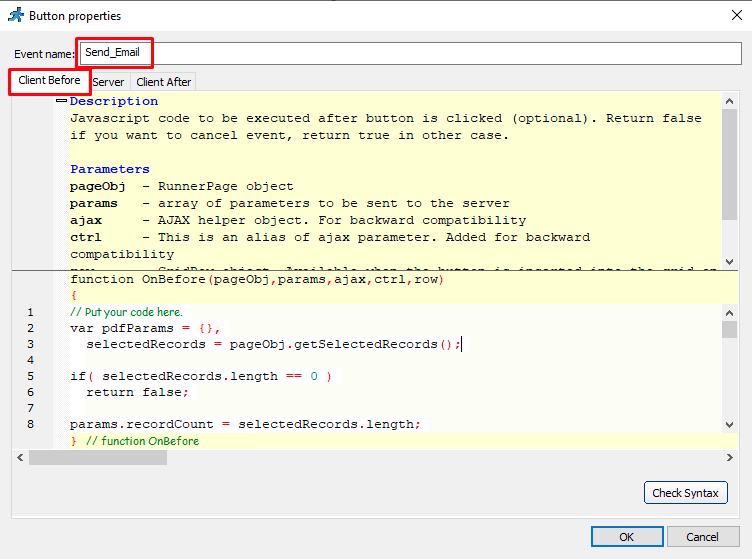
- In “Server” tab, place below code:
$attachments = array();
for( $i=0; $i< $params["recordCount"]; ++$i ) {
  $attachments[] = array(
    "path" => $button->saveTempFile( $params["pdf" . $i] ),
    "name" => $params["filenames"][$i]
  );
}
$mail = array();
$mail["to"] = $params["Email"];
$mail["subject"] = $params["Subject"];
$mail["body"] = $params["Body"];
$mail["attachments"] = $attachments;

$ret = runner_mail( $mail );

if( $ret["mailed"] )
{
  $result["success"] = true;
}
else
{
  $result["message"] = $ret["message"];
    $result["success"] = false;
}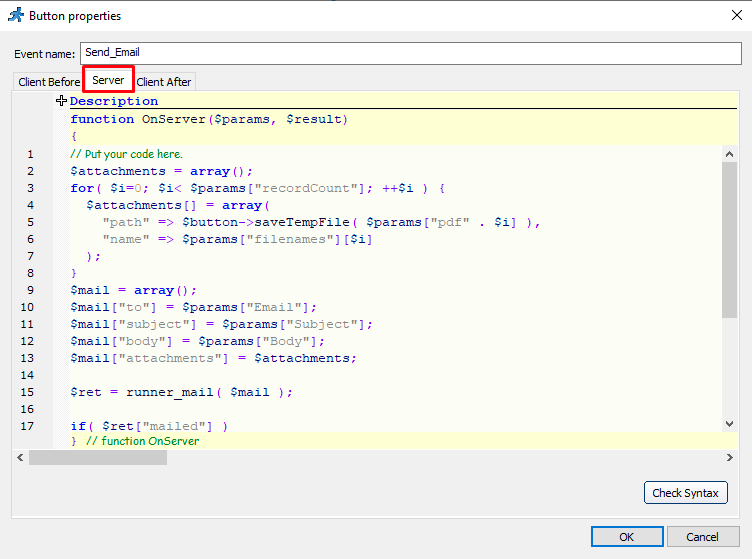
- In “Client After” tab, paste below code:
if( result.success ) {
    alert("Your email has been sent!");
} else {
    alert("Error sending " + result.message);
}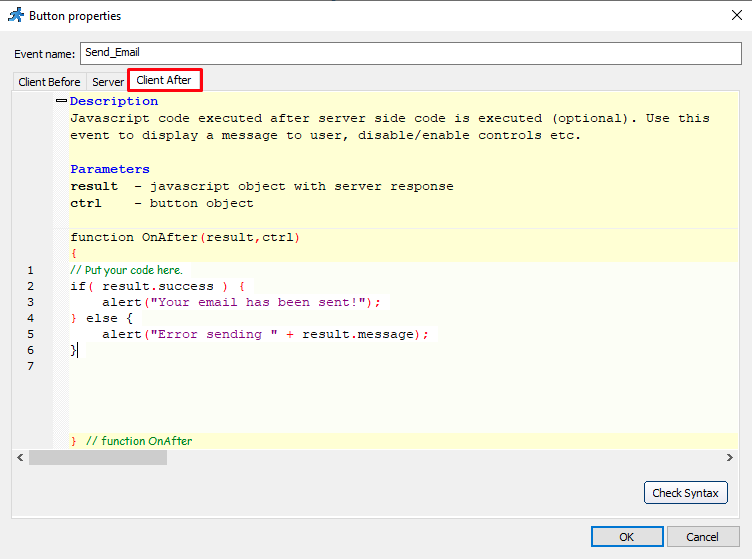
- Place the “Send Email” button at the same row as “Add new” button.

Add “Print” and “Save PDF” functions
| BEFORE | AFTER |
 |
MODIFICATION in PHPRunner or cPanel or PHPMyAdmin
- Go to “Designer” tab, select “view” tab, click on “Insert…” dropdown and click “Custom Buttom”.
- Click “New button…”.
- For:-
- “Print” button
- “Client Before” tab
window.print();
 // Uncomment the following line to prevent execution of "Server" and "Client After" events.
return false;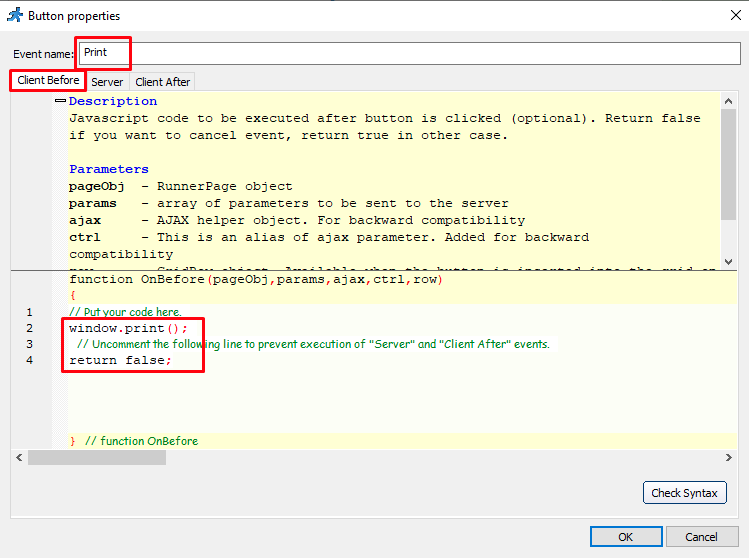
- “Client Before” tab
- “Save PDF” button
- “Server” tab
$record = $button->getCurrentRecord();
$result["ID"] = $record["purchase_requisition_id"];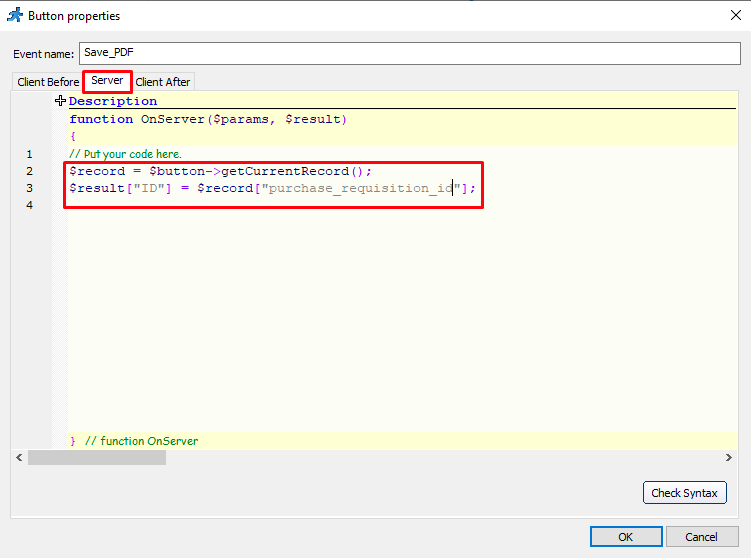
- “Client After” tab
var params = {
    table: 'purchase_requisition',
    page: 'view',
    pageType: 'view',
    keys: [result["ID"]],
    scale: 120
}

Runner.PDF.download(params, 'Purchase Requisition no. ' + result["ID"] + '.pdf');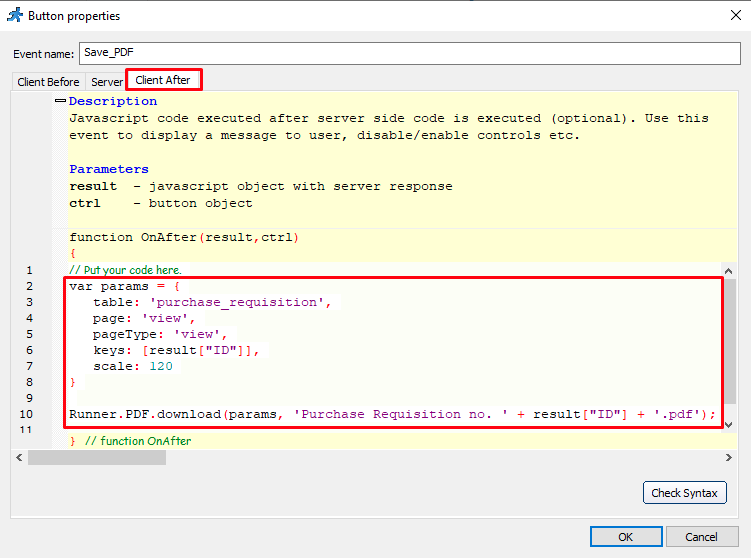
- “Server” tab
- “Print” button
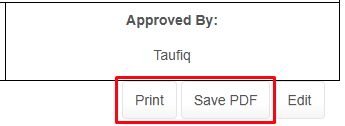
- Re-arrange “Print” and “Save PDF” buttons at the bottom.

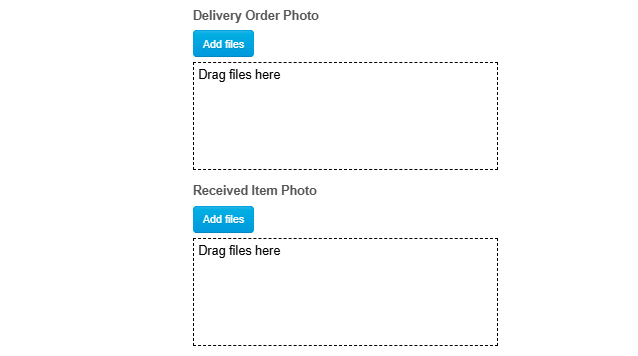
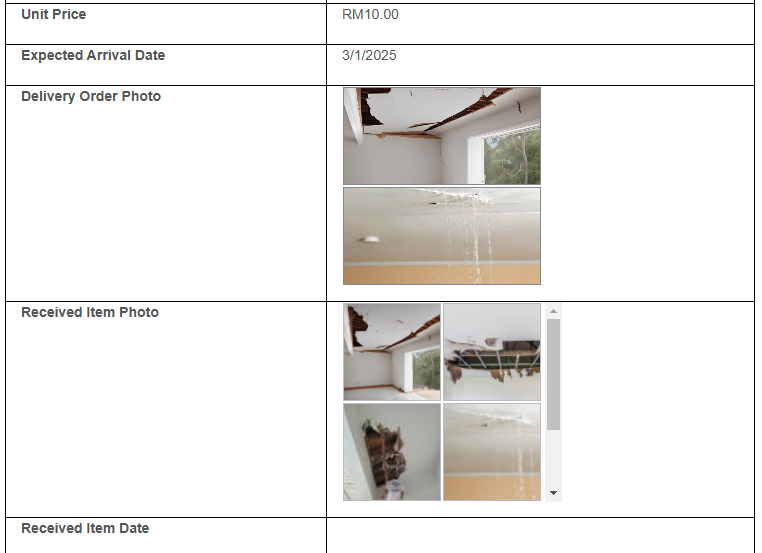
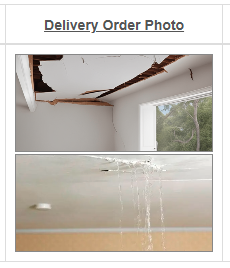
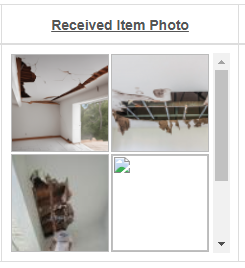
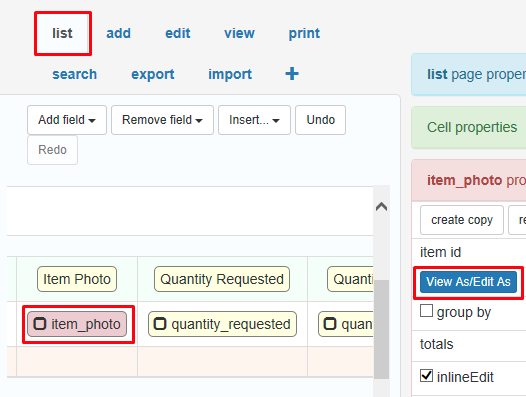
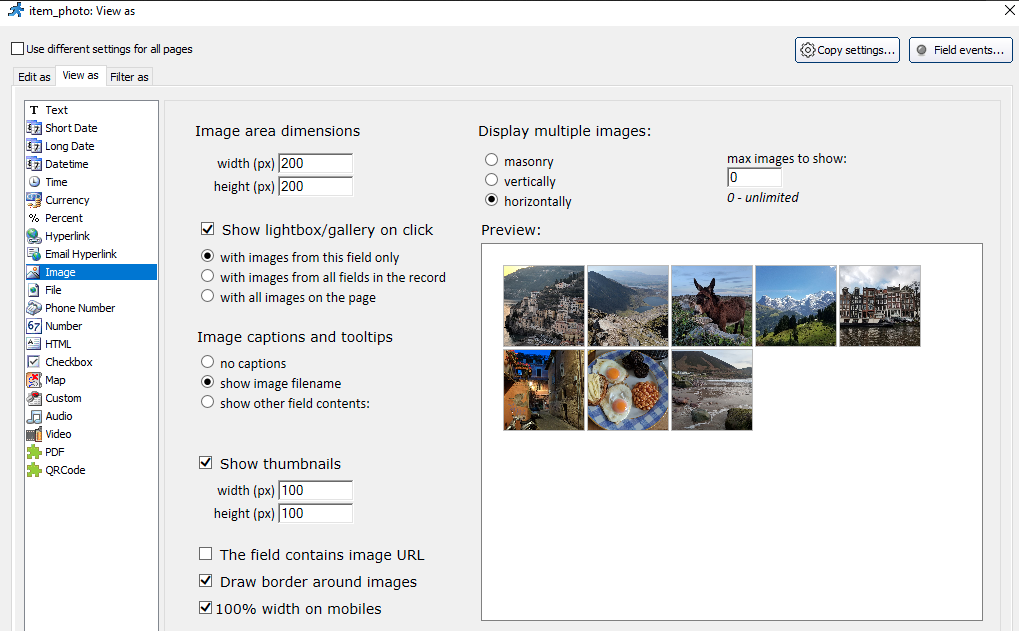
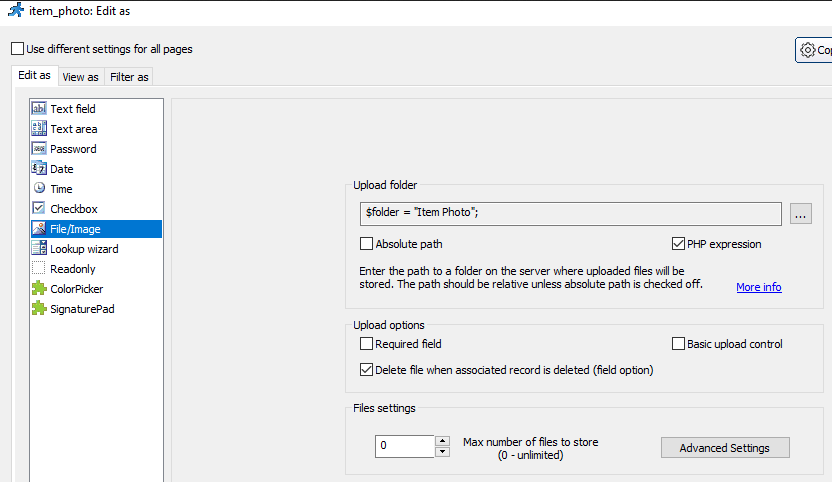
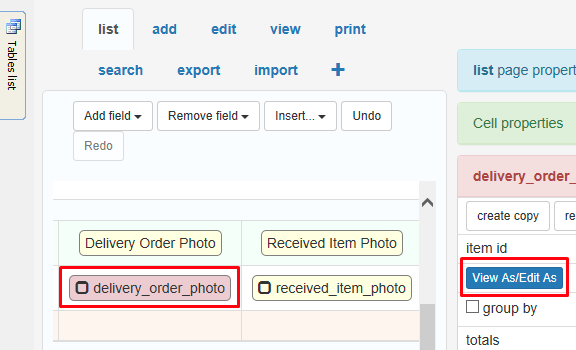
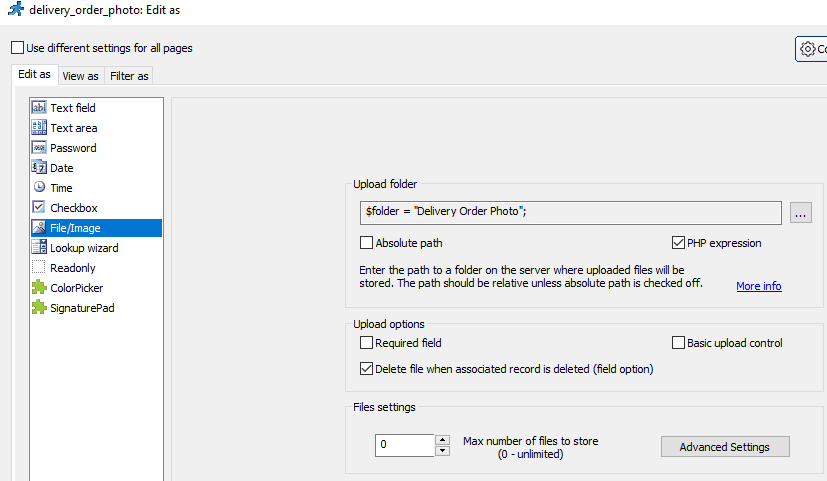
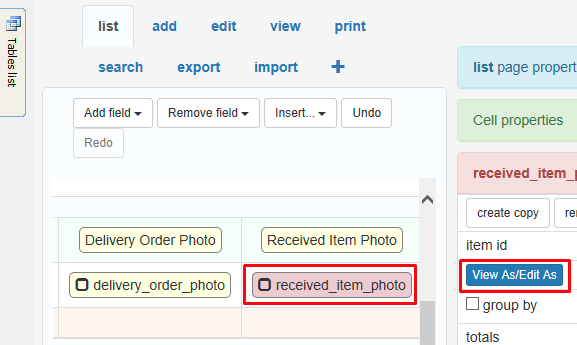
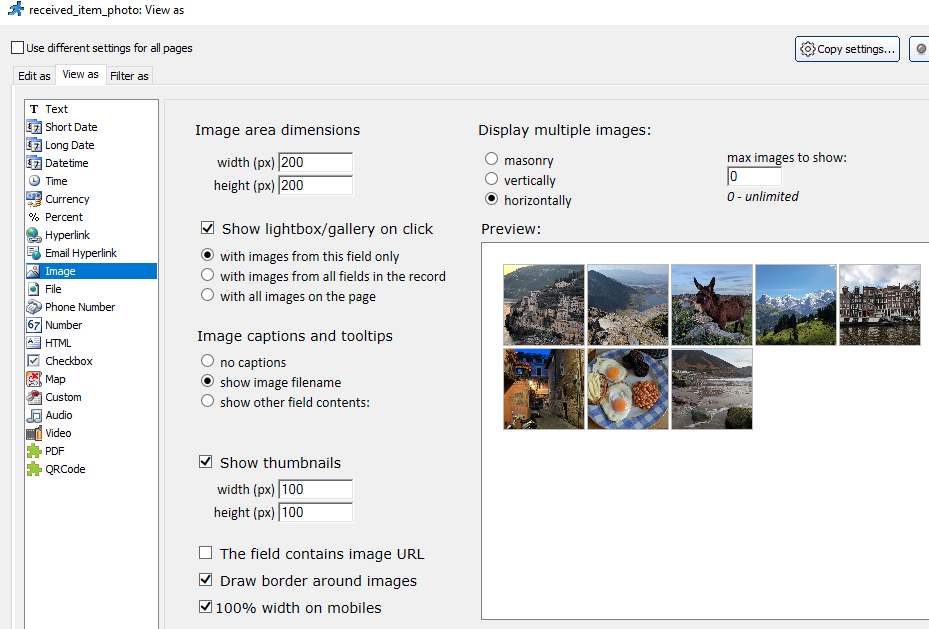
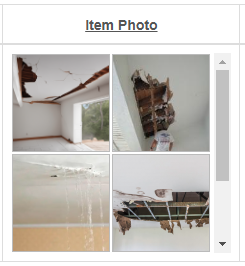
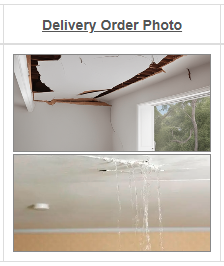
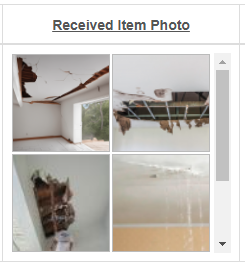
Edit “Item Photo”, “Delivery Order Photo” and “Received Item Photo” to allow multiple image upload
| BEFORE | AFTER |
|

MODIFICATION in PHPRunner or cPanel or PHPMyAdmin
- Go to “Designer” tab
- Set as below:-
- item_photo
- delivery_order_photo

- received_item_photo

- item_photo
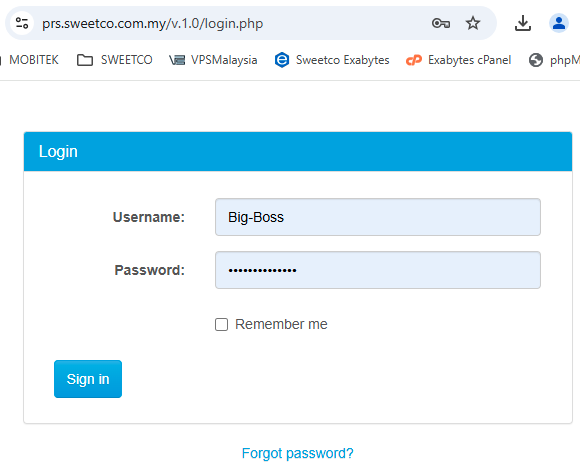
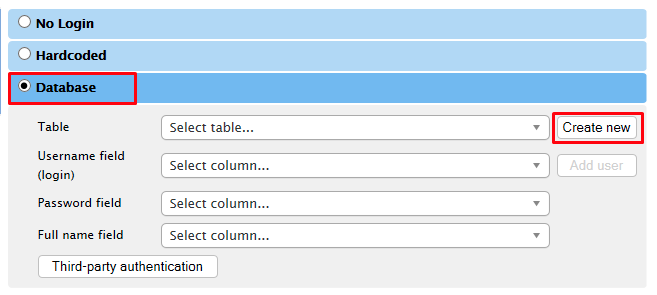
Add database security to PRS
| BEFORE | AFTER |
 |
MODIFICATION in PHPRunner or cPanel or PHPMyAdmin
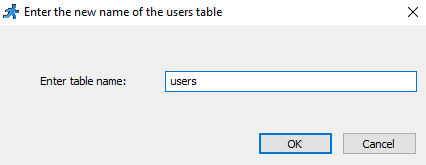
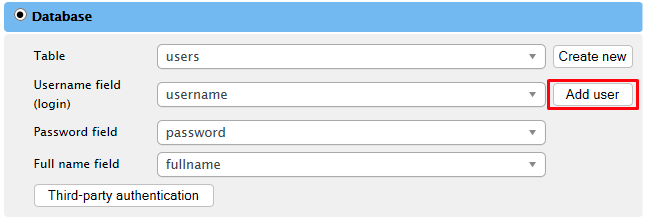
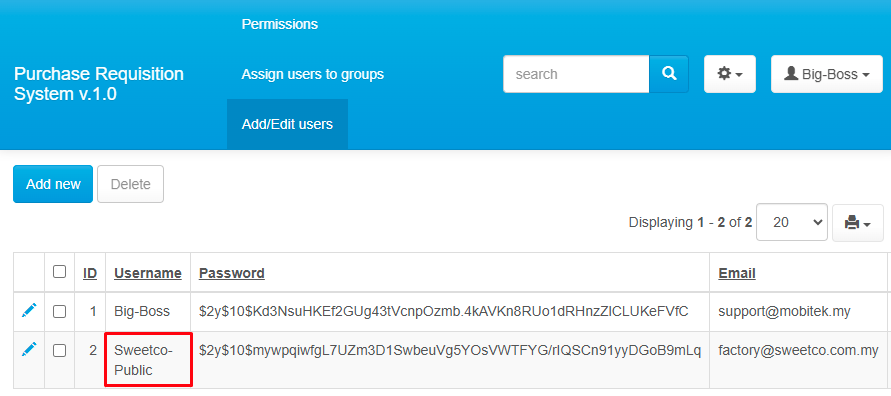
- Go to “Security” tab, select “Database” and create a new table for “users”.
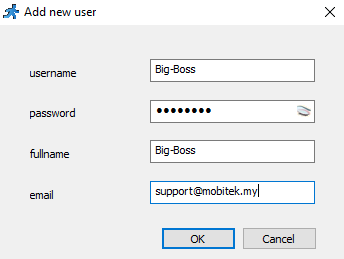
- Add a new user.
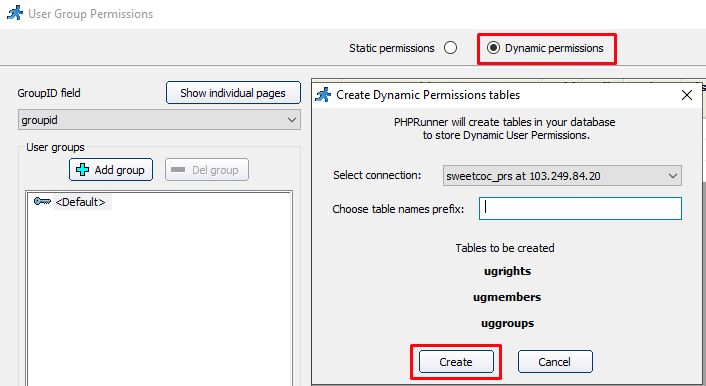
- Set user group permission.

- Add “Big-Boss” to <Admin> group.
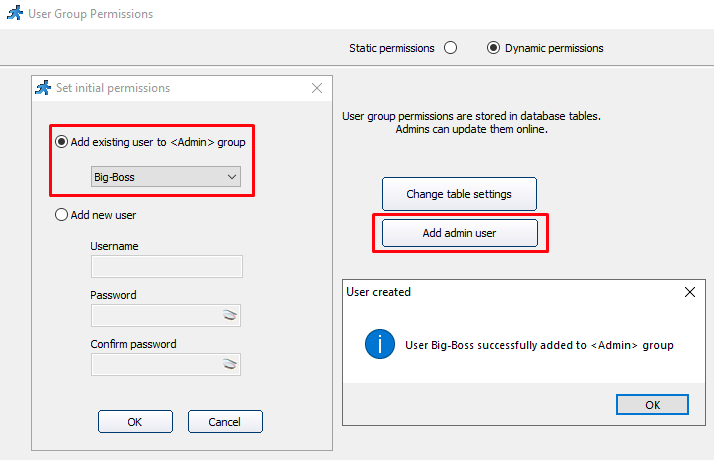
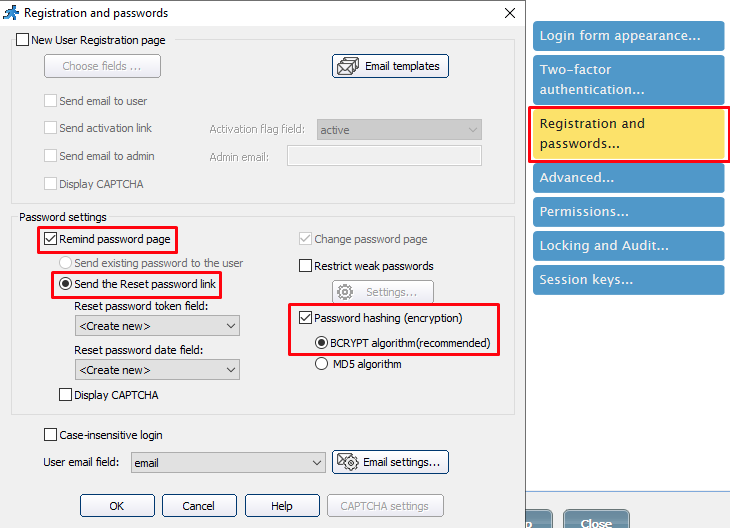
- Encrypt password.
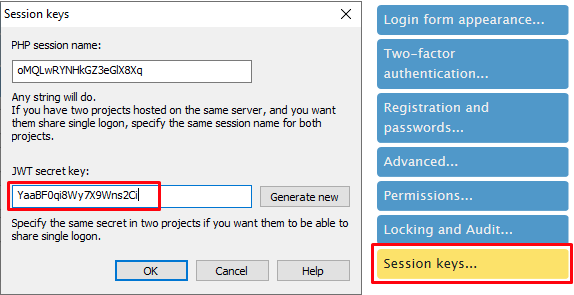
- Set JWT secret key: “YaaBF0qi8Wy7X9Wns2Ci”.
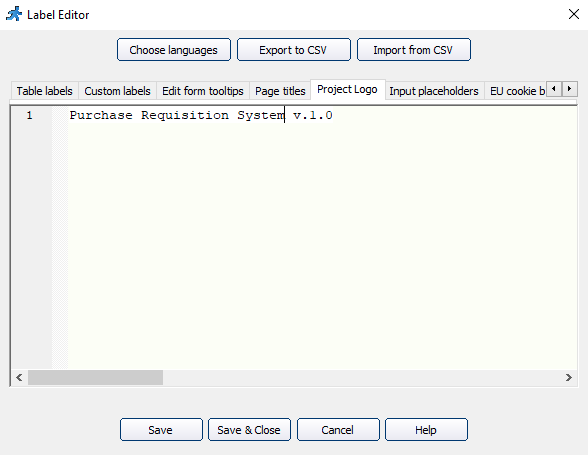
Change the title of the project to “Purchase Requisition System v.1.0”
| BEFORE | AFTER |
 |
MODIFICATION in PHPRunner or cPanel or PHPMyAdmin
- Go to “Editor” tab, double-click on “PRS” logo.
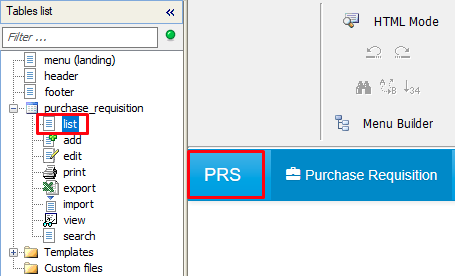
- Rename it to “Purchase Requisition System v.1.0”.
v. 1.0 2025-01-02 Beta Testing Completed
TEST OBJECTIVE: Can PRS add another user?
| TESTING METHODOLGY | TEST RESULT |
|
|

TEST OBJECTIVE: Can “Item Photo”, “Delivery Order Photo” and “Received Item Photo” fields upload multiple images?
| TESTING METHODOLGY | TEST RESULT |
|
|
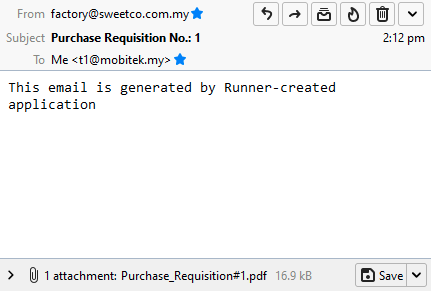
TEST OBJECTIVE: Can “Send Email” function email the selected record to any email?
| TESTING METHODOLGY | TEST RESULT |
|
|