Conclusion
- “psshutdown.exe” and “wosb.exe” are working — can sleep, wake up and stay awake. For each setting refer to:-
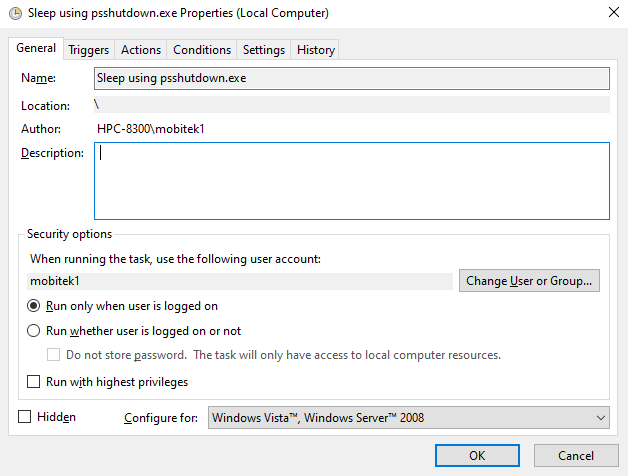
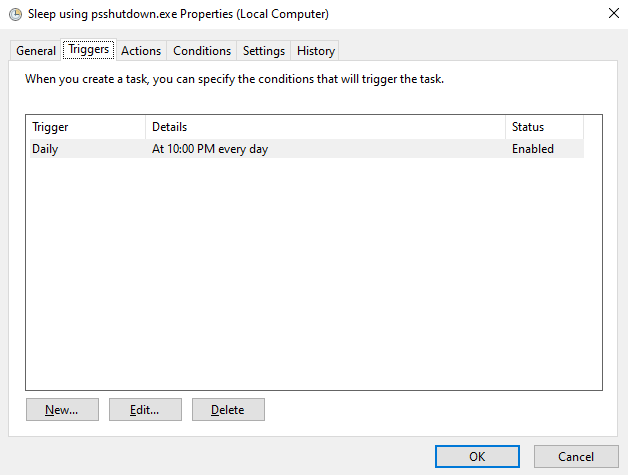
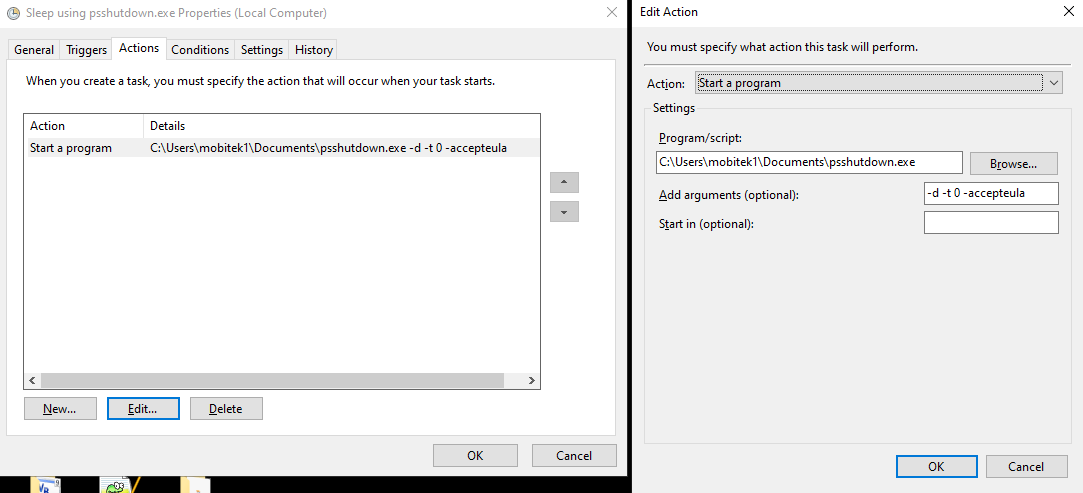
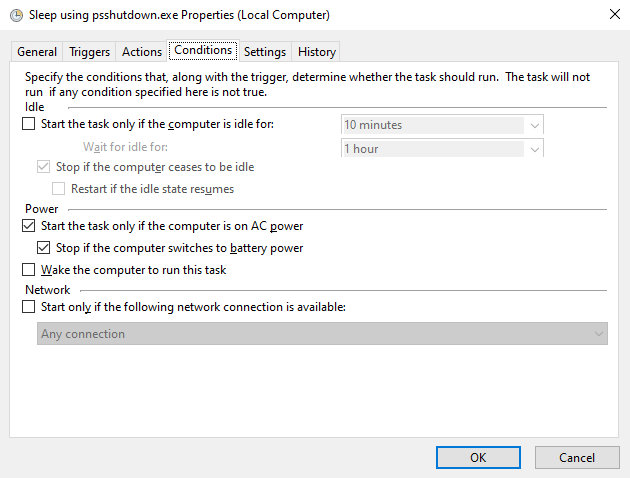
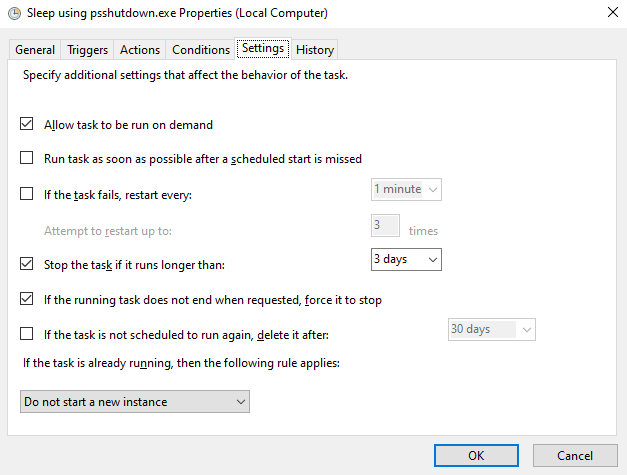
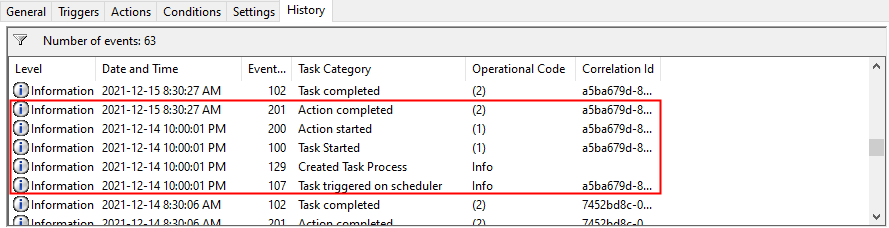
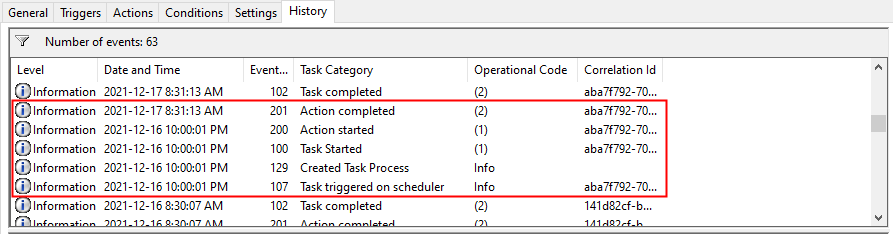
- psshutdown.exe Setting in Task Scheduler
- wosb.exe Setting
- “Put PC to Sleep” (rundll32.exe powrprof.dll,SetSuspendState 0,1,0) and “wosb.exe” are NOT working — it can sleep but cannot wake-up.
- “psshutdown.exe” and “Wake-Up from Sleep” (Windows Task Scheduler) are NOT working — it can sleep, wake-up but after 5 minutes will return to sleep, it cannot stay awake.
- Method mentioned in https://www.howtogeek.com/204742/how-to-make-any-computer-boot-up-or-shut-down-on-a-schedule/ (rundll32.exe powrprof.dll,SetSuspendState 0,1,0) is not working in Windows 10 PC to sleep. Once it is slept, it cannot be woke-up.
- Method mentioned in https://www.howtogeek.com/119028/how-to-make-your-pc-wake-from-sleep-automatically/ is not able to wake-up Windows 10 PC.
psshutdown.exe Setting in Task Scheduler
Download the “Sleep using psshutdown.exe” task here …
The argument is –d -t 0 -accepteula
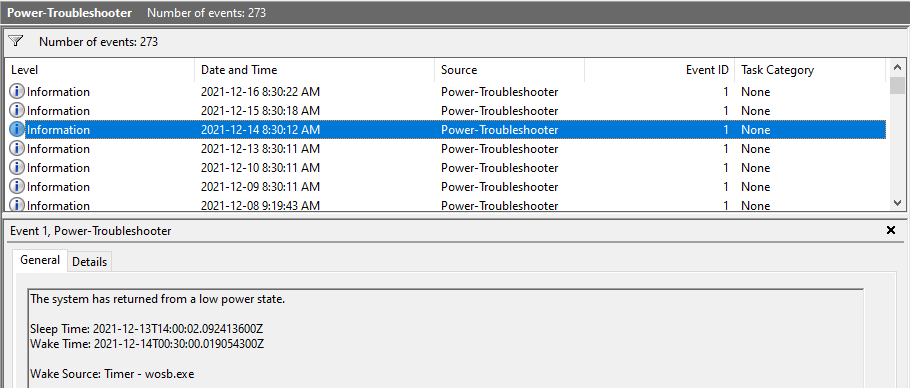
wosb.exe Setting
Download the wosb.exe setting here ….
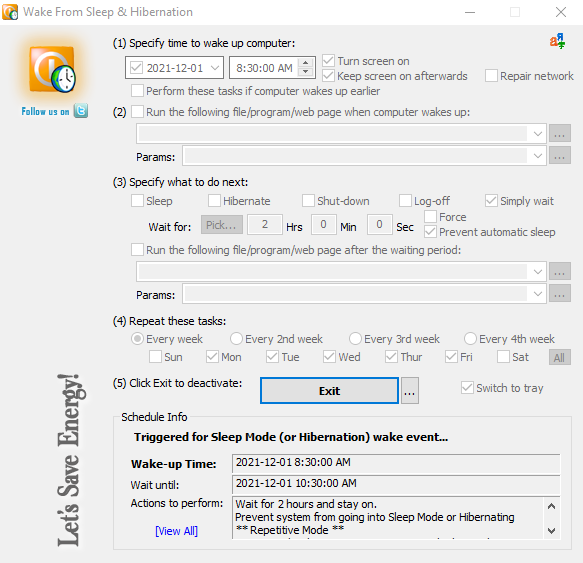
Place “wosb.exe” in “C:\Users\mobitek1\AppData\Roaming\Microsoft\Windows\Start Menu\Programs\Startup” so that the program can autorun whenever the PC is rebooted.

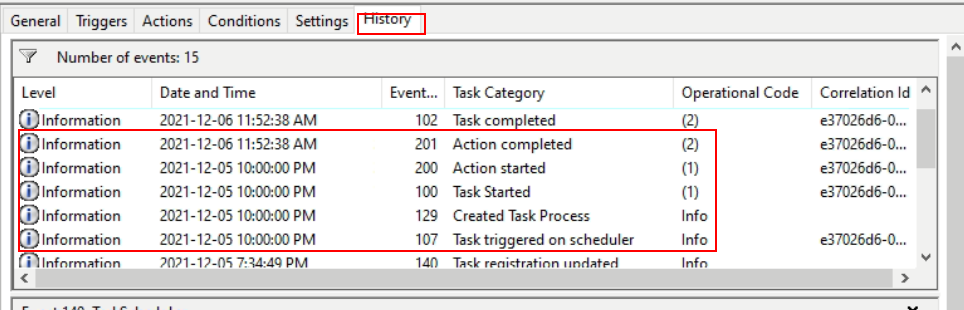
Test Result
| DATE | DID HPC-8300 SLEEP AT 10 PM using psshutdown.exe? (Y/N) | DID HPC-8300 WAKE UP AT 8:30 AM using wosb.exe? (Y/N) |
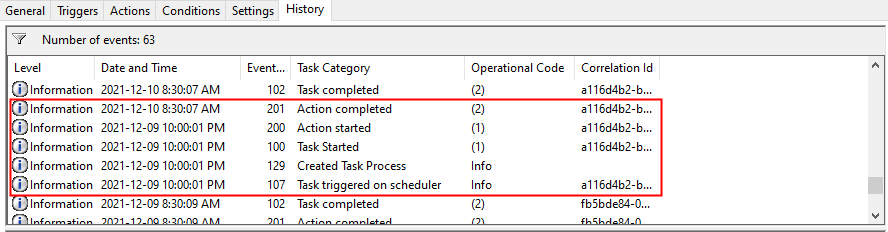
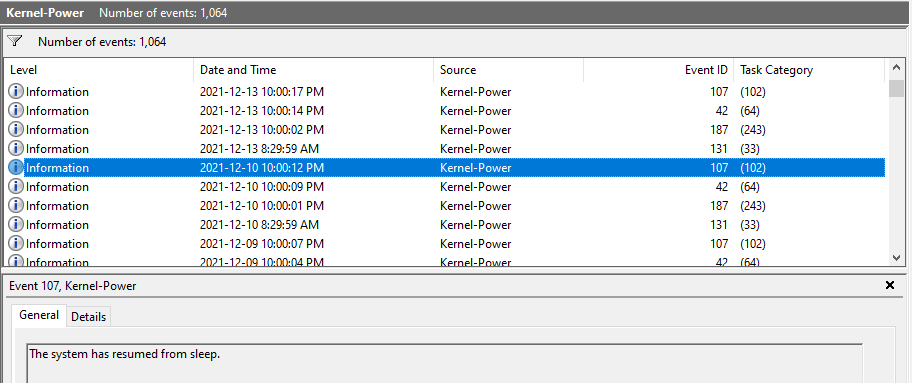
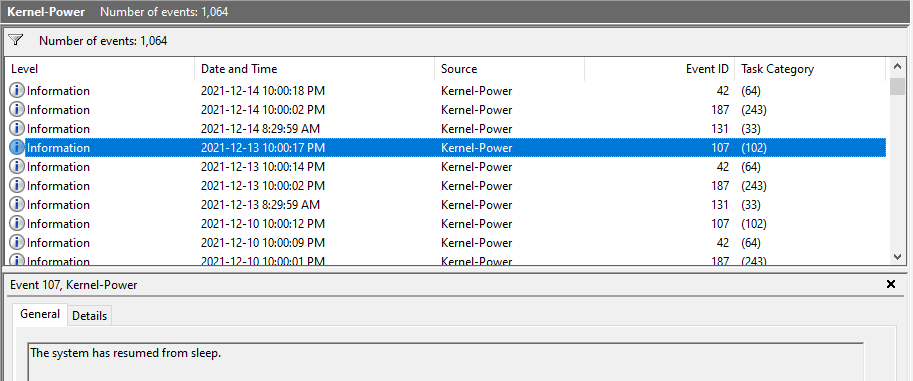
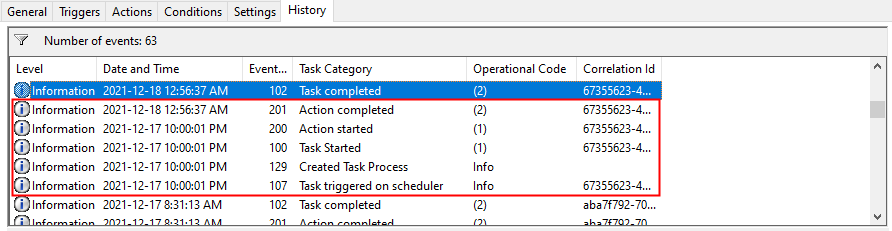
| Example of Task Scheduler successfully put PC to sleep.
|
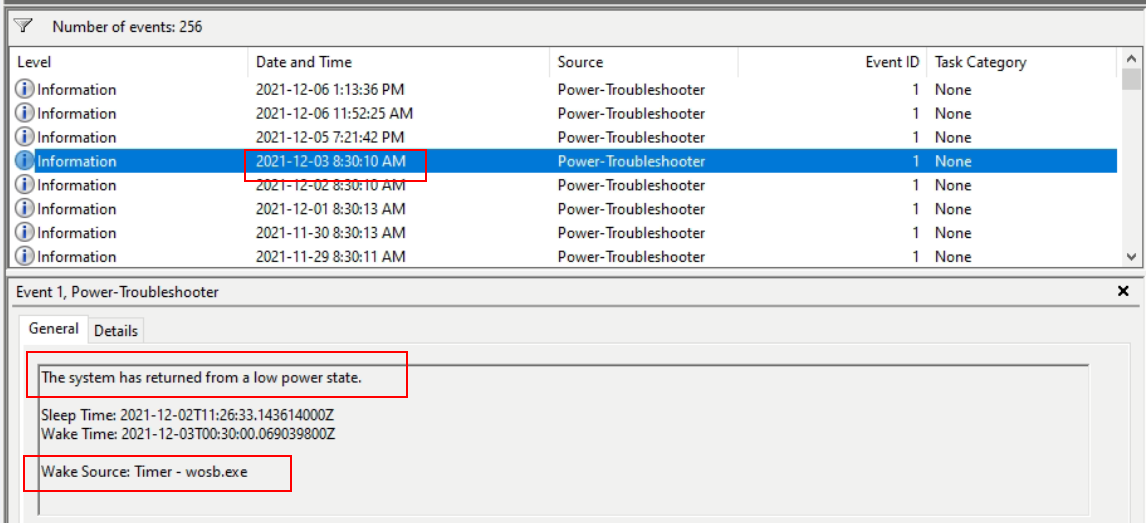
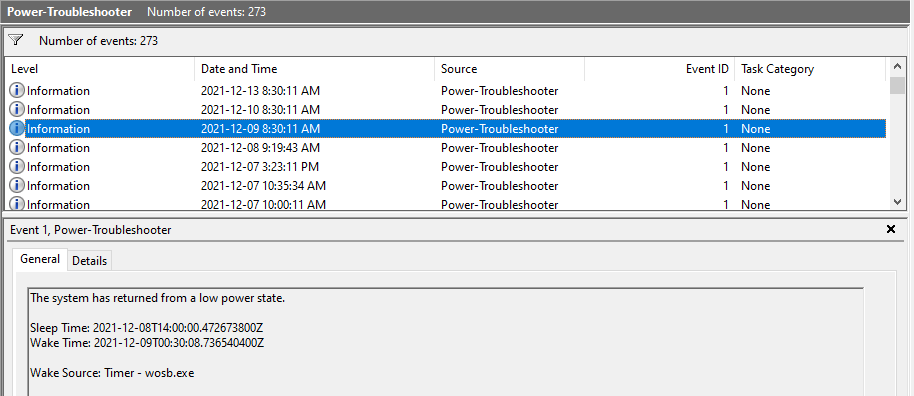
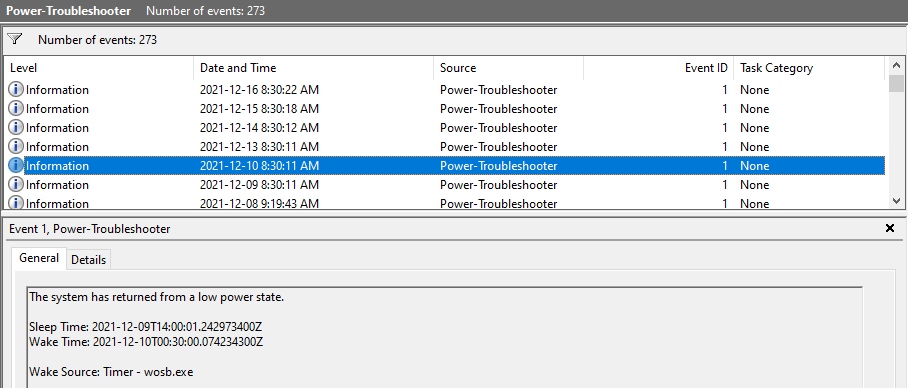
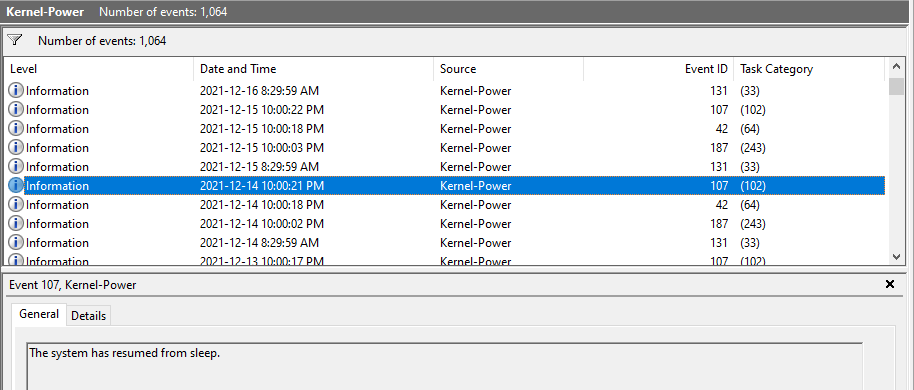
Example of wosb.exe successfully wake up PC.
|
|
| 9-Dec | Y
|
Y
|
| 10-Dec | Y
|
Y
|
| 13-Dec | Y
|
Y
|
| 14-Dec | Y
|
Y
|
| 15-Dec | Y
|
Y
|
| 16-Dec | Y
|
Y
|
| 17-Dec | Y
|
Y
|
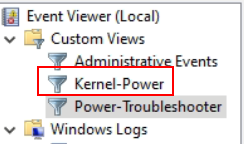


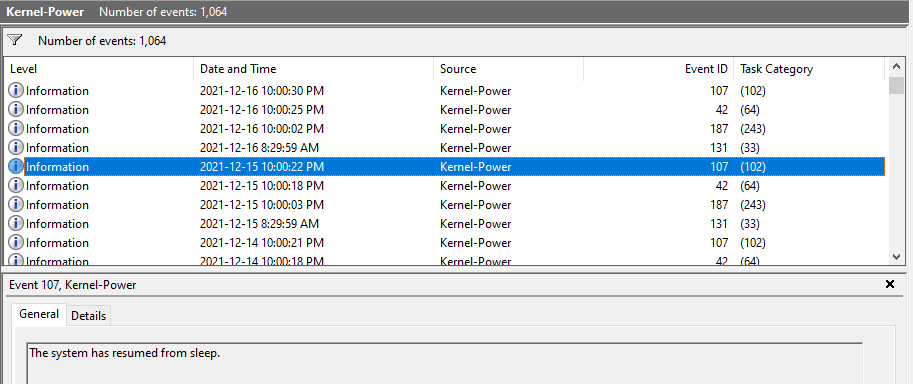

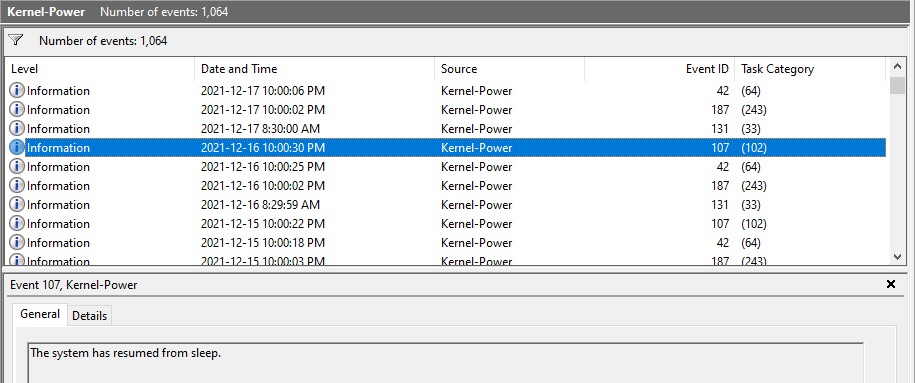
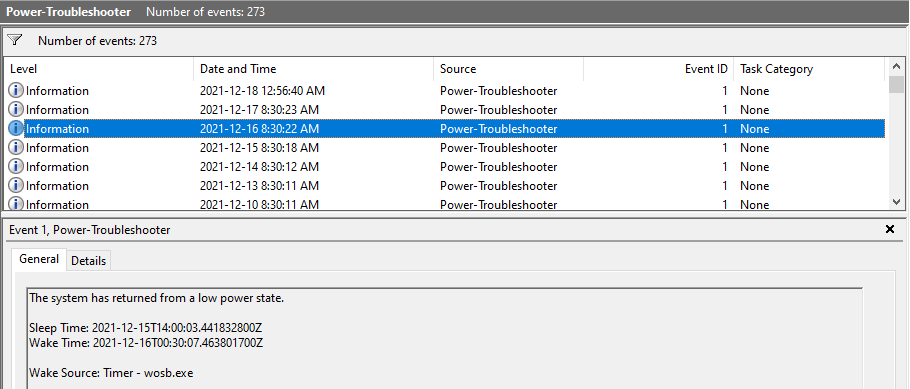
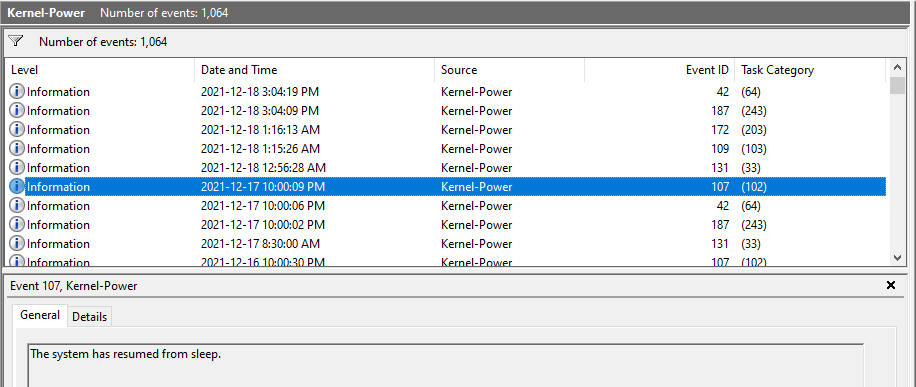
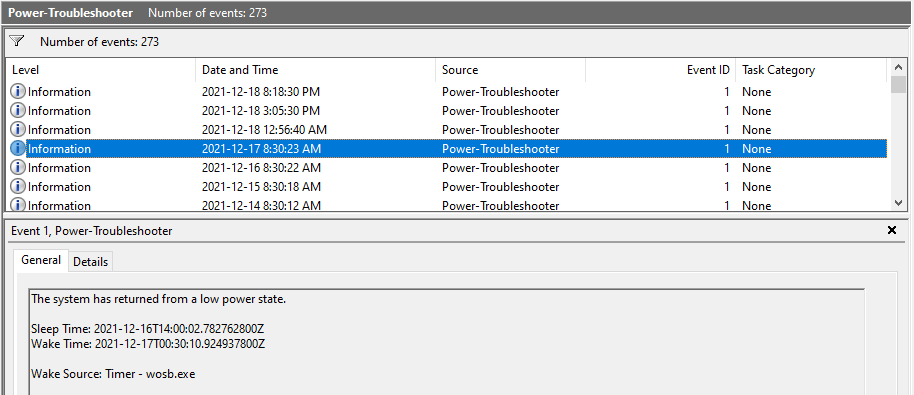
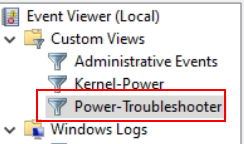
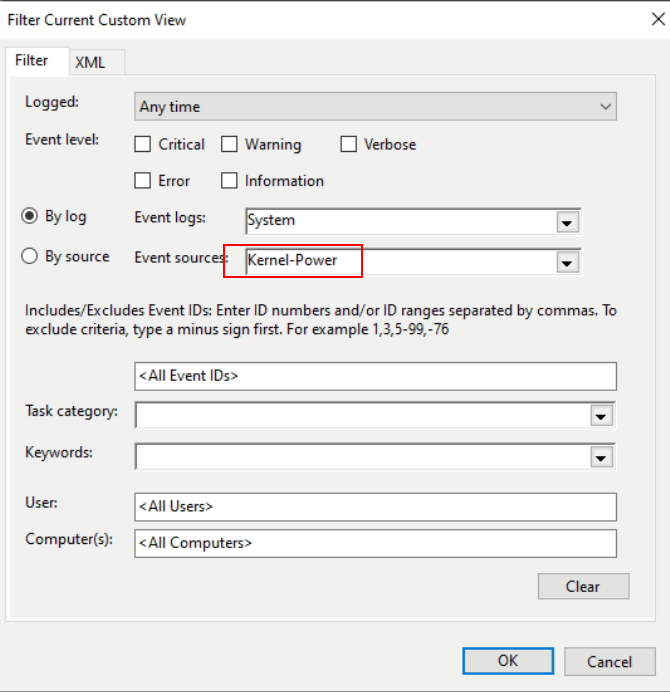
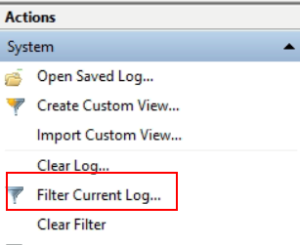
How to Filter Event Viewer and Save it as a Custom View
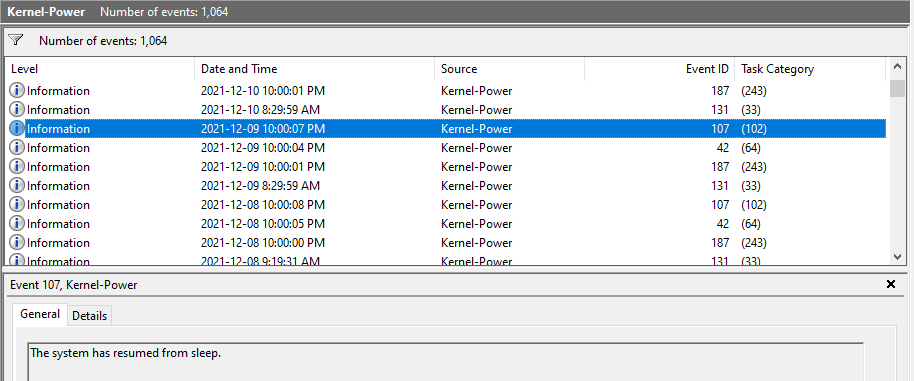
Create 2 custom views for “Kernel Power” and “Power-Troubleshooter”.
- Select “Filter Current Log …”.
- Select “Kernel-Power”

- Select “Save Filter to Custom View …”

- Save the custom view as “Kernel-Power”

- Repeat it for “Power-Troubleshooter”