Database Structure
| TABLE | COLUMN |
| tickets |  |
| ticket_replies |  |
| products |  |
| uggroups | 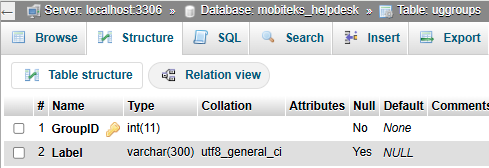 |
| ugmembers | 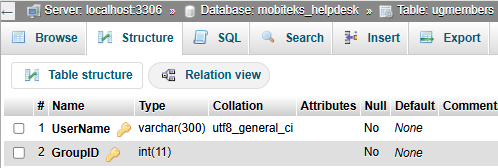 |
| ugrights | 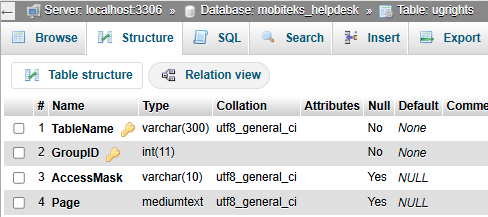 |
| users | 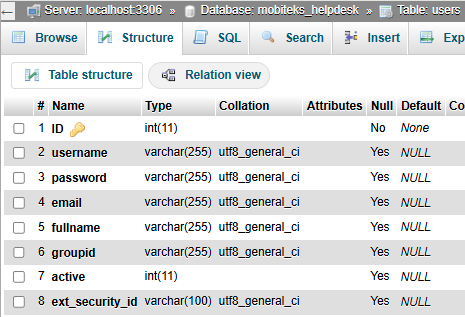 |
Live URL
v. 1.0 Kaizen Completed on 2025-11-20
Replicate the ticketing system in “https://test.mobitek-system.com/helpdeskz/staff/login”:-
- Admin Username: mobitek-admin
- Admin Password: 2022@A32@w
The support case management will be able to record these additional information:-
- PROBLEM
- STEPS TO REPLICATE THE ERROR
- SUGGESTED SOLUTION
- FINAL SOLUTION
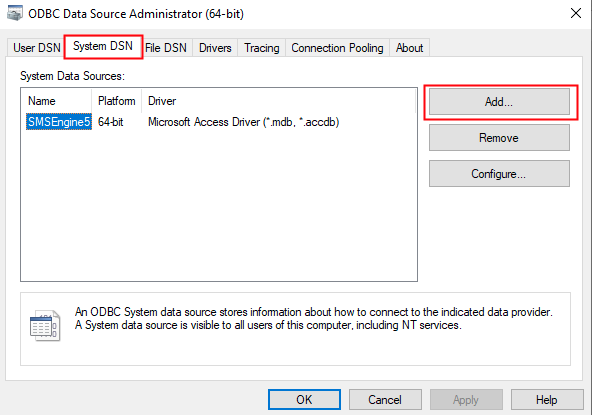
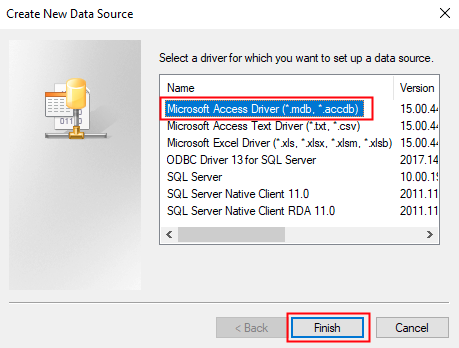
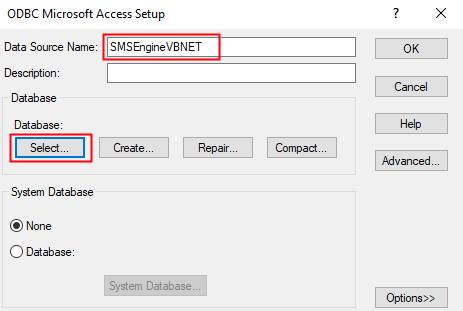
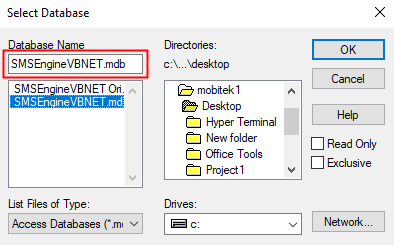
MODIFICATION in PHPRunner or cPanel or PHPMyAdmin
- In phpMyAdmin, create a new database “mobiteks_helpdesk”. Add 3 new tables:-
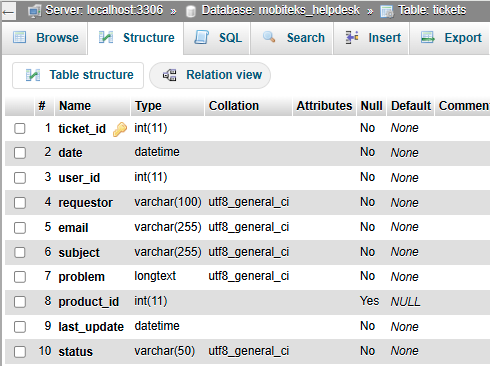
- tickets
- ticket_id – int(11)
- date – datetime
- user_id – int(11)
- requestor – varchar(100)
- email – varchar(255)
- subject – varchar(255)
- problem – longtext
- product_id – id(11)
- last_update – datetime
- status – varchar(50)
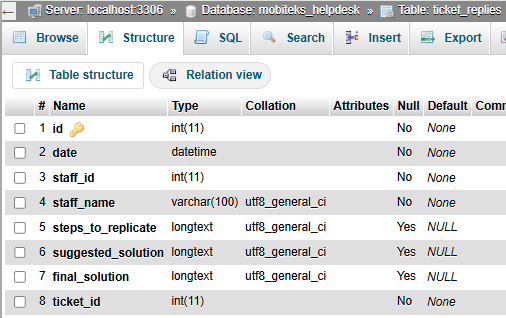
- ticket_replies
- id – int(11)
- date – datetime
- staff_id – int(11)
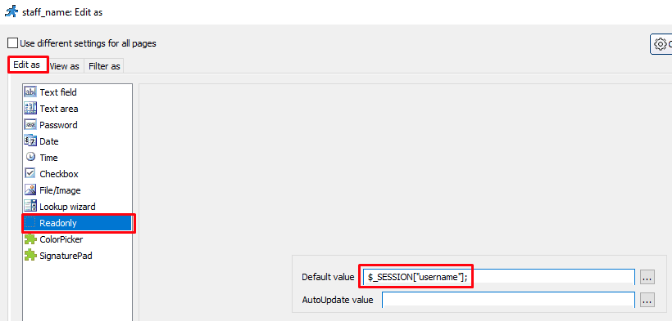
- staff_name – varchar(100)
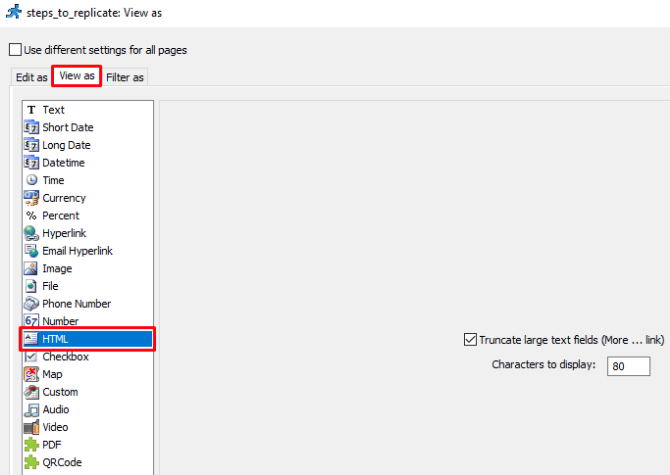
- steps_to_replicate – longtext
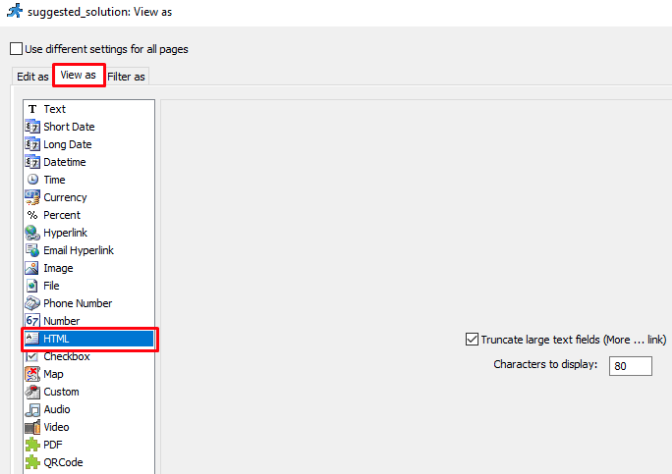
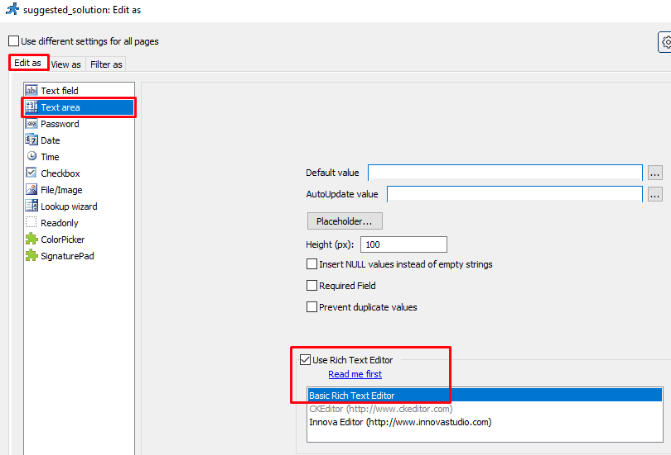
- suggested_solution – longtext
- final_solution – longtext
- ticket_id – int(11)
- products
- id – int(11)
- product_name – varchar(255)

- tickets
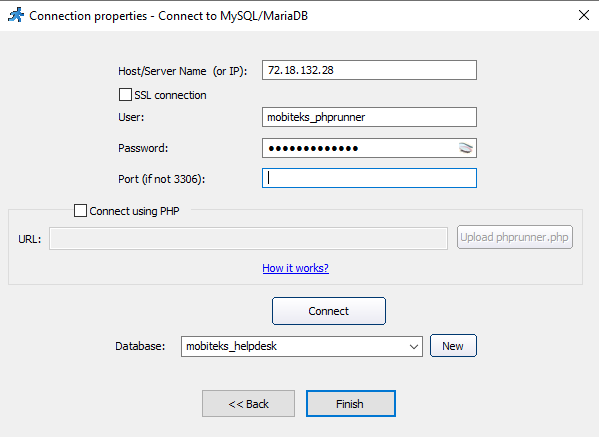
- Assign “mobiteks_phprunner” to “mobiteks_helpdesk” database.

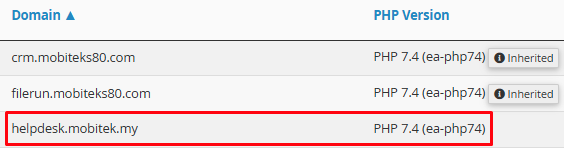
- Create a new domain “helpdesk.mobitek.my”.


- Set the PHP version for “helpdesk.sweetco.com.my” to “PHP 7.4 (ea-php74)” in “MultiPHP Manager”.
- Create a new project “HelpDesk” in PHPRunner and connect to “mobiteks_helpdesk” database.
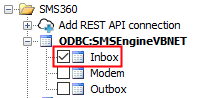
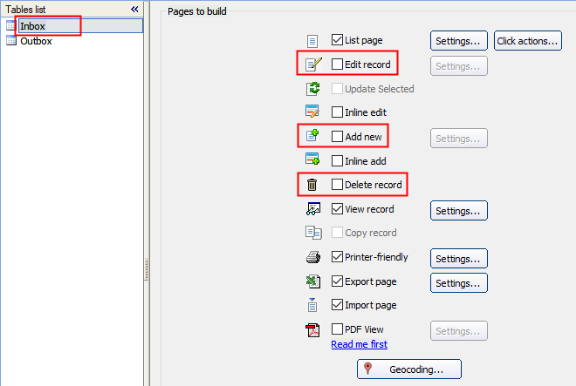
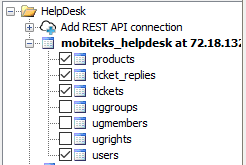
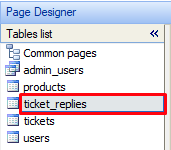
- In “Tables” tab, enable below tables.
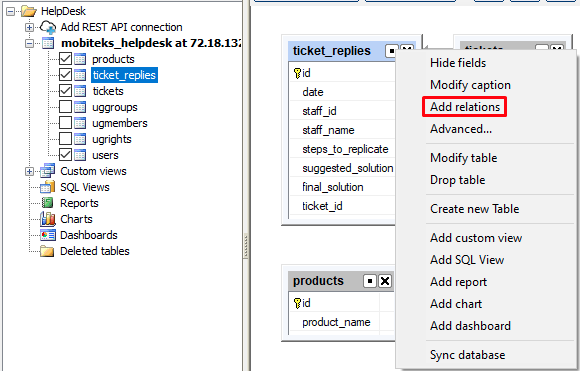
- Add relation between “tickets” and “ticket_replies” tables.

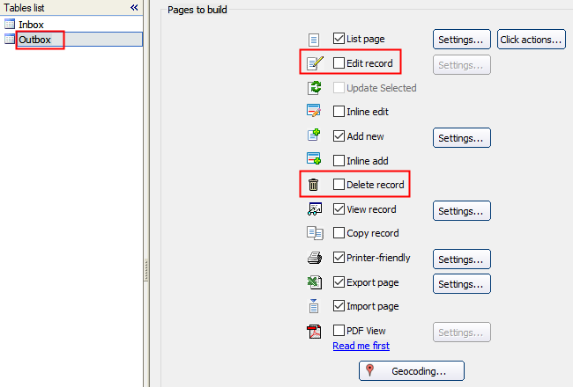
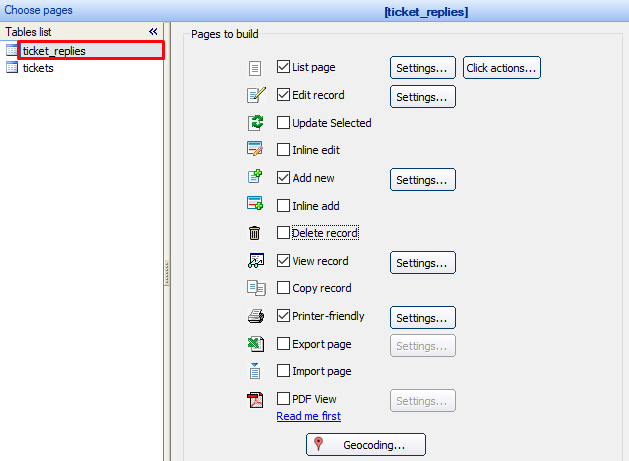
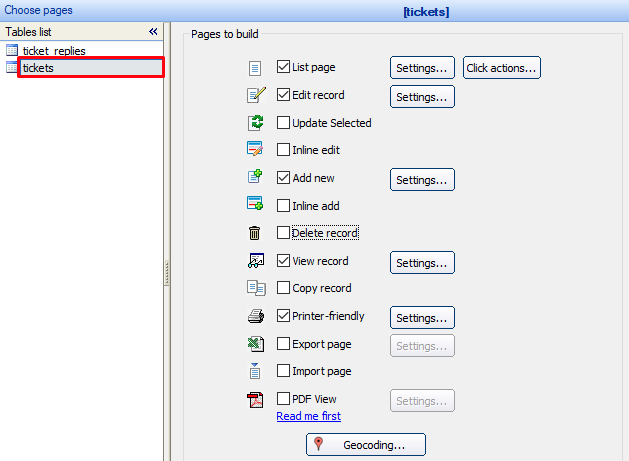
- In “Pages” tab, set as below:-
- ticket_replies
- tickets
- products
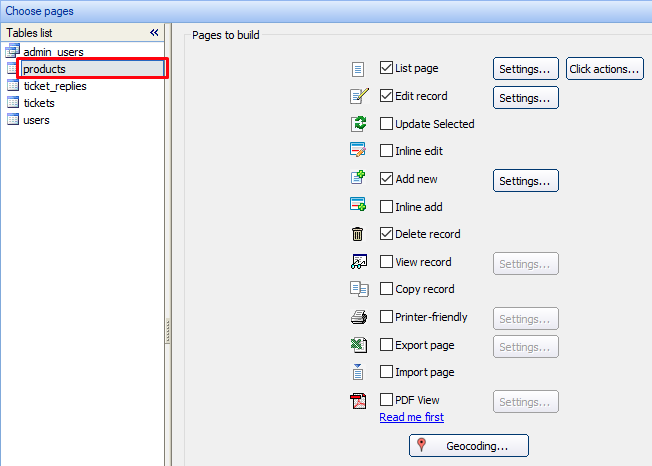
- ticket_replies
- In “Misc” tab, set as below:-
- Landing page
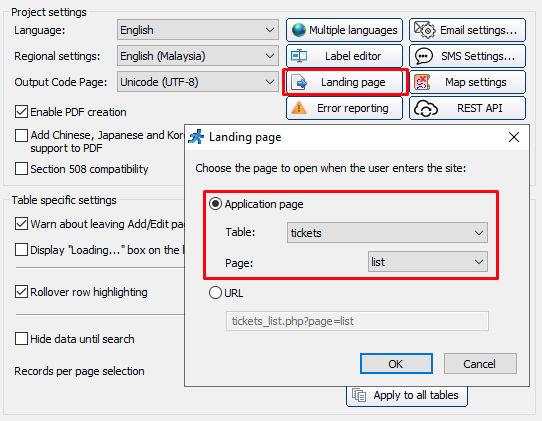
- Landing page
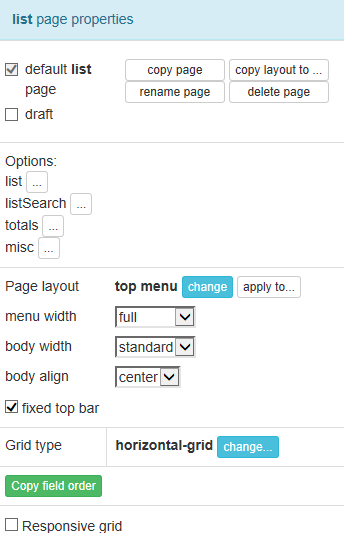
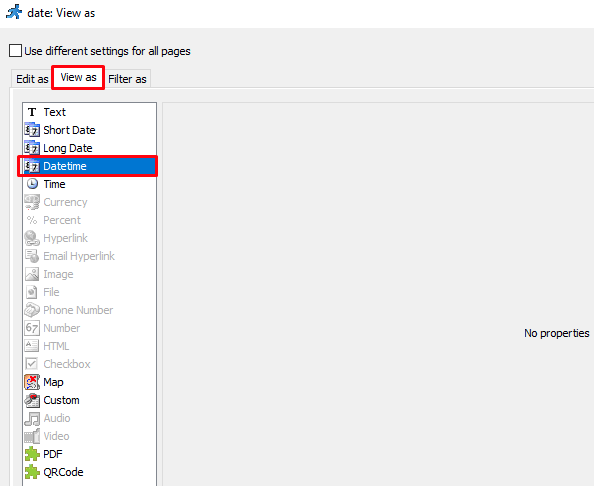
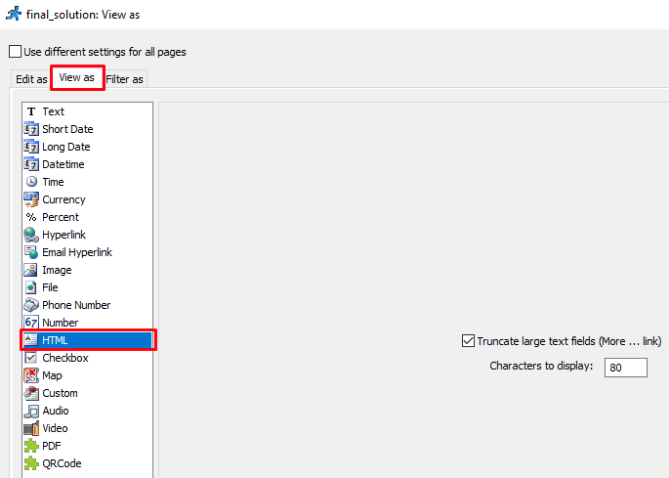
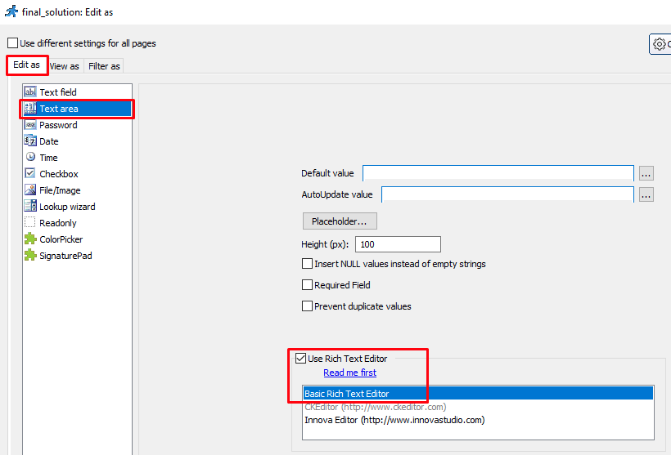
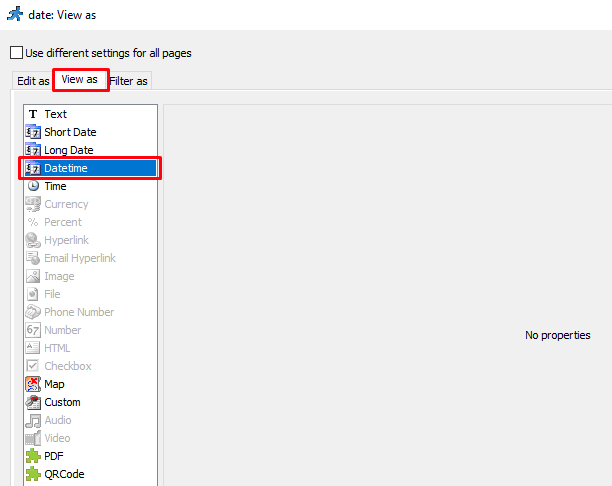
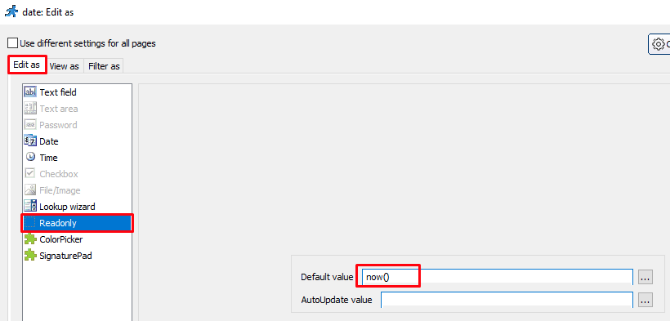
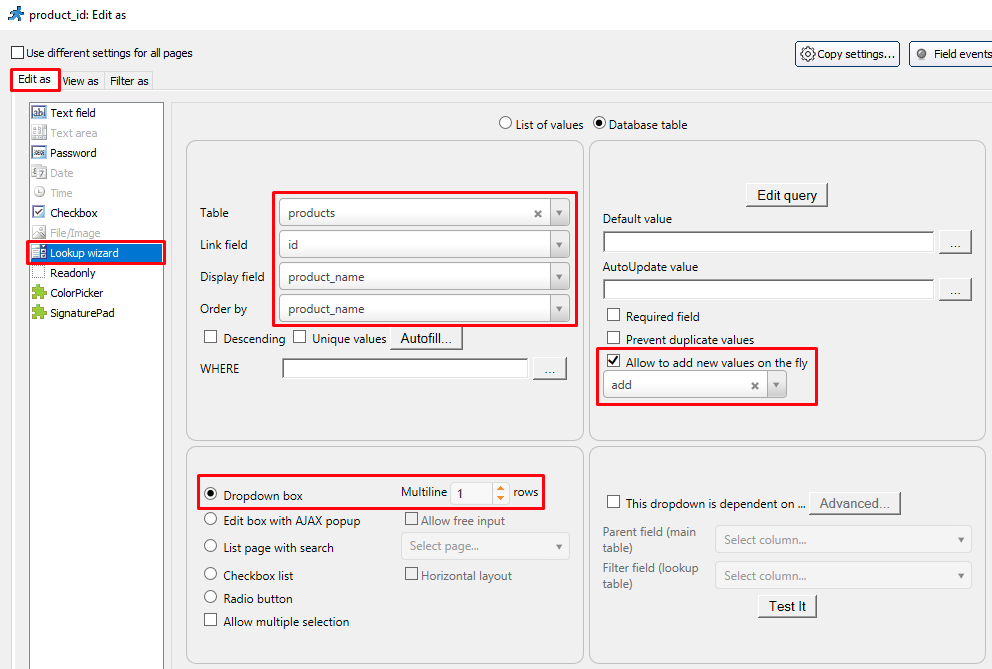
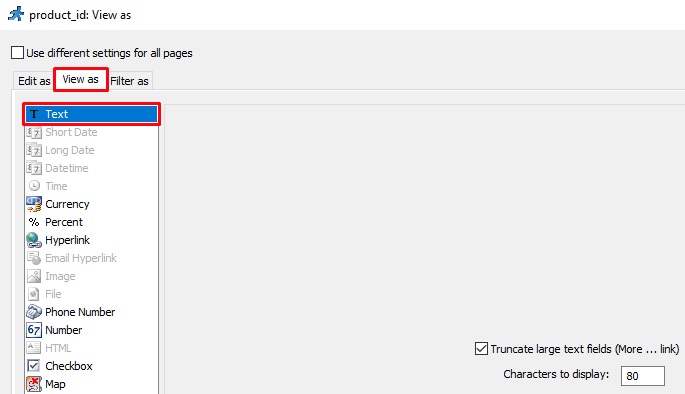
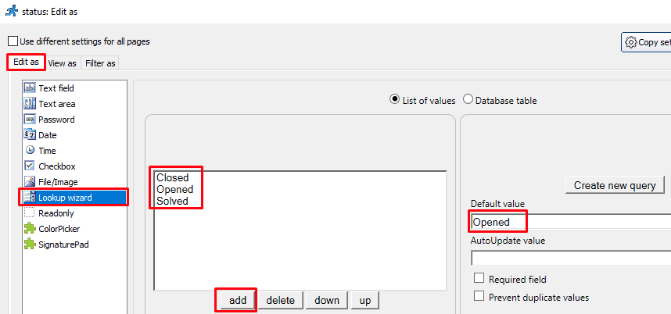
- In “Designer” tab, edit as below:-
- ticket_replies
- date

- staff_id

- staff_name
- steps_to_replicate

- suggested_solution
- final_solution
- date
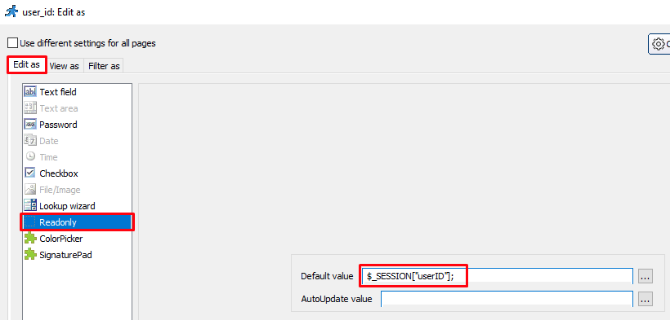
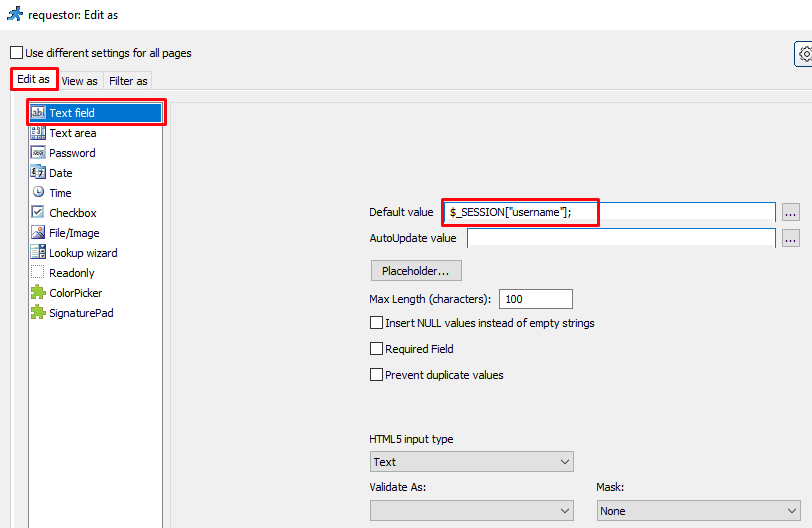
- tickets
- user_id
- requestor
- email

- date
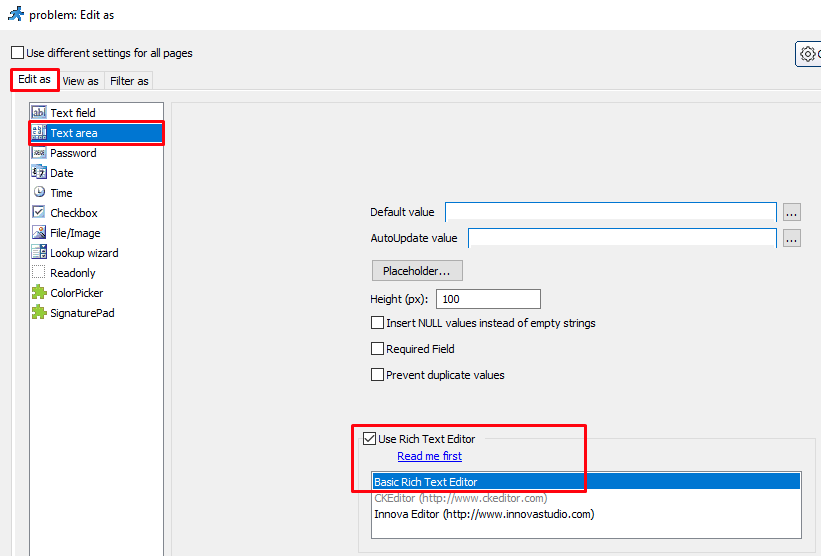
- problem

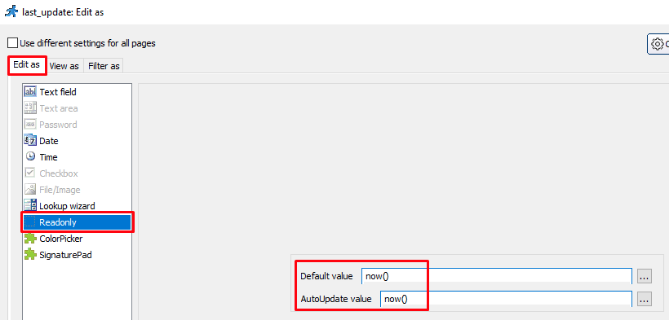
- last_update

- product_id
- status
- user_id
- ticket_replies
- In “Events” tab, edit as below:-
- “Login page” -> “After successful login”
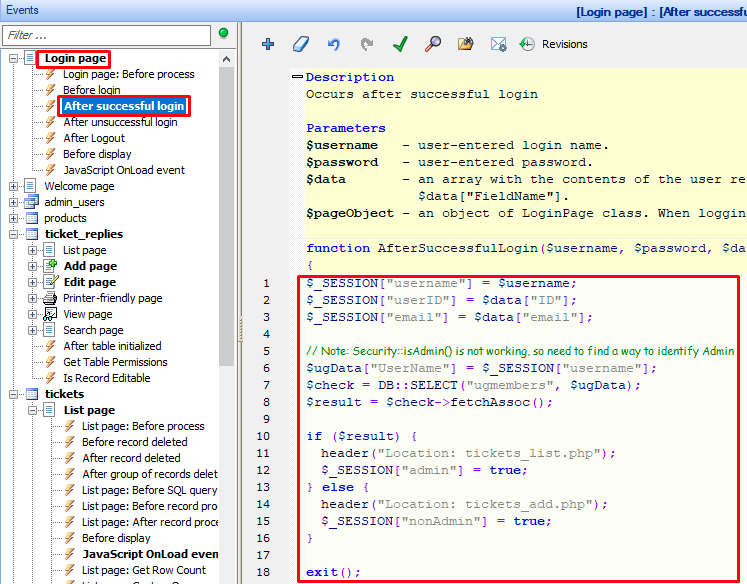
$_SESSION["username"] = $username; $_SESSION["userID"] = $data["ID"]; $_SESSION["email"] = $data["email"]; // Note: Security::isAdmin() is not working, so need to find a way to identify Admin $ugData["UserName"] = $_SESSION["username"]; $check = DB::SELECT("ugmembers", $ugData); $result = $check->fetchAssoc(); if ($result) { header("Location: tickets_list.php"); $_SESSION["admin"] = true; } else { header("Location: tickets_add.php"); $_SESSION["nonAdmin"] = true; } exit(); - tickets
- List page
- JavaScript OnLoad event
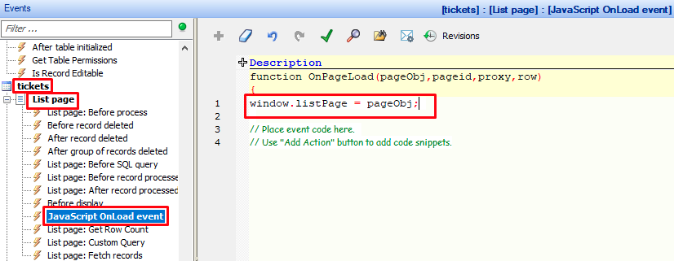
window.listPage = pageObj;
- JavaScript OnLoad event
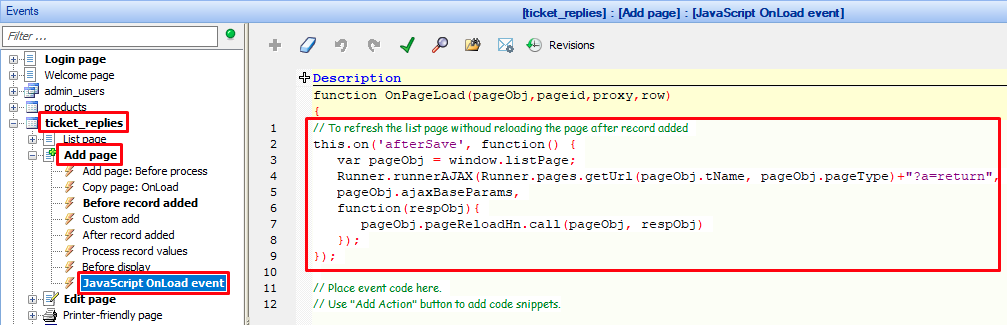
- Add page
- JavaScript OnLoad event
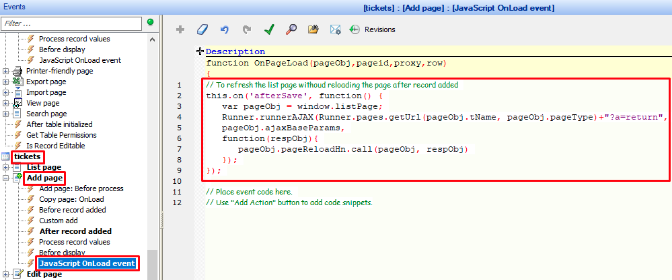
// To refresh the list page withoud reloading the page after record added
this.on('afterSave', function() {
    var pageObj = window.listPage;
    Runner.runnerAJAX(Runner.pages.getUrl(pageObj.tName, pageObj.pageType)+"?a=return",
    pageObj.ajaxBaseParams,
    function(respObj){
        pageObj.pageReloadHn.call(pageObj, respObj)
    });
});
- JavaScript OnLoad event
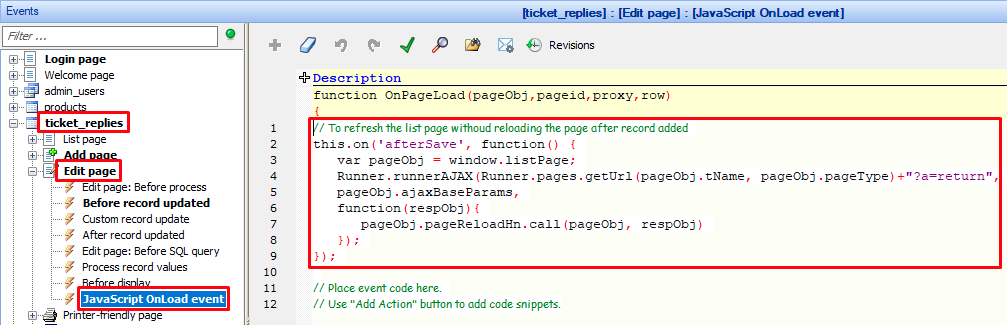
- Edit page
- JavaScript OnLoad event
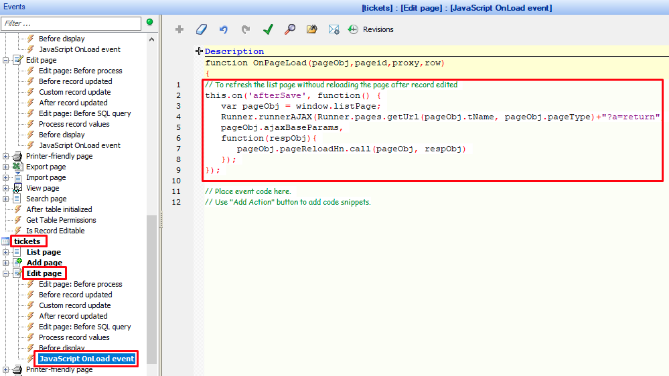
// To refresh the list page withoud reloading the page after record edited
this.on('afterSave', function() {
    var pageObj = window.listPage;
    Runner.runnerAJAX(Runner.pages.getUrl(pageObj.tName, pageObj.pageType)+"?a=return",
    pageObj.ajaxBaseParams,
    function(respObj){
        pageObj.pageReloadHn.call(pageObj, respObj)
    });
});
- JavaScript OnLoad event
- View page
- Before display
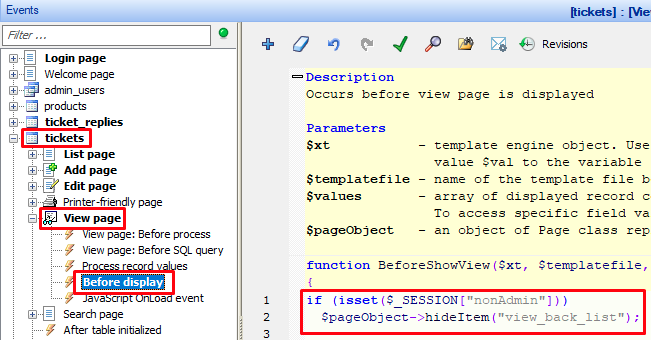
if (isset($_SESSION["nonAdmin"]))
    $pageObject->hideItem("view_back_list");
- Before display
- List page
- ticket_replies
- Add page
- Before record added
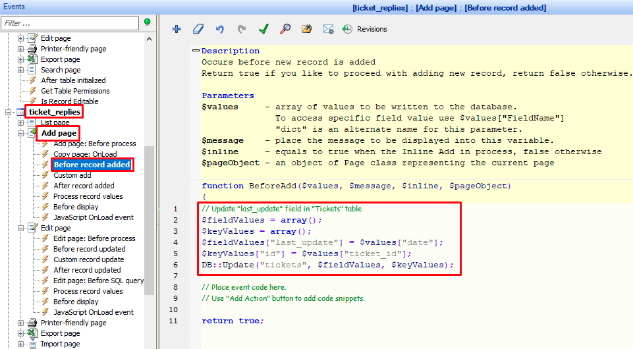
// Update "last_update" field in "Tickets" table $fieldValues = array(); $keyValues = array(); $fieldValues["last_update"] = $values["date"]; $keyValues["id"] = $values["ticket_id"]; DB::Update("tickets", $fieldValues, $keyValues); - JavaScript OnLoad event
/ To refresh the list page withoud reloading the page after record added
this.on('afterSave', function() {
    var pageObj = window.listPage;
    Runner.runnerAJAX(Runner.pages.getUrl(pageObj.tName, pageObj.pageType)+"?a=return",
    pageObj.ajaxBaseParams,
    function(respObj){
        pageObj.pageReloadHn.call(pageObj, respObj)
    });
});
- Before record added
- Edit page
- Before record updated

// Update "last_update" field in "Tickets" table $fieldValues = array(); $keyValues = array(); $fieldValues["last_update"] = $values["date"]; $keyValues["id"] = $values["ticket_id"]; DB::Update("tickets", $fieldValues, $keyValues); - JavaScript OnLoad event
// To refresh the list page withoud reloading the page after record added
this.on('afterSave', function() {
    var pageObj = window.listPage;
    Runner.runnerAJAX(Runner.pages.getUrl(pageObj.tName, pageObj.pageType)+"?a=return",
    pageObj.ajaxBaseParams,
    function(respObj){
        pageObj.pageReloadHn.call(pageObj, respObj)
    });
});
- Before record updated
- Add page
- “Login page” -> “After successful login”
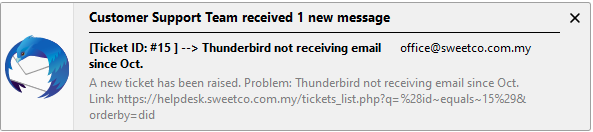
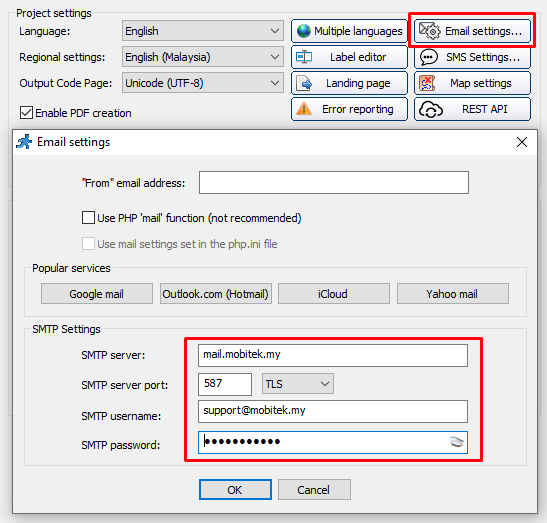
Add email notification to “support@mobitek.my” for each support case created.
MODIFICATION in PHPRunner or cPanel or PHPMyAdmin
- Go to “Misc” tab -> “Email settings…” and set as below:-
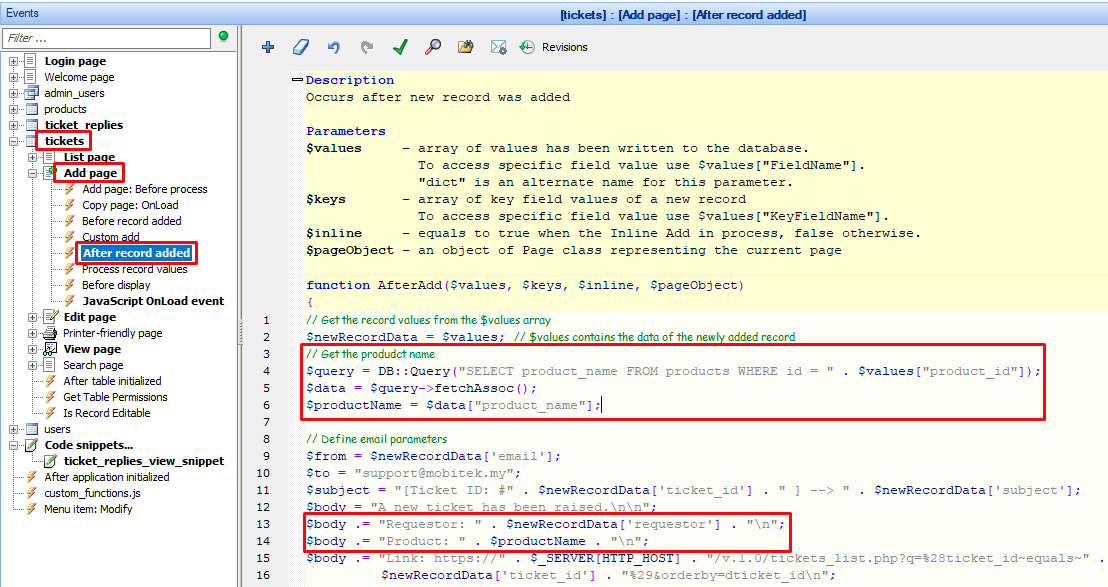
- Go to “Events” tab -> “tickets” -> “Add page” -> “After record added” and add below code:-
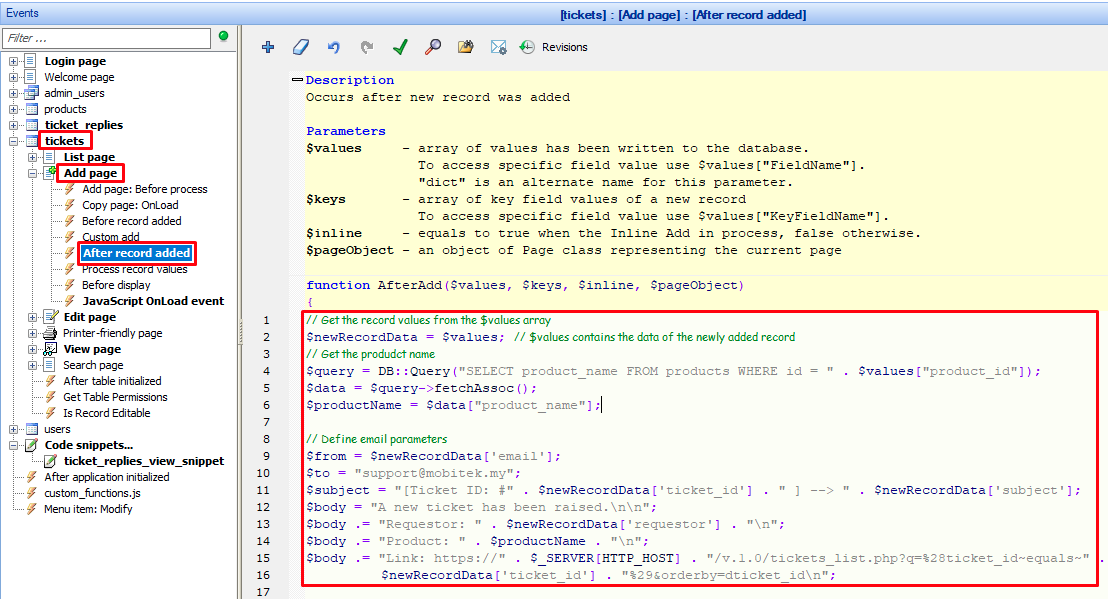
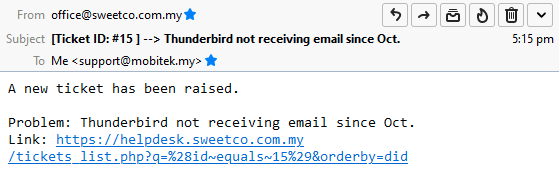
// Get the record values from the $values array
$newRecordData = $values; // $values contains the data of the newly added record
// Get the produdct name
$query = DB::Query("SELECT product_name FROM products WHERE id = " . $values["product_id"]);
$data = $query->fetchAssoc();
$productName = $data["product_name"];

// Define email parameters
$from = $newRecordData['email'];
$to = "support@mobitek.my";
$subject = "[Ticket ID: #" . $newRecordData['ticket_id'] . " ] --> " . $newRecordData['subject'];
$body = "A new ticket has been raised.\n\n";
$body .= "Requestor: " . $newRecordData['requestor'] . "\n";
$body .= "Product: " . $productName . "\n";
$body .= "Link: https://" . $_SERVER[HTTP_HOST] . "/v.1.0/tickets_list.php?q=%28ticket_id~equals~" .
                    $newRecordData['ticket_id'] . "%29&orderby=dticket_id\n";

// Send the email
$ret = runner_mail(array(
        'from' => $from,
    'to' => $to,
    'subject' => $subject,
    'body' => $body
));

// Optional: Display an error message if the email failed to send
if (!$ret["mailed"]) {
    echo $ret["message"];
}

// Redirect to view page if not logged in using "Big-Boss"
if (isset($_SESSION["nonAdmin"])) {
    header("Location: tickets_view.php");
    exit();
}
Implement “Database” Security Method.
MODIFICATION in PHPRunner or cPanel or PHPMyAdmin
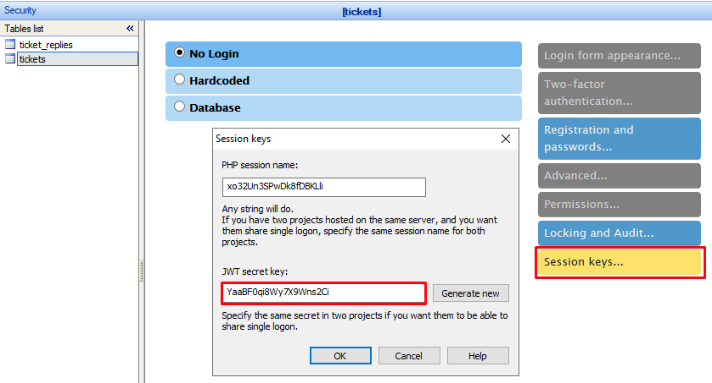
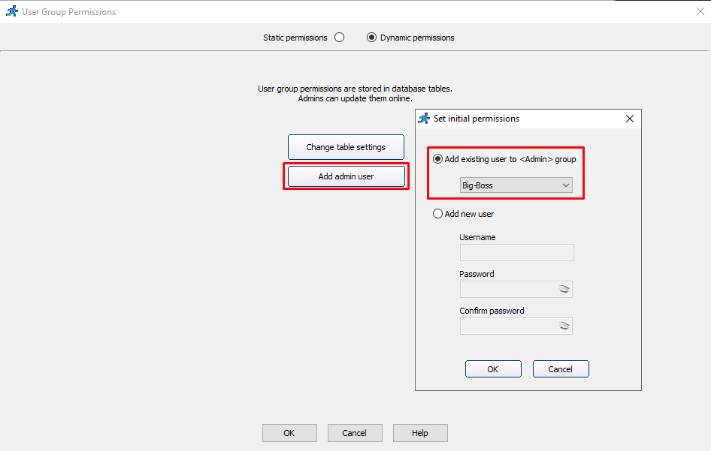
- Go to “Security” tab:-
- set the “JWT secret key” in “Session keys…” to “YaaBF0qi8Wy7X9Wns2Ci” to match the key in “SSO”.
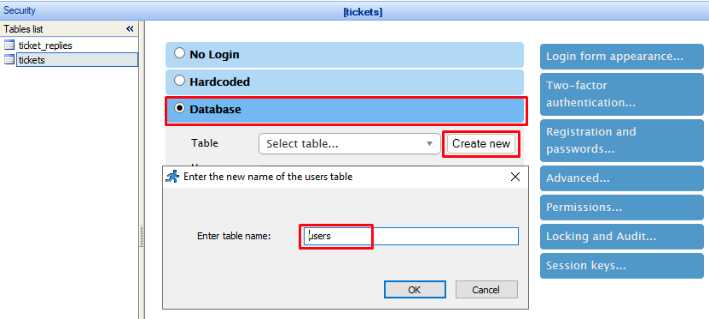
- use “Database” to store login information
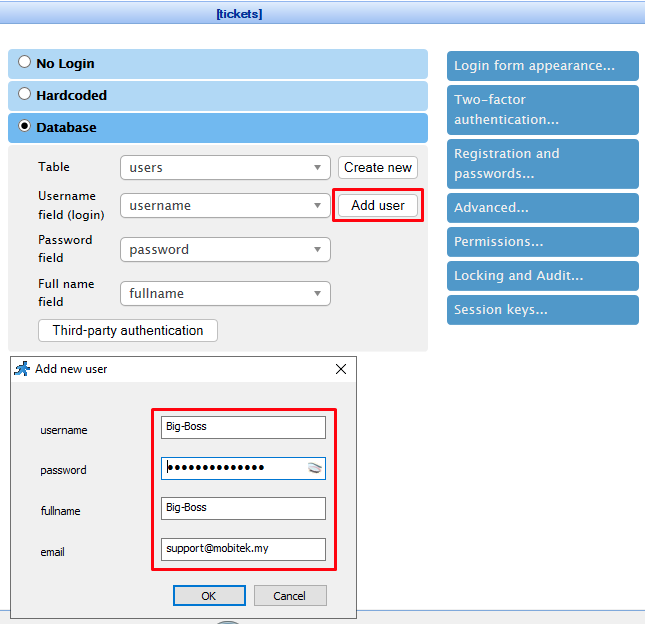
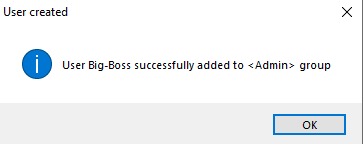
- add a new user “Big-Boss”.
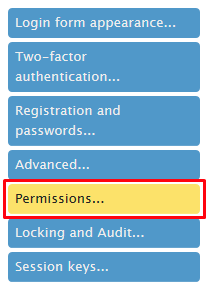
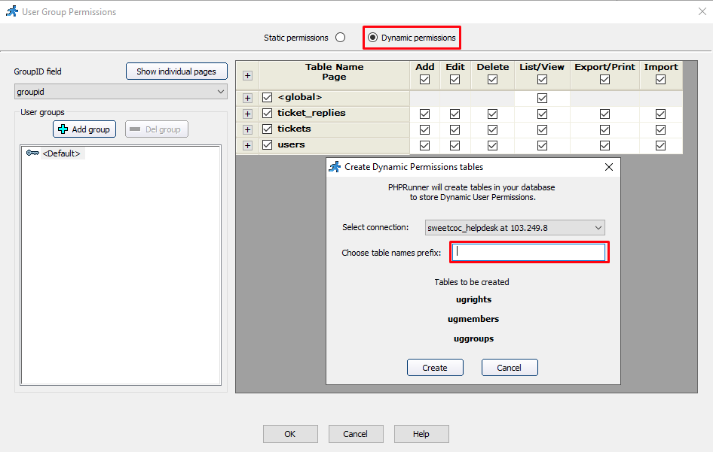
- set “Dynamic Permissions”.
- build and upload the project. Login using the “Big-Boss” account.
- go back to the project, use the encryption for password.
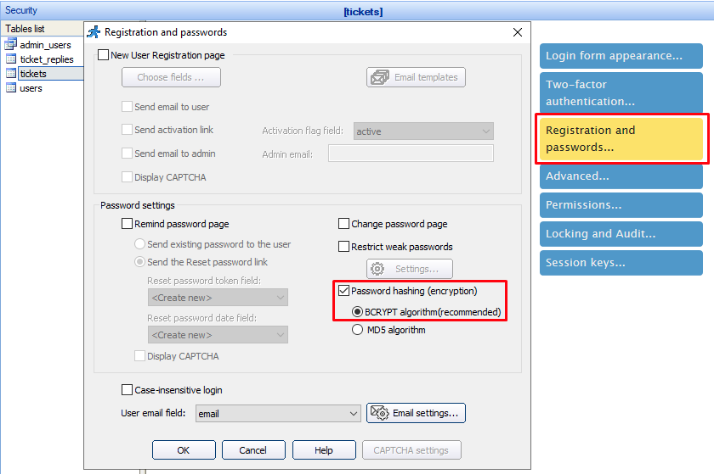
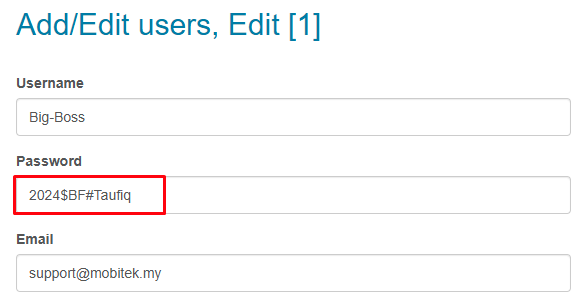
- build and upload the project again and change the password for “Big-Boss”.
- set the “JWT secret key” in “Session keys…” to “YaaBF0qi8Wy7X9Wns2Ci” to match the key in “SSO”.
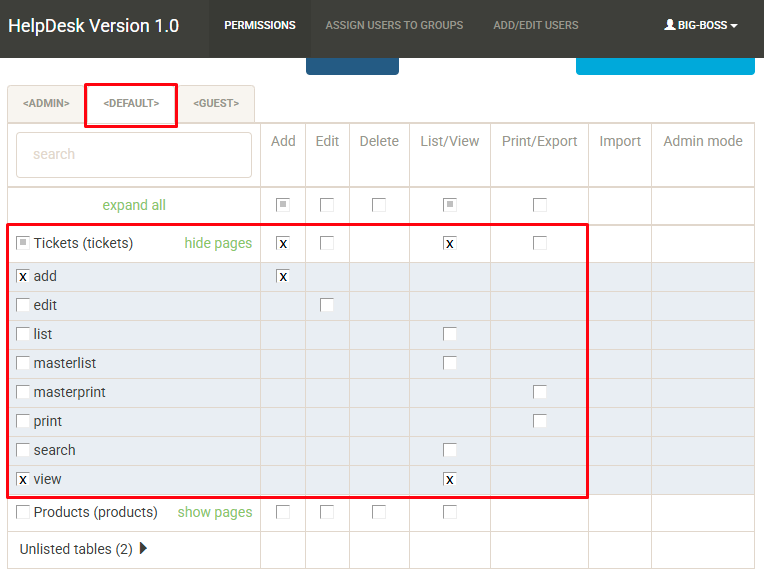
Set permission to all users.
MODIFICATION in PHPRunner or cPanel or PHPMyAdmin
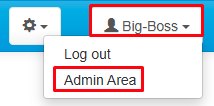
- Log in to “helpdesk.mobitek.my” as “Big-Boss”.
- Go to “Admin Area”.

- Set the permission for all groups as below:-
- <Admin>
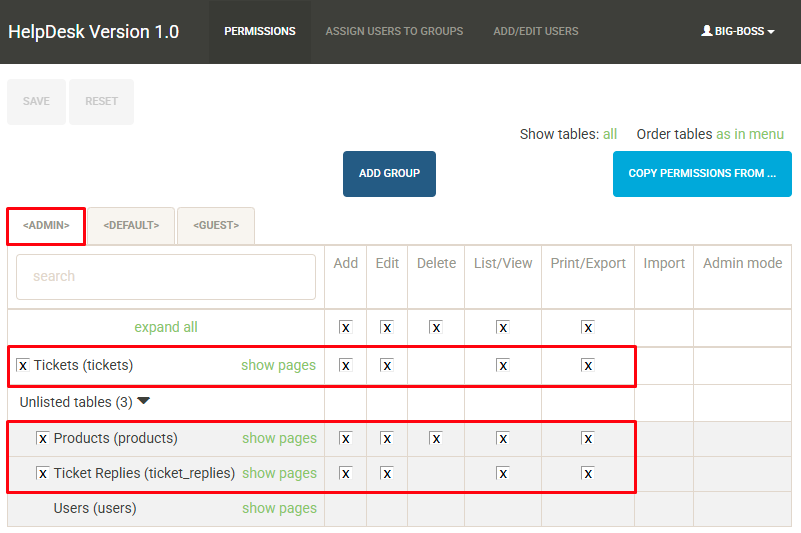
- <Default>
- <Admin>
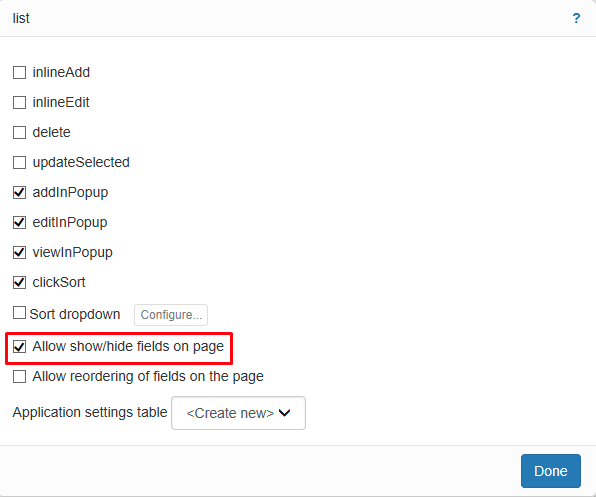
Add “Show/hide columns” button.
- Add in the page/table — https://helpdesk.mobitek.my/v.1.0/tickets_list.php?orderby=dticket_id
| BEFORE | AFTER |
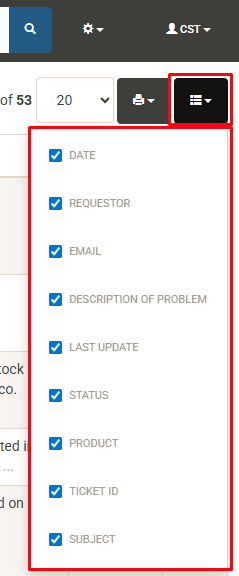 |
MODIFICATION in PHPRunner or cPanel or PHPMyAdmin
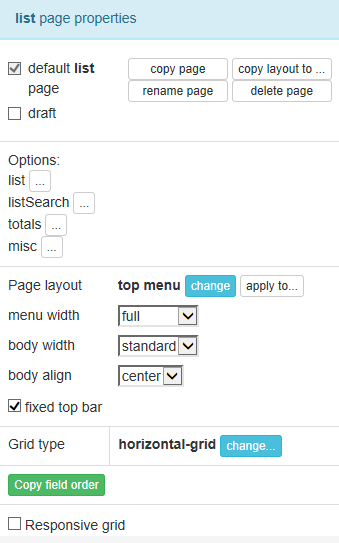
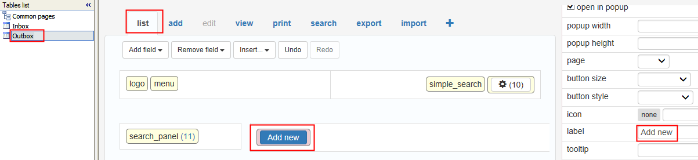
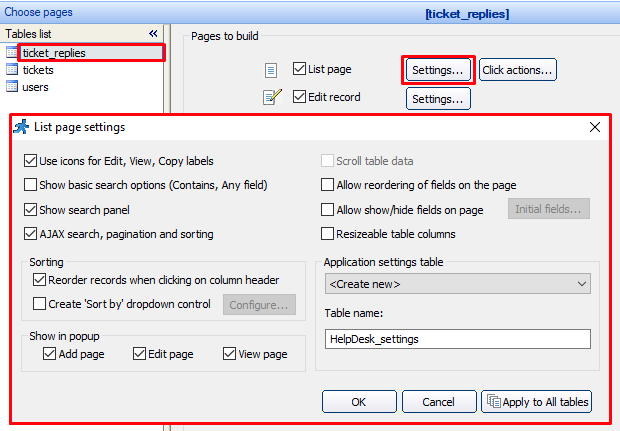
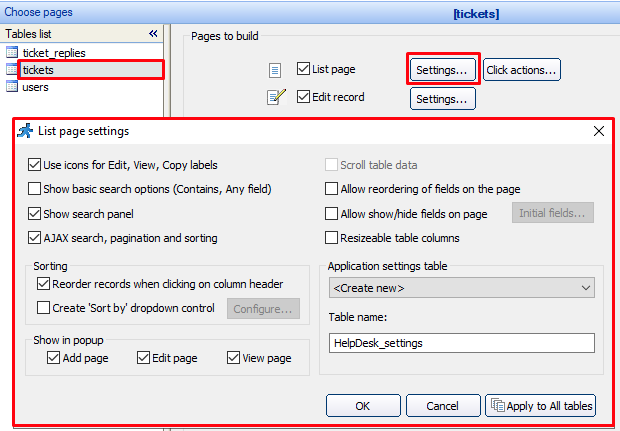
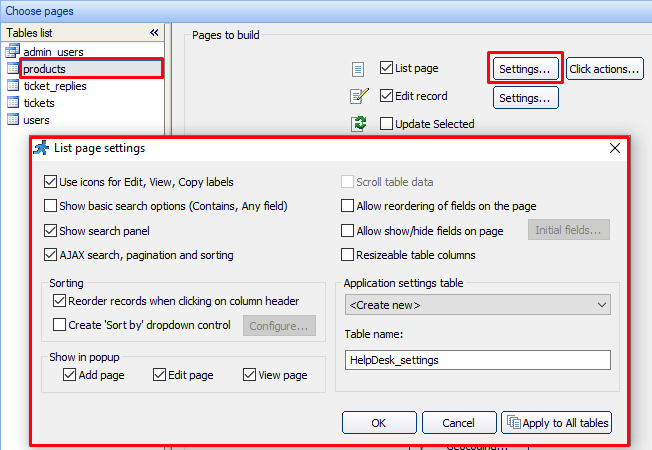
- Go to”Designer” tab, select “tickets” in Tables list and click on “list” tab. Under the “Options” section, click on the button next to the “list”.
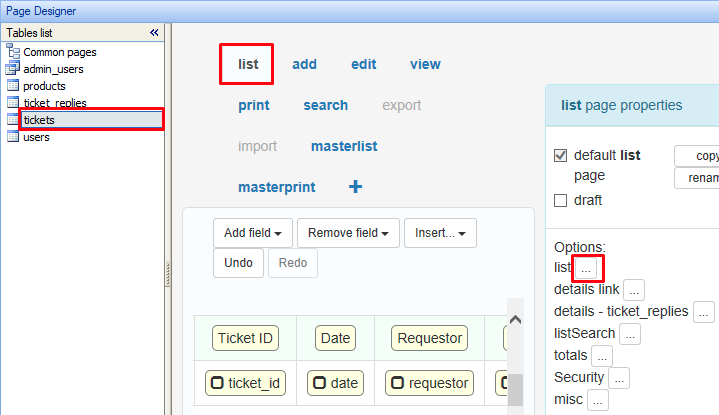
- Check “Allow show/hide fields on page”.
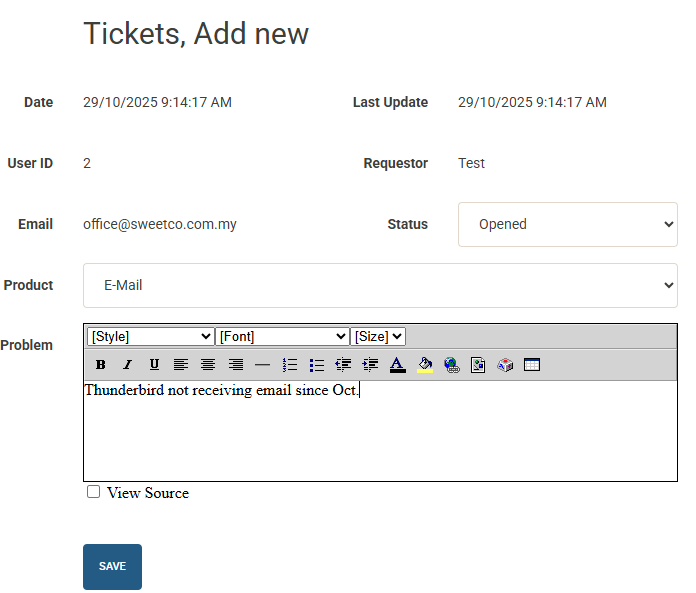
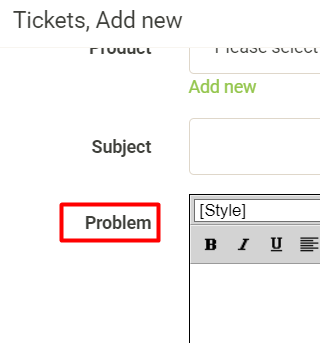
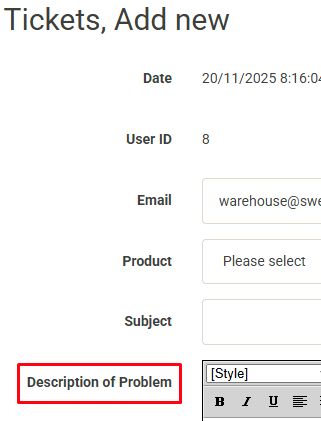
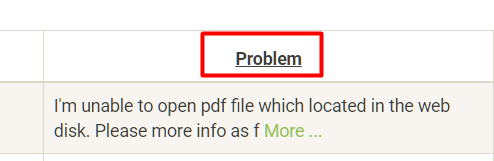
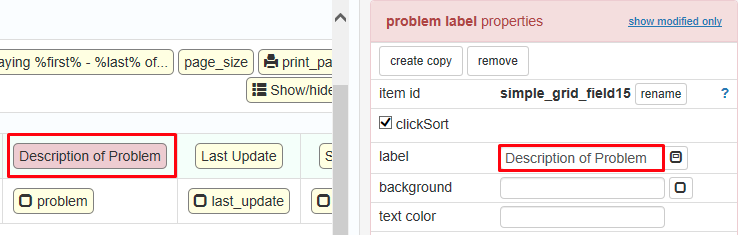
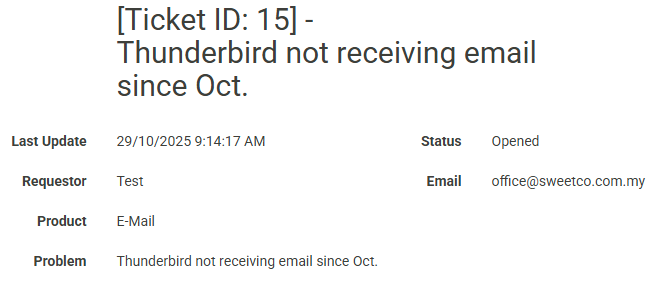
Rename “Problem” to “Description of Problem” in the UI (there is no need to rename it in database).
| BEFORE | AFTER |
|
 |
MODIFICATION in PHPRunner or cPanel or PHPMyAdmin
- Go to “Designer” tab, select “tickets” in Tables list, click on “Problem” label and rename it to “Description of Problem”.
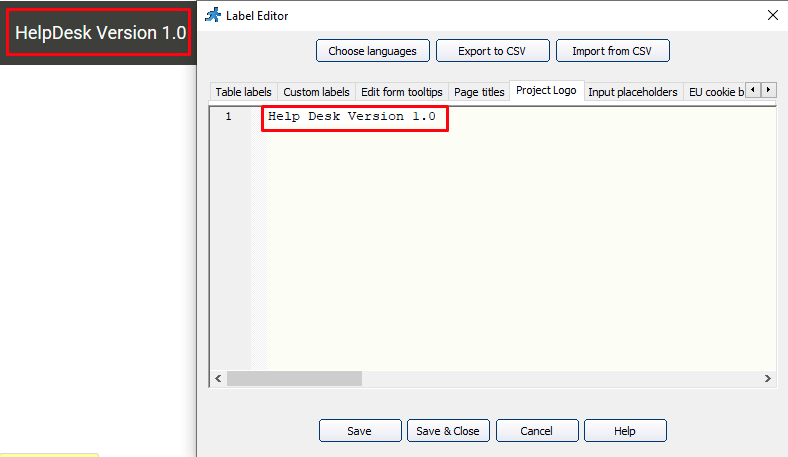
Rename “HelpDesk” to “Help Desk”.
| BEFORE | AFTER |
 |
 |
MODIFICATION in PHPRunner or cPanel or PHPMyAdmin
- Go to “Editor” tab, double-click on “HelpDesk Version 1.0” logo and rename it to “Help Desk Version 1.0”.
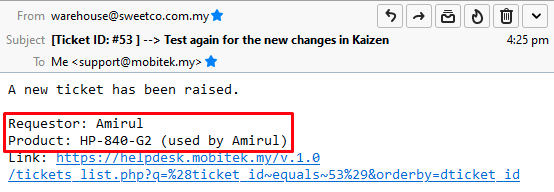
Add these information (column) into the message body of e-mail notification:-
- Product
- Requestor
| BEFORE | AFTER |
 |
MODIFICATION in PHPRunner or cPanel or PHPMyAdmin
- Go to “Events” tab, click on “tickets” -> “Add page” -> “After record added” and add code as below:-
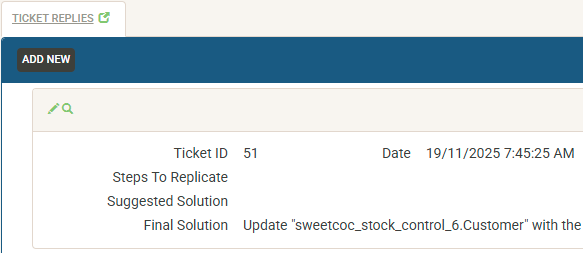
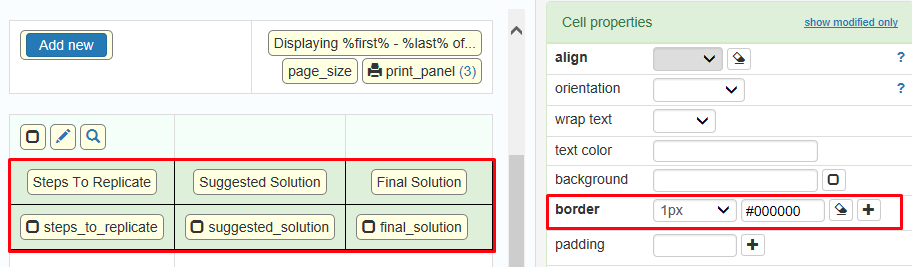
Add border for the “ticket_replies” list page.
| BEFORE | AFTER |
 |
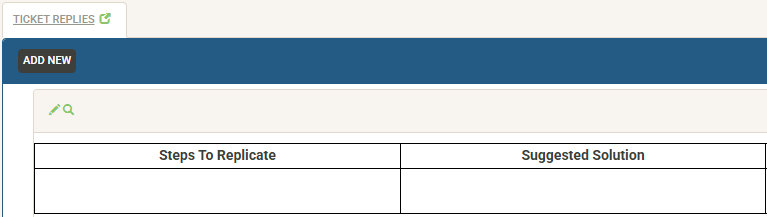 |
MODIFICATION in PHPRunner or cPanel or PHPMyAdmin
- Go to “Designer” tab and select “ticket_replies” in the Tables list.
- Select all cells in “ticket_replies” grid and set the border to black 1px.
v. 1.0 Beta Testing Completed on 2025-11-20
TEST OBJECTIVE: Does other users except “Big-Boss” can only see the ticket’s add page and not the ticket’s list page?
| TESTING METHODOLOGY | TEST RESULT |
|
Page redirected to “https://helpdesk.mobitek.my/v.1.0/tickets_add.php” after logged in
The page redirected to “https://helpdesk.mobitek.my/v.1.0/tickets_view.php” after the ticket has been added
|

TEST OBJECTIVE: Does an email send to “support@mobitek.my” for each new ticket created?
| TESTING METHODOLOGY | TEST RESULT |
|
|