How to Build a Release Version
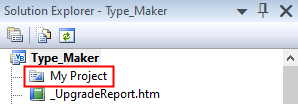
- Double-click on”My Project”.
- Go to “Compile” and set the “Build output path”.

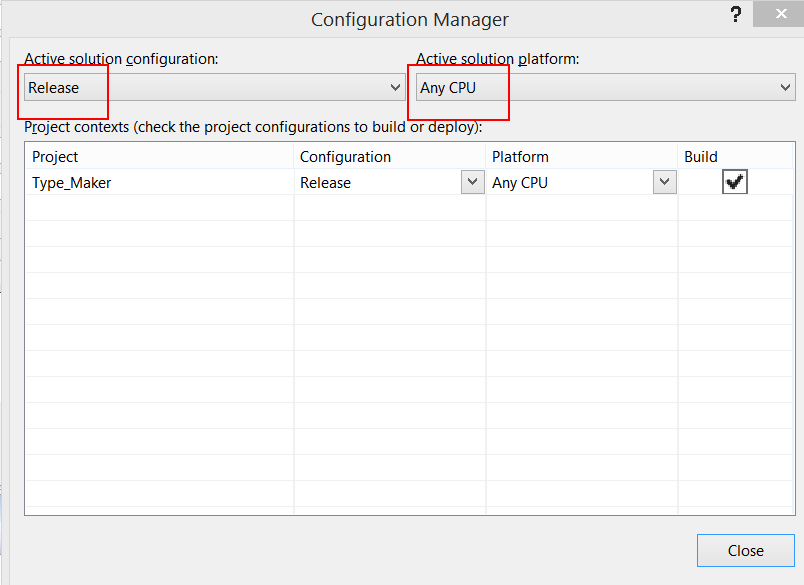
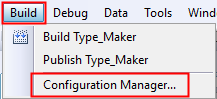
- Goto “Build -> Configuration Manager”.
- Select “Release” and “Any CPU”.
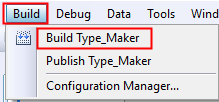
- Goto “Build -> Build Type_Maker”.
- The build or release folder is located at the path that has been set in the “Build output path” which is “bin\”.

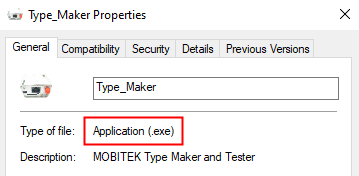
- The build application is “Type_Maker.exe”.
How to Publish VB.Net Application
Publish means to create a set-up file (installer).
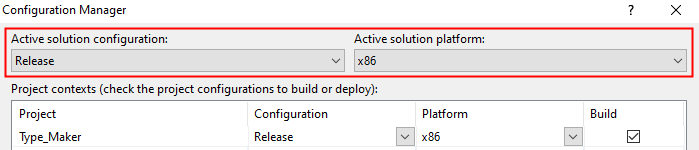
- Go to “Build” -> “Configuration Manager”.
- Specify the “Active solution configuration” and “Active solution platform”. Close the Configuration Manager.
- Go to “Build” and “Build Type_Maker”.
- Go to “Solution Explorer” and double-click on “My Project”.
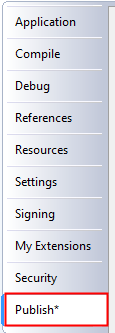
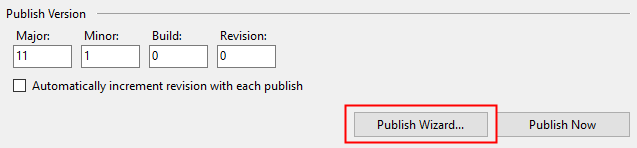
- Click “Publish” tab.
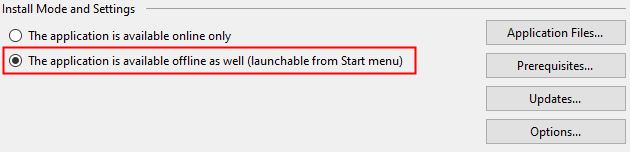
- In “Install Mode and Settings”, select “The application is available offline as well (launchable from Start menu)”.
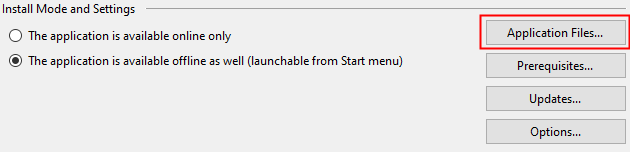
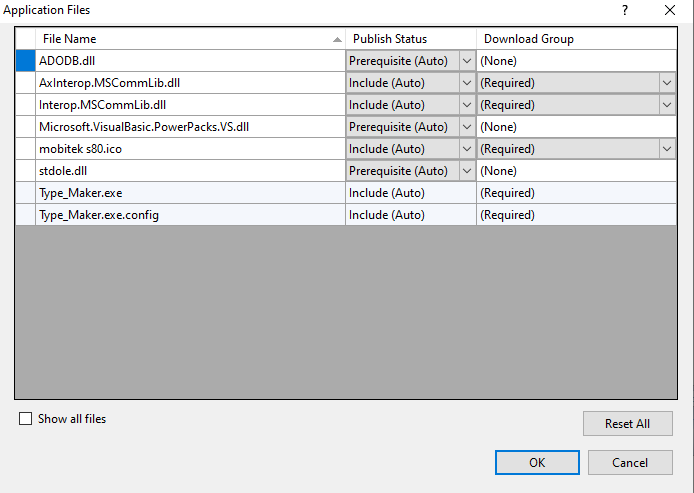
- Click “Application Files…” and set the list of files that will be included in the installation.
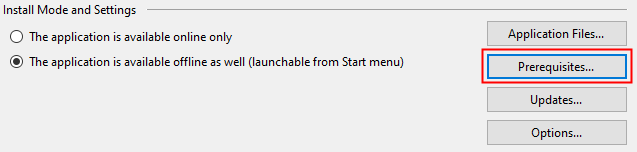
- Click “Prerequisites…” and set as below:
- Click “Publish Wizard” button.
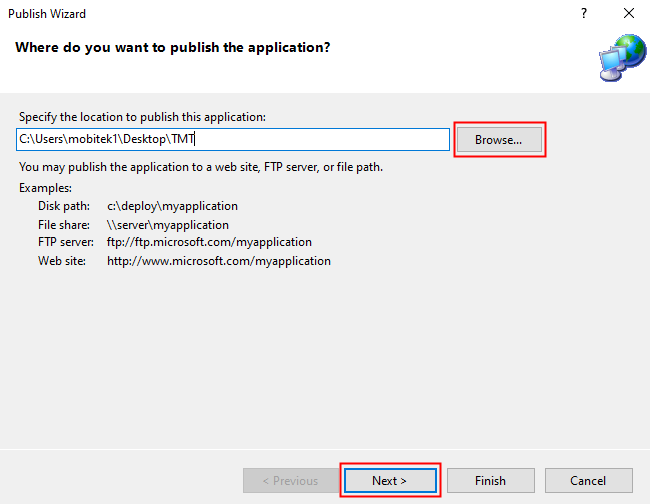
- Specify the location to publish the application. Click “Next”.
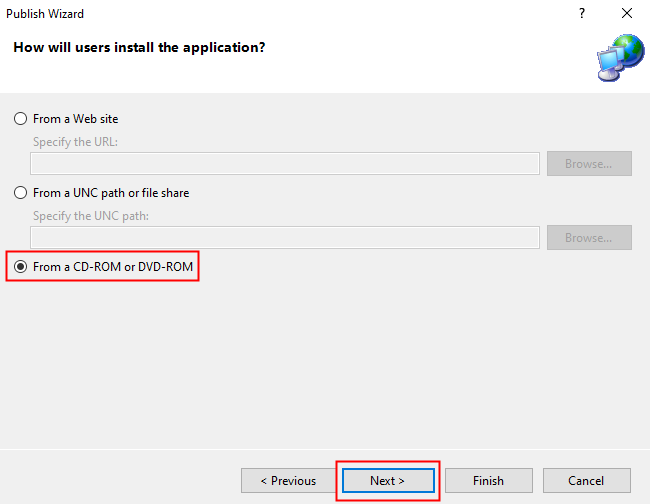
- Select “From a CD-ROM or DVD-ROM”. Click “Next”.
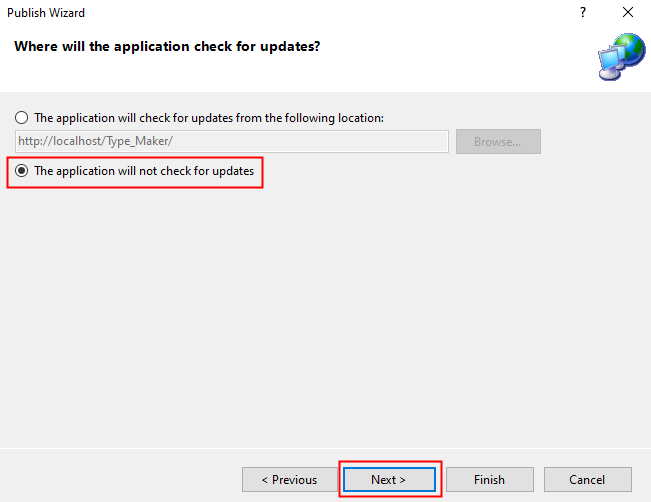
- Select “The application will not check for updates” and click “Next”.
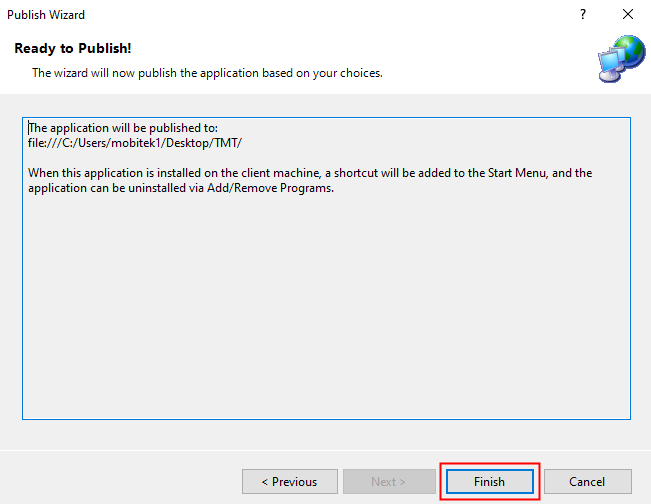
- Click “Finish” to publish the application.
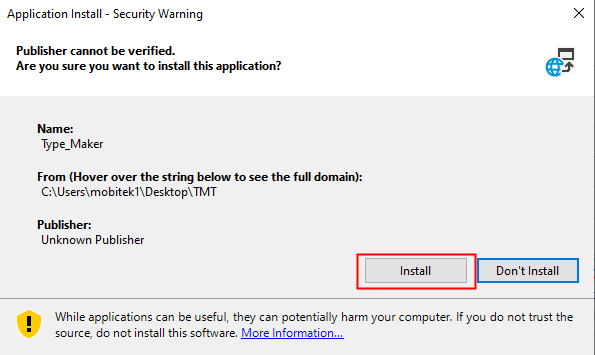
- After the publish completed, the saved folder will be opened automatically. Double-click on the “setup.exe” file to install the application and click “Install”.
|