How to Configure WooCommerce

Initial Set-Up

  1. Install and activate WooCommerce.
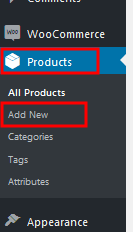
  2. Go to Product and “Add New”.

    1. Fill in your product name.
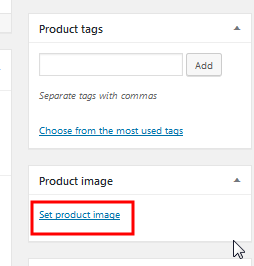
    2. Set your Product image.
    3. Set your product price.
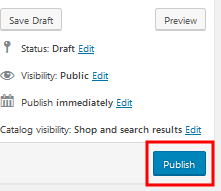
    4. “Publish” your product.
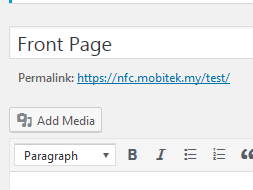
  3. Go to “Pages” and “Add New” page.
    1. Title: Front page
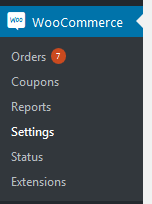
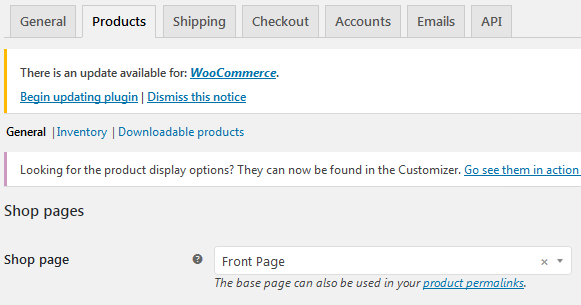
    2. Go to WooCommerce/Setting/Product
      • set “Shop page” to “Front Page”
      • Then “Save changes”.

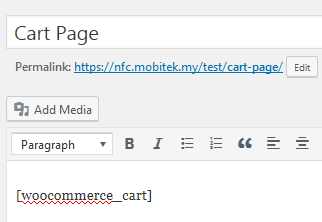
  4. Go to “Pages” and “Add New”.
    1.   Title: Cart Page
    2.   Write the short code — [woocommerce_cart]
    3. Publish the page
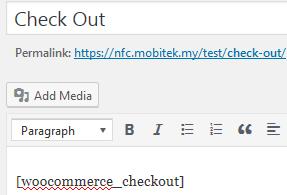
  5. Go to “Pages” and “Add New”.
    1. Title: Check Out
    2.   Write the short code in visual
      • [woocommerce_checkout]
    3. Publish the page
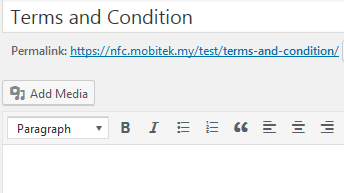
  6. Go to “Pages” and “Add New”.
    1. Title: Terms and Condition
    2. Paste your terms and condition in this page
    3. Publish the page
  7. Go to WooCommerce/Setting
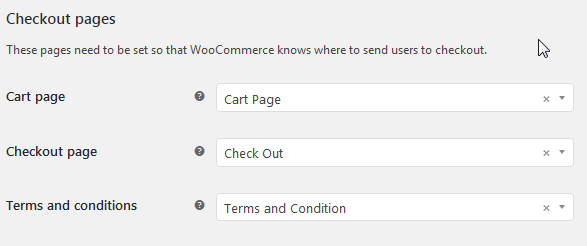
  8. Go to “Checkout” menu and scroll down to see “Checkout pages”.

    1. Then, assign the pages which was added corresponding to “Cart page”, “Checkout page” and “Terms and condtions”.

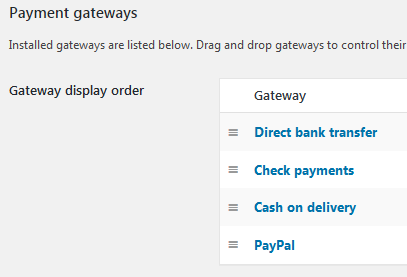
  9. In the same page you can choose the payment method by scrolling down to “Payment gateways”.
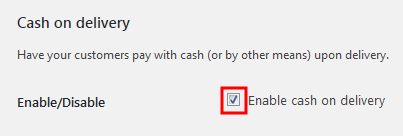
    • Example to show how to turn on Payment method;
      1. Click on the Cash on Delivery
      2. Check to enable cash on delivery
        Note: At least one Payment gateways have to be enabled to continue checkout
      3. Save the changes

How to Change Currency

  1. Go to WooCommerce/Setting/General, scroll down, look for “Currency options”.
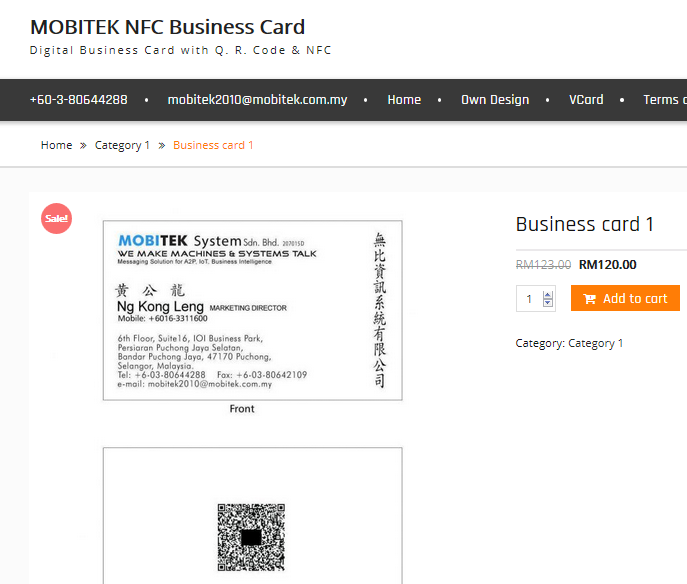
  2. This is how your product page should look like after changes are made.
Reference: